

Ditch Pricey Lights — Brighten Garden Paths With Personalized, DIY Parchment Paper Lanterns
We may receive a commission on purchases made from links.
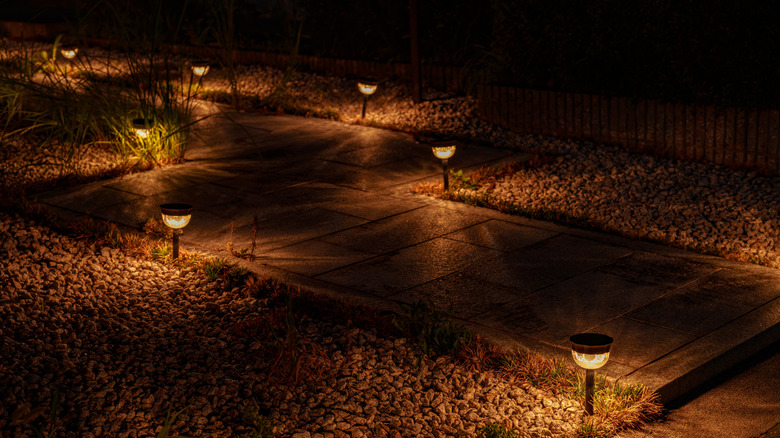
Adding warm lighting along garden paths is an easy solution for turning a dark yard into an inviting space. You've likely seen built-in options, solar stake lights, spotlights, and hanging lamps, some of which can be expensive, depending on your style and the size of the yard. Thankfully, there are budget-conscious DIYs to turn gardens into illuminated, enchanted escapes that require supplies you likely already own. In this project, you'll glue together popsicle sticks to create the bones of a lantern and use decorated parchment paper as the shade, giving you a personalized lamp to hang along your garden paths that can rival pricey store-bought products.
The main appeal of this project is its affordability, not to mention its creativity and uniqueness. With each lantern requiring only 16 popsicle sticks, a set of 200 Craft Sticks from KTOJOY with a price tag of $4.99 will give you more than what you need. Repurpose the leftover popsicle sticks in your home and garden as decor, planters, organizers, and more. You'll also need white parchment paper or gift tissue paper. Make sure the paper is white or light enough for light to pass through.
Other necessary materials include a hot glue gun and glue sticks, plus drawing supplies to decorate the paper. Keep in mind that lighter drawings may not be clearly visible when the lantern is lit. The more vibrant the colors are, the more stunning the lantern will be in the dark.
Creating a lantern with popsicle sticks and paper
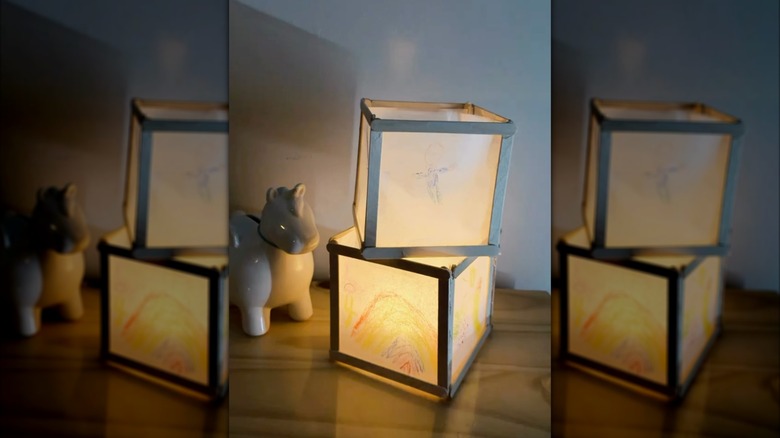
First, gather 16 popsicle sticks and hot-glue four of them together to form a square. Repeat this three more times to build four frames that will be the structure of the lantern. Leave the sticks bare or embellish them with washi tape, glitter, or beads. Next, cut four squares out of parchment or tissue paper that match the size of the frames.
Now for the fun part. Decide how you want to decorate the lantern shades. Do you want illustrations, lettering, or patterns? Use crayons or markers to draw your designs on each sheet, being careful not to tear the delicate paper. Not confident in your drawing abilities? Find a geometric pattern or simple illustration online, trace it on the parchment or tissue, and then color it in. For a silhouette effect, cut out shapes from dark paper to glue onto the parchment or tissue.
After completing your artwork, glue each sheet to a popsicle stick frame. Next, place two frames together to form a 90-degree angle, lining the seam between each rectangle with hot glue. Repeat this step until you've created a lantern with all four frames.
Lighting up the yard with DIY lanterns
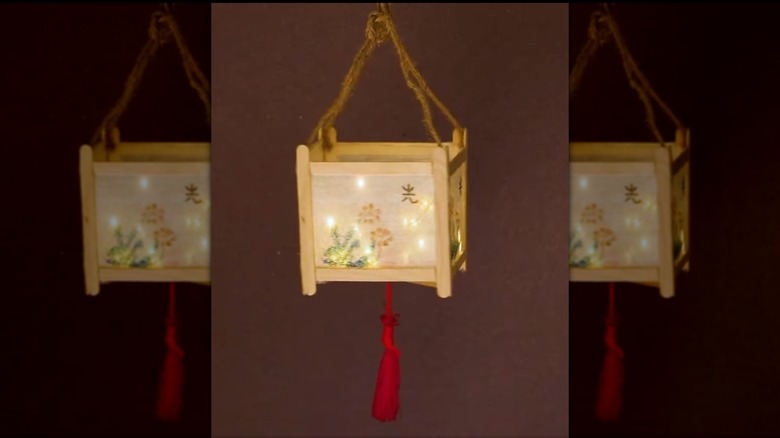
Once your project is constructed, insert a battery-powered tea light or set of twinkle lights into the lantern, backlighting your drawing on the shades. You can make multiple lanterns to line a garden path, or place them on your porch to welcome visitors. Although this project works wherever you put it, anyone walking through your yard will likely want to get an up-close view of the personal artwork on the shades. Since these projects aren't waterproof, use them outside only when rain isn't in the forecast or keep them under enclosed, dry areas like a porch or patio.
Take this project a step further by turning it into hanging decor to suspend from shepherd's hooks along a garden path or around the edge of a covered patio. Glue a row of popsicle sticks together to completely cover the bottom of the lantern, serving as a base for the tea light or twinkle lights. Finish off the lantern by gluing twine or decorative ribbon to the top four corners and knotting the strands above the lantern to hang up as a beautiful DIY to light up your backyard or patio.