

Man Transforms Plastic Crates Into A Useful Storage Table With An Easy DIY
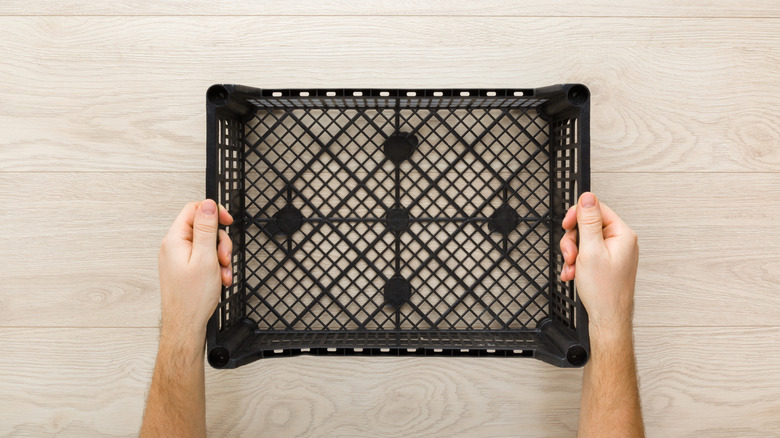
When it comes to storage, there never seems to be enough. We can all use more of it, but what do you do when you don't want to invest in another big storage unit? Shahid Mubeen, from the YouTube channel Explore with Maher, has a fantastic solution that you can easily DIY this weekend. He upcycles plastic crates and some wood scraps to craft his own storage table.
This is a creative way to repurpose milk crates and increase your storage space. The plastic crates act as the shelving component and are connected together, then elevated on wooden legs to form a table. You'll end up with four large storage sections, plus a shelf across the top for ample space to organize everything that's currently a big, cluttered mess. Plus, you can customize it to make it your own so it will look good, too.
To create a gorgeous outdoor storage table, you'll need plastic milk crates, zip ties, two large tiles, and 2x4 lumber scraps. You'll also need wood glue, screws, a drill, and a circular saw. Optional supplies include sandpaper, spray paint or wood stain, and extra plywood. The main components of this project can be easily sourced at budget-friendly rates if you know where to look. The crates, plywood, and 2x4 lumber can all be found for free or very inexpensive rates on Facebook Marketplace. You can also ask your local hardware or home improvement stores if they have any extra they'd like you to take off their hands.
How to build a storage table from milk crates and scrap lumber
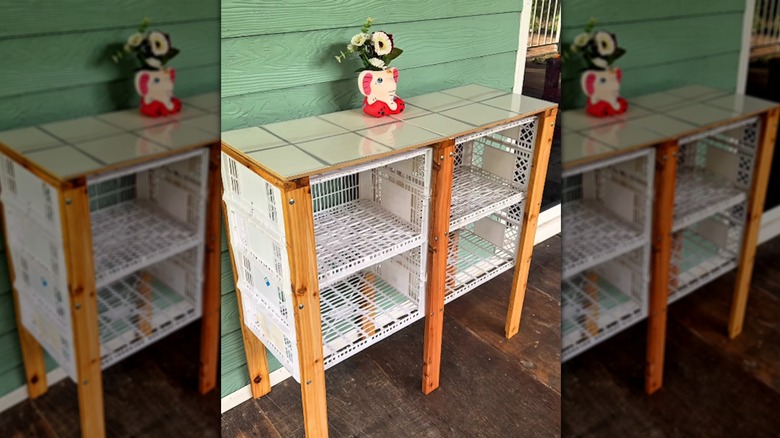
To repurpose milk crates into a genius storage solution, start by giving the crates a quick clean, if needed. To keep it simple, use four standard rectangular crates, which are 19 inches long, 13 inches wide, and 11 inches high. If you're using half-sized crates like Mubeen, use a circular saw to cut off one side of all the crates. Then, take two half crates, placing one upside down on top of the other, and secure with zip ties to create a full-sized crate. You'll need eight mini crates to make four standard-sized crates. Place the four crates together to form a two-by-two grid. Place two zip ties toward the back of the crates and two toward the front, on each adjoining wall. Cut off the excess tie.
Next, grab six 2x4 boards and cut them to equal lengths, about 40 inches, to form the legs. Also cut three boards 11 inches long each. Lay the crate unit face down. Line up three 40-inch boards, one on each end and one in the middle, so they begin at the top of the crate and extend beyond the bottom. Screw the boards into the crate, spreading three screws across the front of each crate wall. Flip the unit over and repeat on the back. Then, stand the unit up, and the legs will elevate the crates above ground. Align the three 11-inch boards across the top, connecting the front and back legs. Screw them in to secure. Finally, use wood glue across the top crates to attach two large tiles, forming the shelf.
Tips and hacks to make this storage table DIY your own
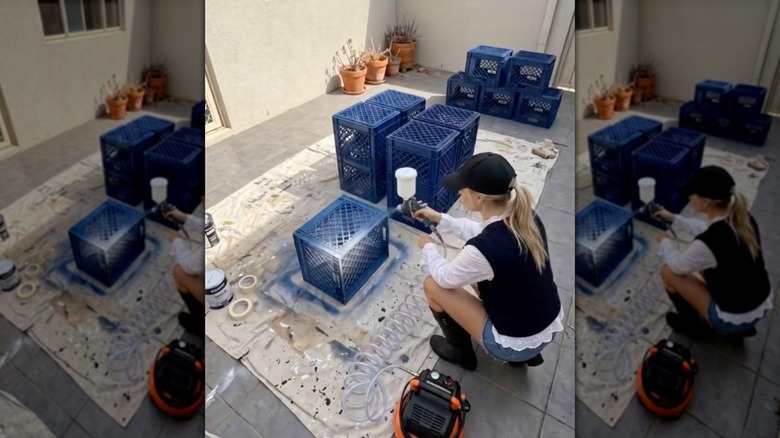
This is a fantastic DIY on its own, but if you want to level up your storage table, there are a few tweaks you can make. For one, spray paint the milk crates all the same color. Maybe you acquired mismatched crates, or they're not quite the color you're going for. Most often, they've been used and reused already, so they might also be a bit dingy. Giving them a fresh coat of paint will make them look clean, uniform, and enable you to create a storage unit that matches your space. Remember to always spray paint outdoors or in a very well-ventilated area.
Conceal the zip ties by using ones that are the same color as the crates. If you can't find any to match, use your spray paint to give them a quick coat once they're tied on. If your 2x4 lumber is rough, sand it down before attaching it to the crates. You can also paint the boards to match the crates or add a wood stain for a more rustic look.
To upgrade the individual storage sections, cut a piece of plywood that fits in the bottom of each crate. This will make a smooth bottom board to act as the shelf. Sand and finish each plywood piece with paint or wood stain before using wood glue to secure them to the crate. For the final touch, you can opt for a wood plank as the top shelf instead of tiles. Sand the shelf down and paint it to match the legs of the storage unit.