

Transform The Fallen Acorns In Your Yard Into The Cutest DIY Garland
We may receive a commission on purchases made from links.
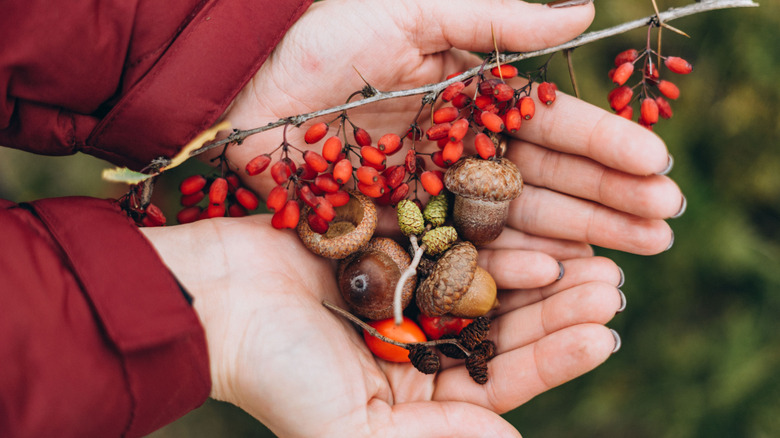
Some treasures from the natural world are so sweet and cute, they practically beg to be a part of your fall decor pieces. Take the acorn. With its cheery fat cheeks all puffed up under a knitted beret cap, this woody nut is a natural in crafts, like autumn-themed garlands. And because acorns are naturally pretty, you won't need much else to make this seasonally appropriate fall decor piece one for the books. All it takes is a long snippet of twine and a bit of glue, plus the acorns from your backyard. However, don't be fooled by this craft's simplicity: The end result will be the cutest DIY garland you've ever seen.
With this craft project, you can decorate for fall without spending a dime — or almost, anyway. The supplies — the acorns — come from your yard or nearby park. How many you'll need is determined by how long you make the garland. Your acorn DIY additionally calls for twine. Thin twine works best for this. For a more natural look, go with plain twine. However, if you'd like to introduce some color, try a colored twine, like McFanBe Jute Twine for Arts and Crafts. You'll also need some tools. A hot glue gun and a pair of scissors ought to do it.
And finally, just a quick note about which kind of acorns to choose. If you have access to chinkapin oak or Texas red oak, use those for this DIY. They're shaped nicely and boast pretty markings. However, if they aren't available in your area, use what you have.
Making an autumn garland from acorns
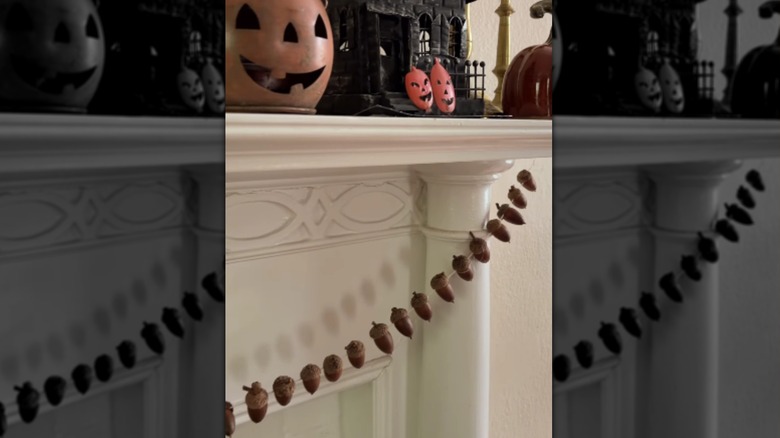
This craft requires some preparation before you put the acorns on the string. First, you'll need to wash the acorns in soapy water. Once that's done, remove the caps by pushing on the tip of the acorn with your thumbnail. Then, twist on the cap until it comes loose. Next, put the acorns sans caps in the oven at 200 degrees Fahrenheit for a couple of hours. This dehydrates them, which rids them of any worms that have taken up residence in the nut. Alternatively, it's possible to de-worm them by putting the acorns in a zip-top baggie and stashing them in the freezer for a couple of days.
After that, you'll attach the acorns to your twine. To do this, cut a length of twine. Then, put a dollop of glue in an acorn cap. Place a part of the twine in the cap. Next, push an acorn into the cap. The piece of string will be caught between the cap and the acorn, which keeps the nut attached to the twine. Continue to add acorns to the twine until the garland is filled with acorns.
If you're into minimalist holiday decor from the garden or yard, hang the garland as is. However, it's possible to embellish the acorns to make a fancier garland. For example, spray on a glossy sealant to make the nuts shinier and to ensure that your garland lasts more than one season. Or, you could paint the acorns with the hues of the season. Otherwise, try painting the nuts silver and gold to take this fall garland from so cute to totally luxe.