

No More Basic Tissue Boxes: Try This Affordable DIY Hack For Stylish Storage
We may receive a commission on purchases made from links.
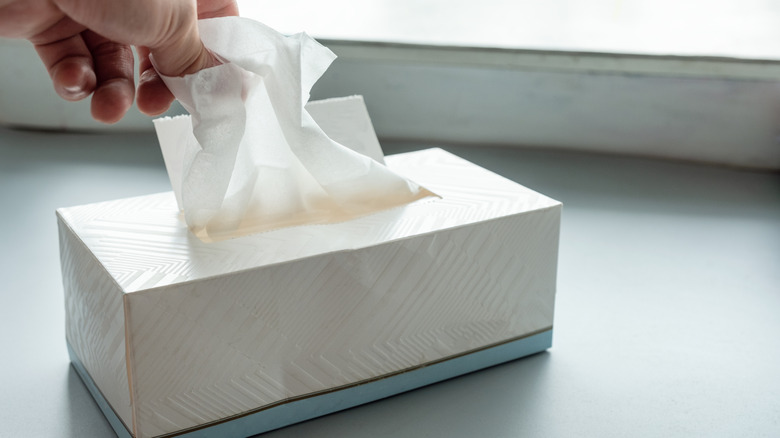
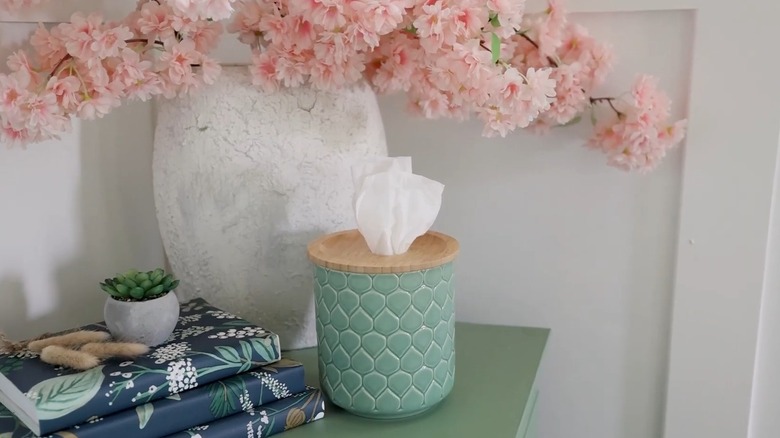
You can draw inspiration from celebs, home improvement shows, and style your house to the nines. But the basic tissue box on your coffee, bed, or side table will likely ruin every photo. Your ASMR bathroom cleaning videos wouldn't fare much better. Thinking of biting the bullet and just splurging for the expensive cover you saw on Wayfair's site? Hold on. An affordable DIY hack can take your tissue boxes from drab to fab within minutes. All you have to do is get a small planter, outfit it with a bamboo or wood lid, and create a hole in its center before decanting your tissues.
It's an economical idea because it'll be inherently cheaper to get a small planter and a matching lid than splurge on a cover or store-bought tissue box. Any regular jar with a lid, such as Kitchen Details' 1 Liter Round Glass Jar or Ansqu's Amber Glass Jar with Lid, will work as well. In case these suggestions are still too expensive for your tastes, you can try this DIY with any small canister you have at home as long as you manage to find a matching lid. And if you want something that won't cost you much but still have a rich personality, see if you can find something at your local thrift store. To complete the project, you'll need a drill with a hole saw attachment and sandpaper with a grit of about 80. And if you'd like your creative tissue box to match your home's aesthetics, keep a can of your preferred spray paint handy. As for the cardboard Kleenex box, don't throw it out; there are multiple clever ways to upcycle empty tissue boxes around the house.
How to turn a basic planter with lid into a tissue holder
If you're repurposing an old planter or canister, give it a soapy water bath and set it aside to dry. But if you bought new ones, a quick wipe down with a damp microfiber cloth should suffice. Also, remember to remove the labels if any. Now, take a pencil or marker and draw an 'X' on the center of the lid. This will help you while drilling a hole. In case you're a perfectionist, use a ruler to get the exact center.
Afterward, attach the hole saw to your drill and tighten it well. Plug it in and create a hole that has a diameter of about 1 ¼ inch. Finally, rub it down with sandpaper to smooth it out and take care of any coarse residue. Your tissue holder will be ready for use. If the end result seems too basic, spray a coat or two of paint to boost its aesthetic appeal. You can even add a pretty decal on top to give it a personalized touch. Want something a bit more unique? Stick some contact paper or glue decorative tissue paper all around the planter. A touch of liquid gold leaf, like Rub n Buff's Gold Metallic Finish, around the mouth or base will look elegant as well.
Whichever way you go, simply open up a box of Kleenex and place the pile of tissue paper inside the planter. Be careful not to disturb their formation, or you'll have difficulty plucking them out. Feed the first one through the hole in your lid before placing it snugly over your planter. Bonus tip: Ensure you hold down the lid with a few Velcro strips, or it'll keep lifting.