

Retire Your Pricey String Lights: DIY High End Lanterns With Dollar Tree Supplies
If you have old string lights that are starting to look beat up, it might be time for some upgrades. But there's no need to invest in pricey new string lights to add some ambiance to your living space. Instead, you can DIY a few high-end lanterns with supplies from Dollar Tree. It's a fun, affordable trend that'll give your lighting a much-needed upgrade. After all, lanterns are the vintage-cool way to light your home.
The idea for this brilliant lighting DIY comes from Instagrammer noragsnook. She uses small square wooden boxes from Dollar Tree to create a lantern that looks like it's come straight off the shelves of IKEA. Then she adds black and gold paint accents to the frame and places a faux candle inside. This is a cozy and affordable lighting addition to elevate a bathroom countertop, living room shelf, bedside table, or kitchen island.
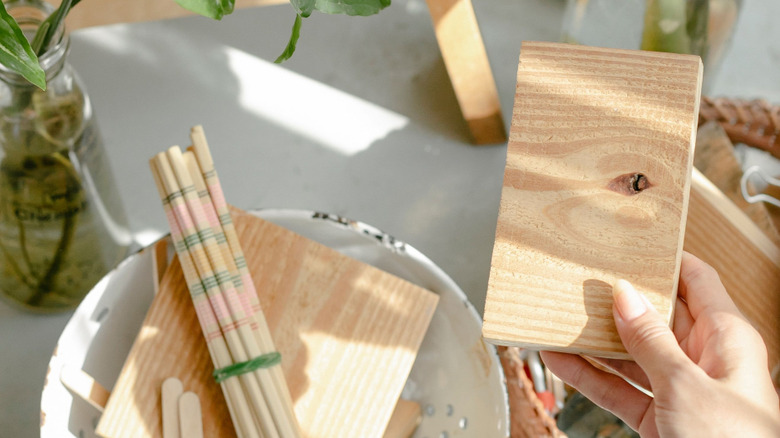
To recreate this DIY lantern, you'll need a few things from Dollar Tree. First and foremost, get a Luminessence Battery-Operated Ivory Wax LED Pillar Candle, which costs just $1.25. It might be tempting to swap this out for a real candle, but please don't. The lantern frame is made of wood, so pairing it with an open flame is a fire hazard. In addition, grab a pack of Crafters Square Wood Dowels and two packs of Crafters Square Wood Boxes in assorted sizes. You need two packs of boxes because this DIY requires two identical larger boxes and one smaller box. If you can find suitable boxes individually instead of in an assorted pack, they would work, too. In addition to all of these supplies, you'll need some spray paint in any color and some wood glue, like LePage Pro Carpenter's Glue.
How to make a lantern out of wooden boxes from Dollar Tree
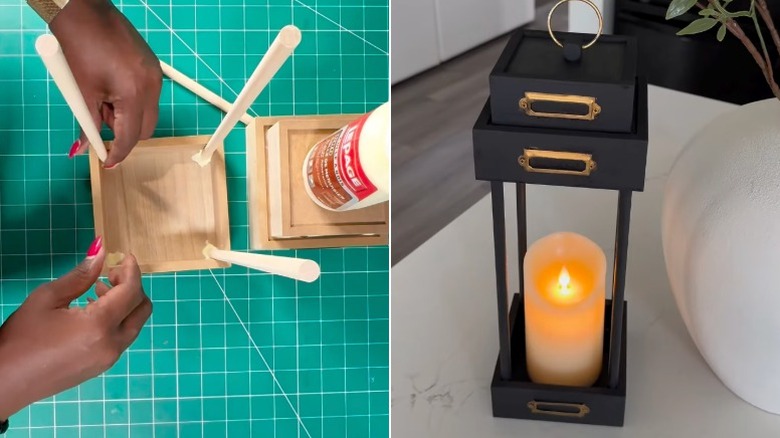
Start this DIY project by unpacking all of your supplies and removing any stickers from the wood. If you're having a hard time, the best sticker removal method for this type of material is to use a hairdryer and warm up the adhesive before peeling off the sticker. When that's done, it's time to assemble your lantern. Take one of the two larger boxes and add some wood glue to one of the inside corners. Grab one of the wooden dowels and press it into the glue, holding it in place until it can stand straight on its own. Repeat this step with the other three corners of the box, at which point you should have one box with dowels attached to all four corners. Now, add glue inside all four corners of the second matching box and slide it in place on top of the dowels.
To make your lantern more interesting, glue the smaller box to the top of the upper box. Then weigh down your newly assembled lantern with a book and leave it undisturbed for about 24 hours or until the glue has cured. The following day, paint the lantern in your preferred hue, glue a metal ring to the top, and pop an LED candle inside. You're done! Instead of paint, you could also decoupage the wood using patterned napkins or tissue paper. Another option is to create intricate designs using paint markers or fine brushes. Or, if you love sparkles, why not cover the lantern in glitter? Try Krylon Diamond Dust Glitter Blast Spray Paint. You can also stick on artificial moss, foraged twigs, or fallen leaves with Mod Podge to give your lantern an earthy look.