

Brighten Your Patio Or Garden Paths With DIY Rustic Lanterns Made From Paper Towel Rolls
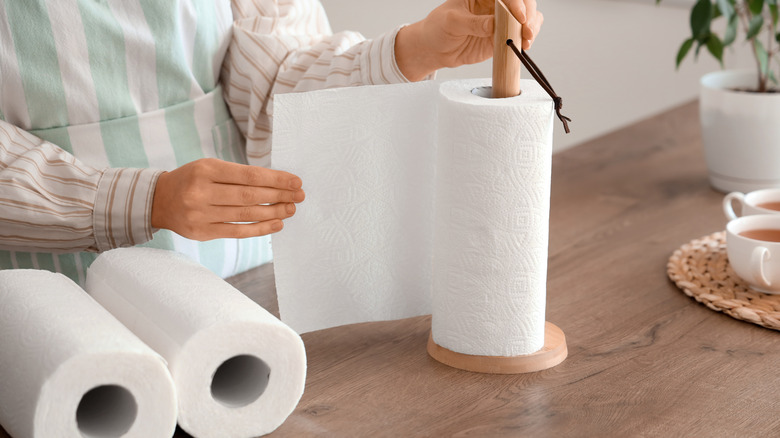
If you're looking to inject a little charm into your home on long winter evenings with something that won't break the bank, this DIY lantern hack from @nabanita_417 on Instagram could be just the ticket. The creator transforms overlooked everyday items into a rustic lantern with a ersatz-glass effect. It's made from a cardboard paper towel tube that usually gets thrown into the recycling bin. Who knew paper towel rolls were so versatile? (Well, we did, because we also know you can use old paper towel rolls to DIY a chic fluted vase for your table and make dozens of other things with them.)
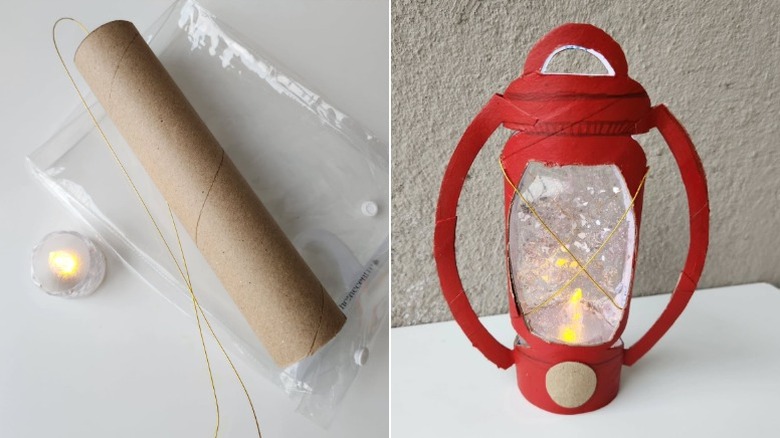
To make this lantern, you'll also need a plastic bag, some floral wire, and extra cardboard for the lantern's curved sides, top, handle, and base, along with scissors or a craft knife, glue, paint, glitter glue, and loose glitter. Then decide what you want to use for illumination inside the lantern. Safety does need some consideration, of course. Never put a real candle or an open flame inside this design, as cardboard and plastic are both flammable items that could cause danger to your home. Instead, use a small battery-operated LED tea light, LED fairy lights, or a similar product, and check them regularly for overheating. Also, if you plan to use this lantern outside, keep in mind that cardboard can soften and lose its shape when exposed to moisture, so these lanterns are best treated as temporary decorations for a dry evening rather than permanent outdoor lighting.
How to make this paper towel roll lantern
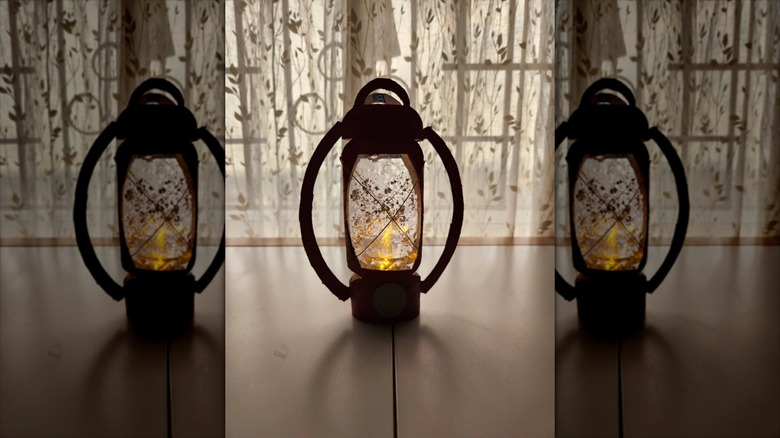
To craft this lantern for yourself, start with a long cardboard paper towel tube, which forms the frame of the lantern. Cut an opening into the front and back of the tube to create windows, then use more cardboard to make the curved sides, domed top, handle, and base of the lantern.
Cover each window with a piece of plastic cut from a soft, clear plastic bag or transparent wax paper. Cut the piece so it is a little larger than the window opening; that way you will have enough material to secure around all the edges. Pull it tight so that you don't get wrinkles (although not so tight that it tears), and attach the edges with glue. Apply some glitter glue and a little loose glitter to the plastic to give it a textured, frosted glass-like appearance. Stick to a thin, even layer so the plastic still remains translucent enough for light to shine through.
Next, wrap the lantern in thin floral wire, passing it over the glittery plastic window twice to form an X shape. Finally, paint the cardboard in your chosen color, and place the LED lighting of your choice inside.
Customize your paper towel tube lanterns for the coziest illumination
This is a beautiful craft project for a rainy day or a cozy evening in that can involve the whole family, and everyone can customize the appearance of their lanterns to their own style. For example, experiment with different paint colors for the cardboard — stick to red, like the creator, or try out matte black to make it look like an old-fashioned iron lantern. Similarly, the decorative gold floral wire can be swapped for copper for a more aged-looking finish or silver for a more modern look.
You could also experiment with the window itself by using colored translucent plastic instead of clear material to create a glow in the hue of your choice, or arrange several pieces of different colors of plastic behind the opening for a stained-glass effect. For a more elaborate design, add extra floral-wire lines across the window to create a grid rather than the simple X shape.
There is also no shortage of ways to get more creative with a bigger theme here. If you enjoy a little Moroccan-style design at home, cut stars, diamonds, and geometric shapes into the cardboard around the window to create a Moroccan-style lantern. Or for a magical fairy-garden effect, you could replace the traditional lantern top with an upside-down cardboard bowl to create a mushroom cap, which you can paint red with little cream spots.