

Stop Tossing Old Crates: The Storage Rack That's So Easy To Build
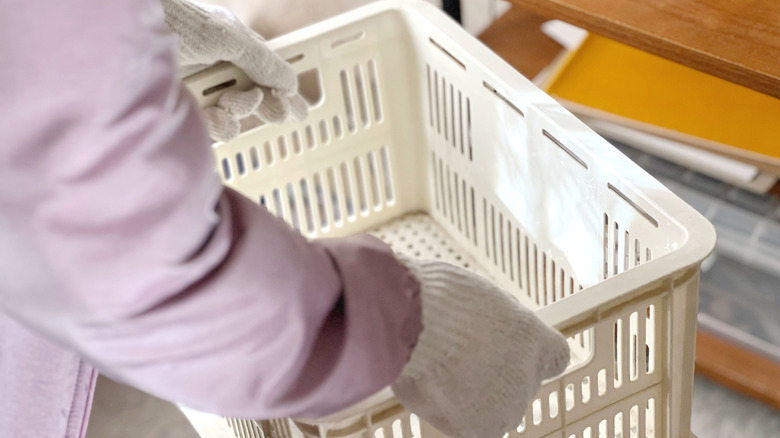
Don't get us wrong: we're huge fans of plastic crates. They can store pretty much everything under the sun, can add a playful vibe to everyday organization, and are easy to label. But when those crates start to look a little less than stellar, it feels like the only option is to put them in the trash, right? Wrong. Instead, take a page from a clever YouTuber and creatively repurpose crates in and around your home — in this case, by building a customized storage rack.
In a short YouTube tutorial, RawToReal secures two sets of 2 two-by-fours into A shapes then adds shorter pieces perpendicular to the A at the top, middle, and bottom of the A, using nails to keep them into place. They then screw the crates into the perpendicular pieces on one side, lay the second A on top, and screw into place. They then stand the final piece upright before — presumably — decorating and using it.
This simple DIY works on so many levels. One, plastic crates are already the perfect storage unit (and yes, we will die on that hill); all they need is a frame to create easy vertical storage. Two, you can use old plastic crates you already own. Three, you only need a few things to tackle this DIY: at least five 2-by-4s (cabinet grade plywood or hard maple is ideal for indoor projects or use pressure-treated lumber for outside shelving), finishing nails, and 1¼ wood screws — all of which you can get at the store for about $40. From your tool bench, you'll need a hammer, a drill, a circular or miter saw, a measuring tape, and a pencil. It should take just a weekend to complete this project.
Start your crate storage unit with the proper prep
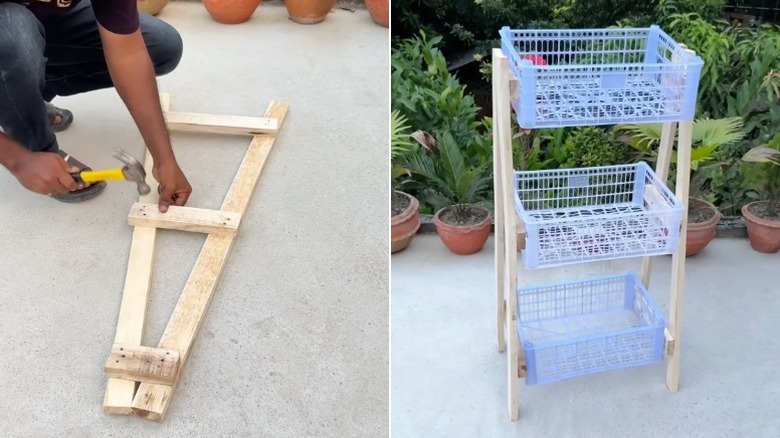
Ready to undertake this perfect hack for affordable storage in small places? Start by inspecting your crates for broken sides, then wipe them down with soapy water and let them dry. Then decide how you want your crate shelving unit to look. You could take a page from RawtoReal's book and create an A-shaped frame or go with long rectangular frames on both sides for a bookcase look. Taking a moment now to sketch out your preferred frame design and the required measurements will make the assembly process much simpler. Oh, and if you're planning on storing heavier items in your plastic crate shelves, add a bottom bar for extra support. Adding a sturdy two-by-four — or a few of them if the load is especially heavy — beneath the bottom shelf should do the trick.
Cut four of your two-by-fours to size if needed and build the two frames that will form the sides of your shelf. If you're building the A-shaped frame, make sure the frame width matches the bottom crate's length before screwing the planks into place. Cut the fifth two-by-four into horizontal struts to match the width of the crates — or the frame if you're creating an A-frame shelf — and attach them to the frame, around the base of each crate. If you're adding a bottom bar (or bars) underneath the lowest crate, screw or nail it in place now. Once one side of the frame is complete, lay it on its side, inner side facing up. Position the crates on the frame and nail them into place. Repeat with the other remaining crates. Then lay the remaining shelf frame with the outer side down on the crates and secure it in place, too. You're done!
Tips to decorate and protect your crate shelves so they last
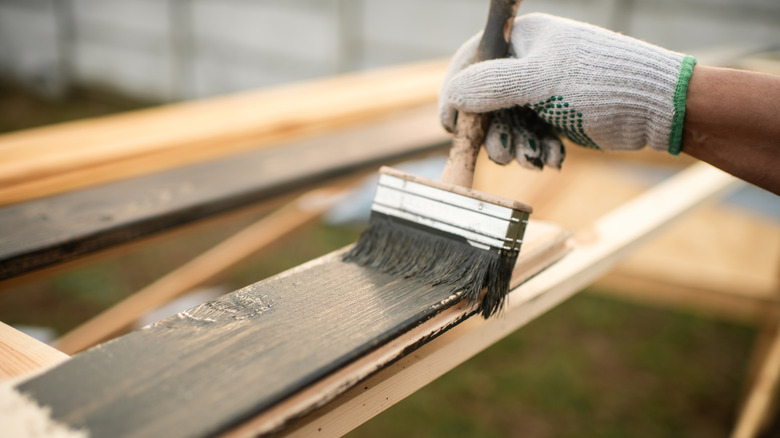
The hard work is done. Now for the fun stuff: decorating! Pull color inspiration from the room you're planning to use this shelf in, or for a more flexible piece, a neutral like white, brown, or beige will do nicely. One tried-and-true decorating method for most DIY projects is a simple coat of paint. Start by lightly sanding the crates and wood planks, then wipe away any dust. Apply a wood- and plastic-friendly primer, and let it dry for as long as the manufacturer advises.
You can spray paint the entire crate shelf after attaching the crates to the frame if you prefer. However, if you want to use a different color for the crates than for the shelf frame, it will be easier to paint the pieces separately before attaching them together. A chalk or latex paint is ideal for indoor projects. Or, if you're turning forgotten crates into rustic garden storage, use a coat of acrylic latex paint to help protect the shelf from moisture.
Rather have the wood look? Switch out the plastic crates for wooden crates, don't prime the surface, and instead add a beautiful stain to bring out the natural grain. Make sure the paint or stain has fully dried, then add a coat of sealant. The type of sealant you need depends on where your DIY shelf will live. Clear acrylic sealant is perfect for inside shelving units; clear polyurethane sealant is best for shelves that will live outside or in a spot with a lot of moisture, like the laundry room or bathroom. Let the sealant cure according to the label instructions.