

Keep Old Tuna Cans To Make High-End Tabletop Planters For Faux Plants
Of all of the items you could repurpose to make high-end art projects, tuna cans probably aren't the first thing to come to mind. However, looks (and previous contents) can be deceiving. Minus the tuna bits, these small cans make ideal beds for tiny faux plants, like miniature succulents. The trick to turning them from tuna to tasteful –- pun only slightly intended -– lies in choosing the right embellishments to dress them up. Items like artificial leather, shiny stones, and even twine can combine with your tuna cans to create luxe planters for your tabletop.
Tuna cans come in a few sizes, with 12-ounce cans being the largest typically used by people at home. If you're making a couple of these miniature planters, your display will be more eye-catching if you use tins of a couple of different sizes, so think about using cans in several sizes for this DIY. Dressing up the cans involves crafty items like twine, artificial craft leather like Sotisi Faux Leather Upholstery, cute bracelet charms, and decorative rocks. Something like Rust-Oleum Metallic Gold Spray Paint will make your finished pieces look like they've been touched by King Midas, while a couple of artificial plants, like succulents, help your tiny planters fit into all kinds of biophilic design schemes.
Once you've collected all of the DIY's dressings, it's time for you to gather some practical tools and supplies. You'll be working with some of the usual subjects, like a glue gun, a pair of scissors, and a utility knife. Finally, you'll need plaster and an empty pudding cup or something similar.
Turning your tuna cans into planters
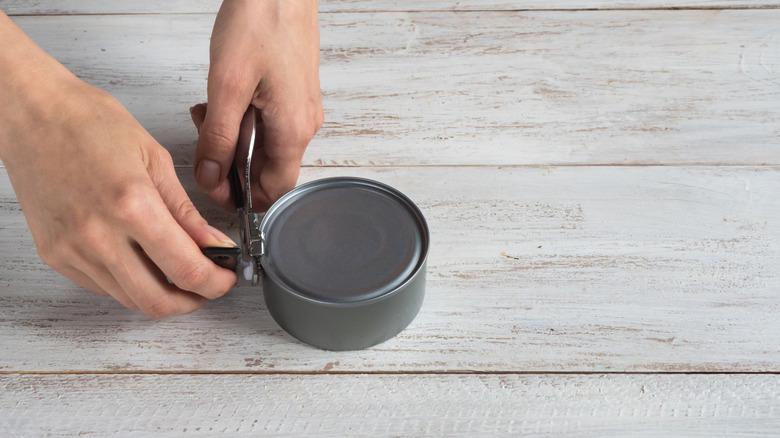
Your first step is to make the tuna can a little less fishy. Give it a good scrubbing with warm, soapy water to remove the smell. Also, remove any of the label that still clings to the outside of the can. If your can opener doesn't make smooth cuts, use pliers to push any jagged edges out of the way, and take sandpaper to any rough spots that you can rub off. This prevents you from cutting your hands as you work.
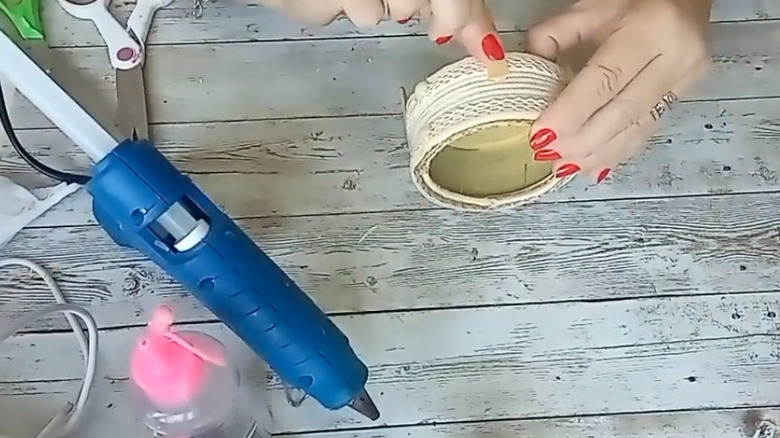
After that, dress them up. For example, glue twine to the exterior of the can, and add decorations like a label made of faux leather that you've adorned with charms. Or, try gluing some Yiszm Succulent and Cactus Pebbles to the exterior of the can: Follow that with some coats of gold spray paint to level it up. Other cool adornments include small twigs from the yard or some fancy Secmity Large Hole Wooden Beads for Crafts. Those beads could even be used to make four small feet for the can to stand on. A denim cover would be a fun embellishment, too.
Once the exteriors are done, mix up some plaster according to the instructions on the bag. Then, fill the cans with the wet plaster. Leave a little room at the top of the can. After that, press an empty pudding cup into the plaster, and allow it to dry. Next, remove the pudding cup, and scrape any rough spots on the plaster off with the utility knife. Finally, add your faux plants. Then, set up a planter display on your DIY countertop organizer, or create a focal point on a table. There are few cuter ways to bring biophilic decor design to your home.