

Turn River Rocks Into The Cutest Glittering Fairy Houses With This Paint DIY
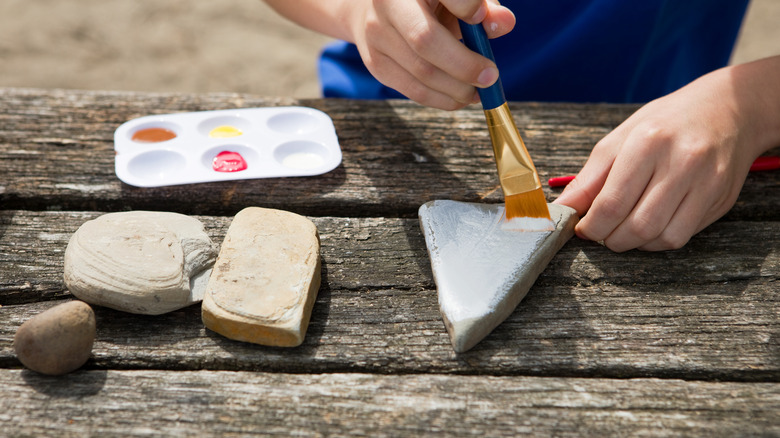
This one is for the crafters who love all things fairies and fairy dwellings. However, instead of constructing a 3D woodland retreat from twigs, moss, and glue, all you need is a properly-shaped rock and some paint. @Rachel's Rocks Canada on YouTube showed viewers how to turn unassuming river rocks into adorable glittery mushroom fairy houses with a bit of paint, artistic skill, and imagination. One person commented, "I literally want to LIVE in the purple one. Soooo pretty," and for real, who wouldn't want to?
For this paint DIY, you'll need a pencil, a ruler, and acrylic paint. This Amazon set comes with 30 12 milliliter paint tubes for under $10. You'll also need a set of paintbrushes for both detailed work and broad brush strokes. This $7.99 paint brush set by Artstorys comes with 20 brush sizes. Most importantly, you'll require one or more flat stones that have a triangular or curved top (essential for the fairy house roof). Rachel used white Santorini stones. You can substitute for basic river rocks if you don't care about having an all-white background. Sites like Etsy appear to sell large slabs, while you can get 40 pieces of white rock for less than $20 on Amazon, but each is only 2 to 3 inches in length.
Additional tools you'll need include a dotting tool or tooth picks, round sponge brushes, extra-fine nail glitter, epoxy resin, safety gloves, and a mask. Rachel used the ArtResin brand resin and hardener duo. In total, this project will cost you under $100 — and that's if you have to buy everything. However, you can make tens of glittering fairy houses with these materials.
How to transform river rocks into glittering fairy houses
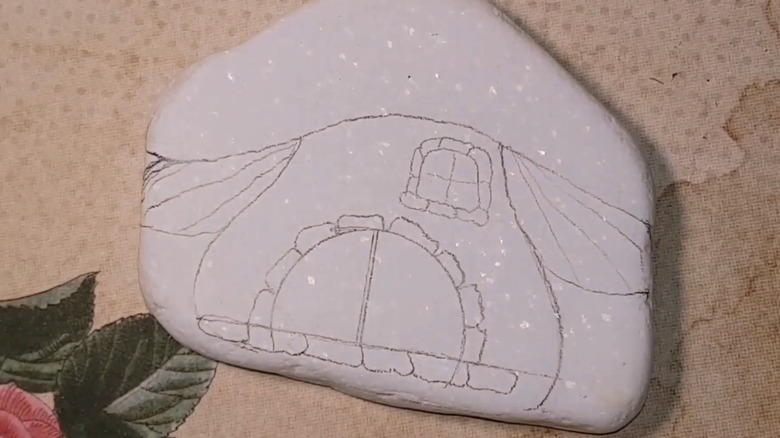
The first step to recreate this painted river rock is to make a mushroom-shaped outline on the surface using a pencil and ruler. Use a white chalk pencil like the Dritz marking pencil if you are working on a darker shade of stone. Rachel followed her pencil outline with a liner paint brush and black acrylic paint and then painted the roof with a larger, flat brush. The example color is purple but you can choose whatever color you want. As Rachel points out in the video, you might need to do multiple coats to cover the stone and achieve a strong color. To give the roof a bit more dimension, she added a lighter shade with a sponge and dabbing technique along the edge of the mushroom cap.
Let everything dry after painting the underside of the mushroom, the stem, and larger details like the door and window. Next, go back over the black outline to re-enhance sections that may have become saturated with paint. Now you can add the fun details like flowers, whimsical lighting, and any elements you envision for a fairy home. As Rachel remarked, "You can do whatever you want. That's what makes this so much fun!". Once everything is completely dry, you can coat the rock in resin to make it extra shiny. When working with resin, wear safety gloves and a mask to prevent direct contact with your skin or lungs. Allow the rock to dry for 10 hours and then decorate with it wherever your heart desires.
Tips and workarounds for adding decorative details and glitter
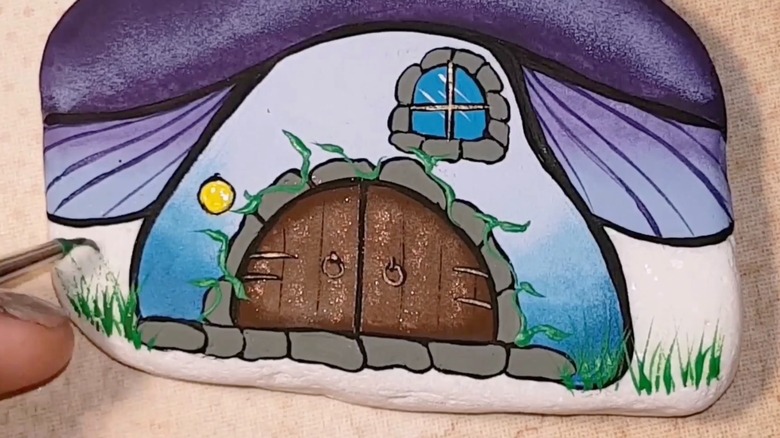
You don't have to be a skilled painter to recreate this adorable fairy house decor. You can get packs of fairy-themed stickers on Amazon for relatively cheap and use them instead of painted-on details. This enchanted forest sticker book is the perfect place to start. Just be sure to double-check the sizing of the stickers against the measurements of your river rocks. If you consider yourself paint-savvy, consider using a magnifying head-set like the dual lens magnifier by SE Store. This could help prevent eye strain while you paint things like tiny flowers, fairy miniatures, or a faux wood grain pattern for the door.
There are also a few ways to add sparkly elements to this craft. The first is to use colorful glitter to highlight specific details on and around your fairy house. The ARTISTRO glitter pens from Amazon have pointed tips that could make detail work a lot easier and less messy. Plus, you don't have to worry about getting it on your paint brushes or having to clean up spilled glitter. Rachel shared that she covered the glitter portions with a layer of Mod Podge glue before coating the rock in resin to make sure the glitter didn't spread to undesired spots.