

Don't Toss Paper Bags: The Adorable Woven Basket That's Easy To Make
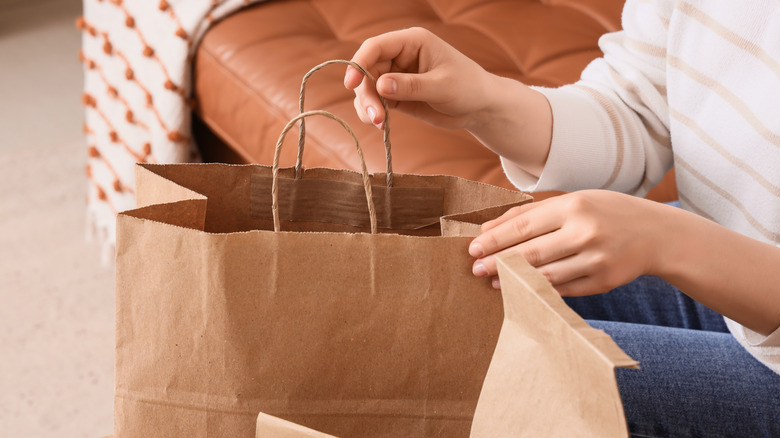
When it comes to making the most of what you have, paper bags often rise to the top of the "free materials" list. You can repurpose paper bags in many ways — brown matter for composting, lunch bags, crafting materials — and they are easy to acquire in everyday life. If you have a bit of time on your hands and want to create something from paper bags that is worth showing off, there's a viral Instagram DIY courtesy of the_masala_dani that turns plain paper bags into a gorgeous woven basket.
Individuals who hope to embark on this endeavor should be prepared to invest a considerable amount of time in crafting this basket, though the results will be well worth it. While the tutorial isn't difficult, it does require attention to detail and multiple steps, so it's best to break its construction and assembly into bite-sized steps.
Begin by taking a stack of brown paper shopping bags and cutting off the bottoms and handles until you are left with a stack of the large sides of the bag. You'll also want to save one set of handles and a single bag bottom for later. Grab a pair of scissors and a strong crafting glue and you're ready to get to work putting together the basic components of this bespoke DIY basket.
The building materials
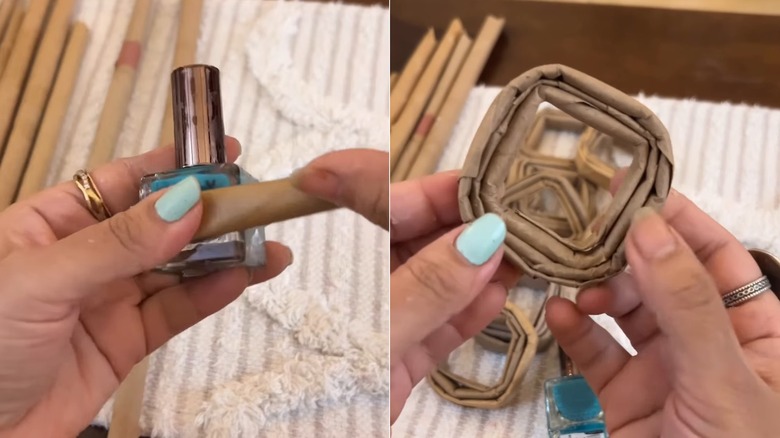
Using the large pieces of paper bags, rolls them into narrow tubes, applying a line of glue to the final few inches of bag before completing the tightly rolled paper tubes. You'll need to create nine of these components for each side of the basket — for a total of 36. Taking an object with a square form — the creator uses a nail polish bottle — you'll press the paper tubes around it multiple times, making a squared loop with a spiraled effect and a hollow center. Repeat for all 36 pieces and set them aside.
The next component you'll need to create is the connecting strips. Make them by cutting roughly 1-inch wide strips of paper bags, then folding the sides in for a neat look. Create 12 for each side plus three for each corner of the basket for a total of 60 connecting pieces.
Now that you have all of the pieces you need, it's time to build the sides. Grab three of the squared rings and two of the connecting strips, glue three of the rings in a row then tightly wrap the strips around the joints where the rings are glued, applying a bit of glue to keep them in place. After creating three rows of three rings, you'll glue them into a single panel of nine rings, using six connecting strips to hold the three rows together. Build three more sides using the exact same technique — your basket is nearly complete.
The final paper woven basket
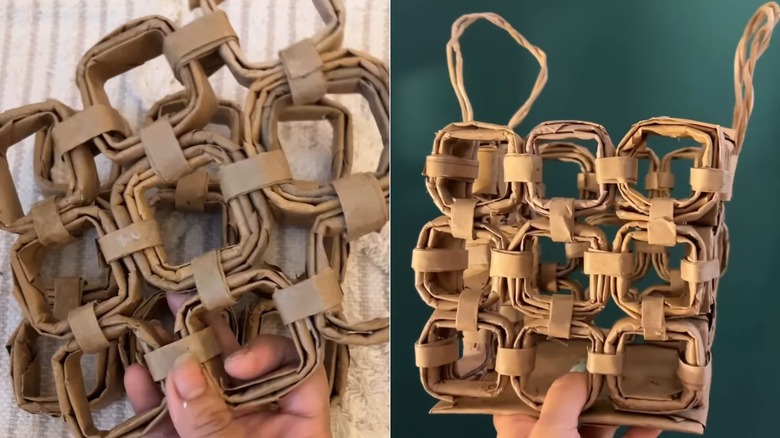
With your sides constructed, it's finally time to build out the basket. Taking two of the flat sides — each made up of nine rings that have been glued and joined together with the connecting strips — position them at a 90-degree angle to form a corner. Then take three more connecting strips to loop through the corner rings, wrap around the joints, and glue in place for a durable hold. Do this again with the other two sides, then join the right-angled corners together to reveal the body of the basket.
Now is the time to retrieve the bottom of the bag you saved from the beginning. Cut it or fold it down to make it fit neatly over the bottom of the basket's dimensions, then glue it to the base. The straps that you kept from one the bags can now be affixed to the top side of the basket so you have an easy way to carry it around.
Once complete, the final product is a far cry from its humble beginnings. Style the basket around your home to hold lightweight items — like a decorative arrangement of dried florals, but it could also make an adorable gift basket if you want to share the love. Other uses include placing it on your kitchen counter where it could serve as a stationary produce basket or using it for festive seasonal decor for Christmas or Easter.