

Use A Little Clay To Transform Broken Mugs Into The Cutest DIY Mini Planters
We may receive a commission on purchases made from links.
For green-thumbed crafters, broken mugs aren't a tragedy. They're a challenge — an opportunity to remake them into something totally cute that can house their plants. But those same DIYers would probably never subject their precious green babies to broken cups as is. Oh, no. First, the mugs would be gussied up with paint to give them their own movie-star-like faces, complete with batting eyelashes and big, smiling lips. Details like clay limbs and a swing to sit on complete the mugs' metamorphosis, turning them from ordinary made-over dishes sporting a cheesy grin into whimsical, character-filled plant holders. You're sure to smile every time you pass by one.
The face you paint on matters most when you upcycle extra coffee mugs into adorable decor with this easy DIY. It adds an element of personification to the plant holder. Ditto for the clay arms and legs. As such, it's ideal if the mug used for this DIY is rotund. Additionally, it's a good idea to keep the size in mind when selecting a mug for this craft — the bigger the mug, the better to showcase the added details. You'll also need some air-dry clay, like PicoDIY Air Hardening Modeling Clay, as well as some twine and a plastic takeout container lid. The lid should be wider than the mug. Transforming your mug into a quirky cartoon character also requires acrylic paint, paintbrushes, and 100-grit sandpaper. You'll also need some wooden dowels and craft glue. Finally, to create this unique statement decor piece from a broken coffee mug, get a soldering gun and possibly a dremel tool.
Turn a mug into an adorable hanging planter using air-dry clay
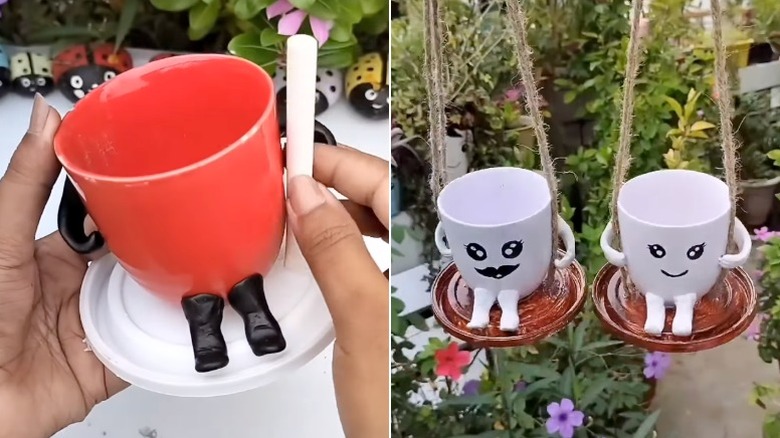
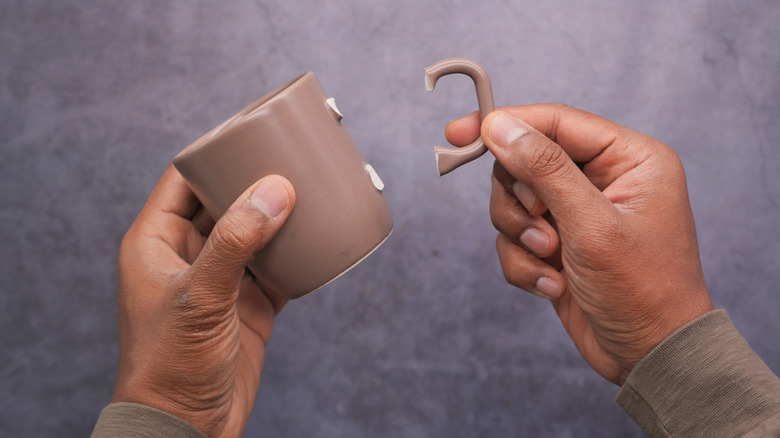
First, prepare your mug for adornment. If it still has a handle, carefully remove it using a hammer and chisel. Don eye protection and cover your work surface in newsprint before striking the handle off at the joints. Sand down the nubs of the broken handle using sandpaper or a dremel tool. Next, lightly sand the entire mug. Since it's most likely glazed, sanding the glossy surface helps the clay and paint adhere. After that, sculpt arms and legs for your little mug person out of air-dry clay, looping the arms around the dowels. Glue the arms and legs to the mug once they're dry. Next, glue the mug to the plastic takeout container lid. A note: These lids work well for this DIY, but they're less sturdy than an orphan Rubbermaid lid. If you have one, use it instead.
Paint the mug and swing with white paint, ideally a paint-and-primer product. Paint a characterful face onto the mug, and paint the lid brown to resemble a wooden swing. Then pierce four holes into the lid with a soldering gun — two holes on each side of the mug's arms, near the center of the lid. Cut a long piece of twine and thread it through one of the arms, then down through the hole in the lid just below. Loop the twine back up through the other hole, bringing the second length up behind the same arm. Repeat this process on the other side of the lid. This step keeps the mug upright as it hangs, thanks to the twine being positioned in front of and behind each arm. Tie the ends of the twine together at the top and hang your adorable new planter from a hanger outdoors.
What to keep in mind when transforming a broken mug into a planter
You can definitely hang these planters outside, but if you decide to go that route, you'll want to keep some things in mind when you're making them. Over time, air-dry clay often doesn't respond well to the elements, especially rain. Air-dry clay can soften or crumble if it's exposed to water, even if the clay itself is fully cured. The acrylic paint you added to the mug planters may help preserve the material by sealing the clay, as long as it has been applied thoroughly. You may need to apply a couple of coats. If you're feeling extra cautious, it's also possible to make a sealant out of PVA glue. Mix the glue with water using an 80:20 ratio and apply it all over your mug-turned-quirky-planter.
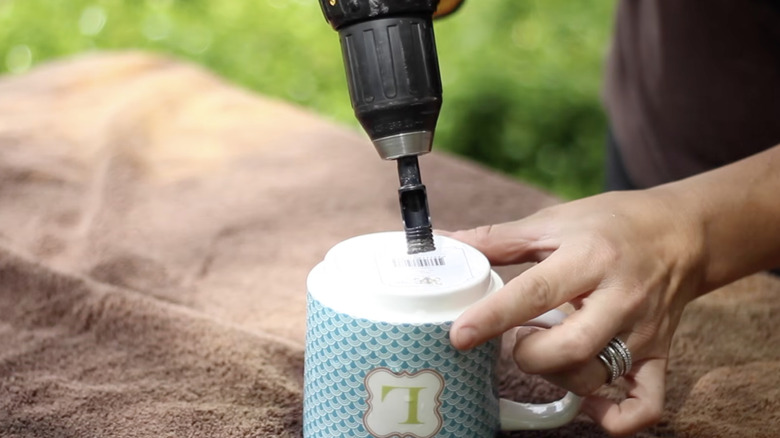
Another thing to be aware of: If you put your old coffee mugs to work as planters, some plants may thrive inside without drainage holes, but many more will not. Unless you have drilled a hole into the base of the mug, water will pool inside your new plant holders. Want to add a drainage hole? Before you sand the mug, turn it upside down and tape an X over the base. Then drill a hole through the tape, which helps keep the ceramic walls from cracking or shattering. If you decide to add a drainage hole to the mug, you'll also need to use the soldering gun to melt a hole in the same spot in the plastic lid-turned-swing-seat to ensure water can drain out.