The Biggest Mistakes You're Making When Removing Wallpaper
Wallpaper is one of those home improvement trends that comes and goes, then comes back in style, just to go out again — which is a whole lot of hassle for something that's so difficult to apply and remove, if you ask us. Maybe you're scraping yellowed vintage wallpaper from the dining room walls of your new fixer-upper or perhaps you're swapping out the peel 'n' stick palm-leaf pattern in your bedroom that's just not your vibe anymore. Either way, it's bound to be a timely process — and probably a painful one, at that.
However, when it comes to removing wallpaper, there's a right way and a very wrong way to do it. So, before you break out the scraper and go to town on your wallpapered walls, take note of the most common wallpaper removal mistakes. You'll save a bit of your sanity — and a whole lot of your drywall.
Don't forget to make a plan
Many DIY projects begin with a spur-of-the-moment decision to redo an entire room. Before you find yourself in over your head when removing wallpaper — with your floors covered in glue and your walls damaged — set a game plan, and do the proper prep work.
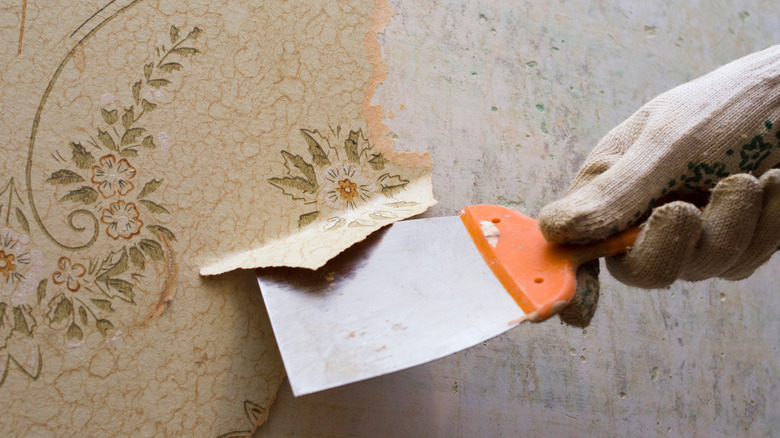
The Restful Home suggests starting with a test section of wallpaper before you move on to the rest of the room. This is an easy way to gauge the kind of wallpaper you're dealing with. For example, if it's older, you may not need to score it, which could save you an extra step. Try to remove the paper with some warm water and an old rag or scraper. If you're lucky, the paper will start to peel off without any added stripping agent. If the paper is stubborn, slowly start introducing more aggressive options, like heavy-duty chemicals. See if you can achieve more with less first so that you don't cause any unnecessary damage.
The same applies to preparing for the inevitable mess. If you have old hardwood or new laminate floors that you want to protect, be sure to put down a drop cloth or a layer of newspapers. Try to move all furniture to another room, too. Love Remodeled warns that, while it's easy to sweep up and toss the wallpaper scraps, the glue might stick to your floors or furniture and cost a little bit of extra labor.
Don't use fabric softener
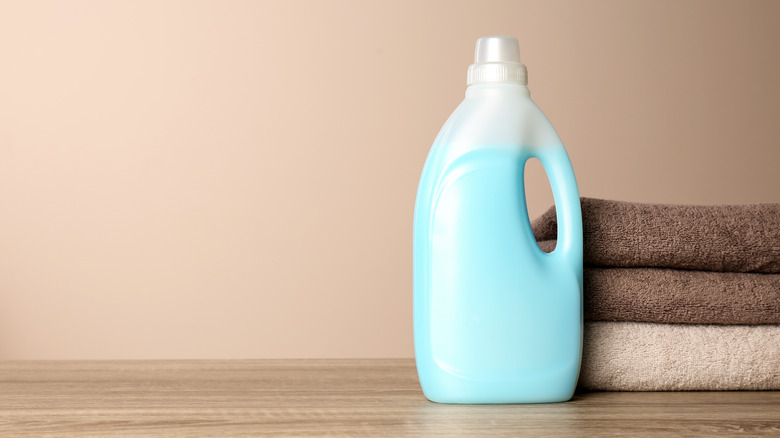
When doing your wallpaper-removal research, you may come across this hack: Fabric softener, when mixed with a little bit of water, eats away at old wallpaper. However, while there are plenty of helpful home hacks out there — like using fabric softener sheets to tidy up your baseboards — this is simply not one of them.
According to HouseLogic, the fabric softener shortcut is an urban legend. In reality, the addition of the cleaner makes for a messier and stickier job, ultimately complicating an already frustrating process. Plus, added chemicals might cause further damage to your drywall. Considering that the final goal of removing wallpaper is to have flawless and fresh walls, we'd advise against this hack. Leave the softener in the laundry room, and stick with professional advice: Start with warm water only, and work your way up to wallpaper-specific stripping agents from there (and only when necessary).
Don't settle for just any scraper
Most people grab a single large scraper from their workbench and think that's sufficient to get the job done. After all, wallpaper removal is just demolition, right? While that's true, it's a tedious and delicate process that you want to make as easy and efficient as possible. That means choosing the right scraper for you and your room.
Christina Maria stresses the importance of finding a tool that's comfortable to work with since the task of removing wallpaper can be repetitive and cause a bit of soreness in your hands, wrists, and arms over time. The Restful Home shares a similar tip, suggesting that you grab a few different sizes of scrapers in case you run into problem areas, like uneven ceilings or lots of nooks and crannies. Otherwise, you might end up using a too-big tool for a small corner and carve an accidental hole in your drywall.
You don't have to splurge on tools, but don't accept any old scraper you have laying around, either. If you're struggling to remove the wallpaper, you're likely to leave behind a good bit of residue, and that could show in your final result.
Don't set unrealistic expectations
It's easy to get ahead of yourself with any big project. But, even if you set a goal for your wallpaper removal job (e.g., "I'm going to finish this room by the end of the night!"), be prepared to adjust along the way. And work smarter, not harder.
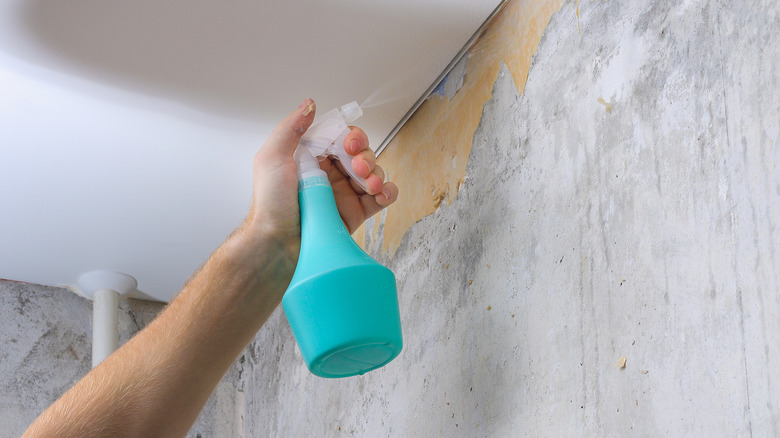
The Restful Home warns against wetting all of your walls at once, especially if you're using a chemical agent to break down some of that old glue. This will only cause more problems for your project. You'll be leaving a chemical sitting on your drywall for far longer than it should, which could cause some damage to the surface, and it'll make it difficult to start scraping once some areas have dried a bit. Christina Maria also recommends working from top to bottom, since the water will slowly seep down and keep the surface below relatively wet.
Chris Perry, the owner of B&K Painting, explained to HouseLogic how wallpaper reacts when wet. He says that, since wallpaper glue is water-based, it breaks down when wet. His company even prefers using water over a chemical agent since it's foolproof and safe. The only catch? Work in small segments at a time; the second a section is dry, you'll be back to square one.
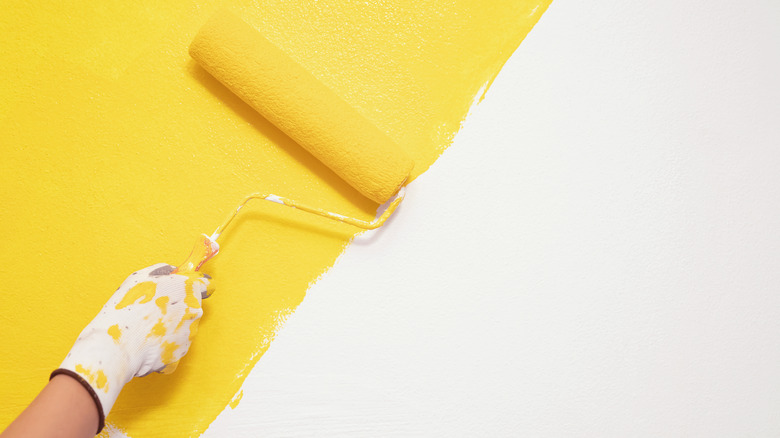
Don't forget to prep before you paint
Congratulations, you made it! You've removed every last bit of wallpaper and glue, your knuckles are aching, and you may or may not have listened to the same playlist on repeat for the last few hours. But you're done.
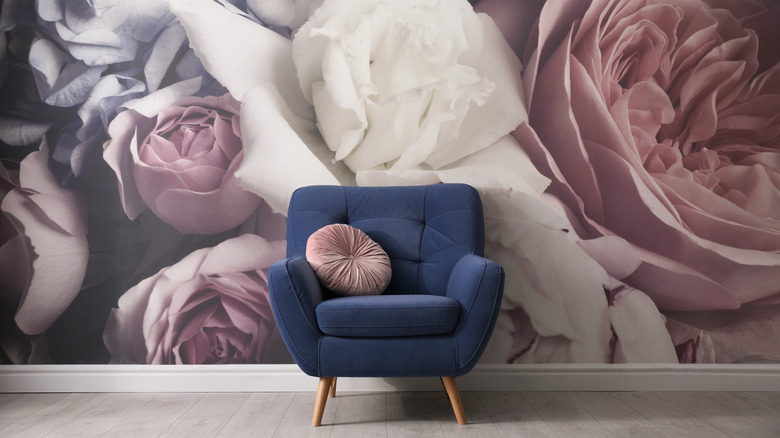
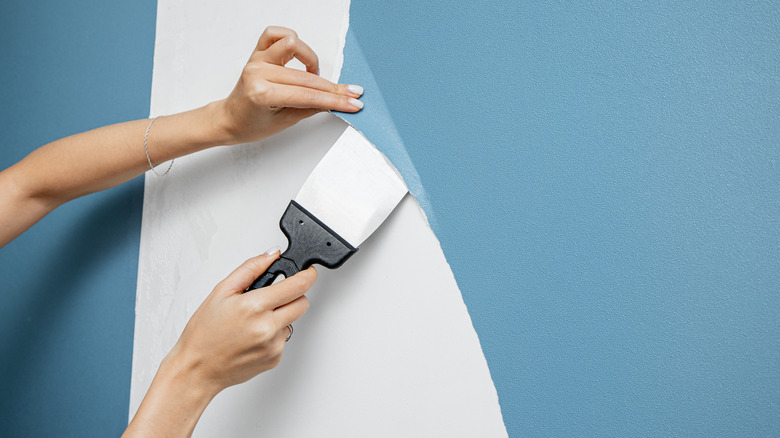
This is when one of the biggest wallpaper mistakes occurs. The truth is, you really aren't done — at least not yet. Before you break out the paint to redo your now-wallpaper-free room, make absolutely certain that the removal process is done. If there's any remaining residue on the wall, that texture will come through in your paint job. This is also the time to repair any tiny scratches, gouges, or divots in the drywall or primer, says Love Remodeled. You've come this far. Why take shortcuts now?
Lowe's suggests mixing warm water and dish soap to wipe down the walls, which should take care of anything that was left behind. If that doesn't do the trick, the company recommends breaking out the wallpaper stripper. Follow the directions on the bottle, and let it sit for about 20 minutes. Then, finally, wipe away the last of your wallpaper woes.