8 Easiest Ways To Clean Hardwood Floors
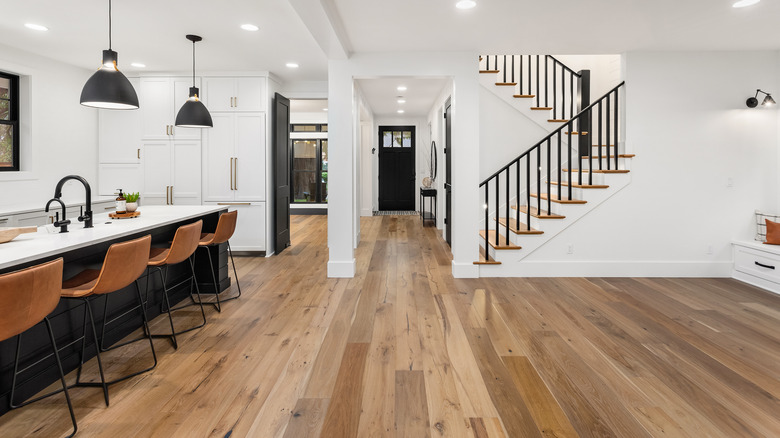
Hardwood is a timeless flooring material found in many homes today, per Home Advisor. Whether your hardwood floors are engineered, reclaimed, or solid, keeping them looking clean and beautiful shouldn't be a problem. All you need is a regular cleaning routine and a few tricks up your sleeve for taking care of those occasional spills and stains. If you set aside a mere 15 minutes per day for surface maintenance, your floors will only require occasional deep cleanings that won't take up too much time. And the bonus: The more frequently you clean your hardwood floors, the longer they'll last.
While cleaning hardwood floors shouldn't be too much of a headache, there are a few tools you'll need. For starters, your household vacuum will be your number one tool when taking care of your floors. You'll also want to invest in a dry mop if you don't have one already. The cleaning product you use to wash your floors will depend on the finish of your hardwood, but as a general rule, you don't want to use anything too harsh. You can't go wrong with a gentle, homemade cleaning solution, such as soap and water. For surface scratches, look into purchasing a wood furniture touch-up kit as you can also apply this to your floors. Finally, to avoid having to sand the surface of your floors, you'll need a recoating product that's designed to protect your hardwood floors.
Keep reading for some tips on how to clean your hardwood floors!
1. Daily cleanings with a broom or dust mop
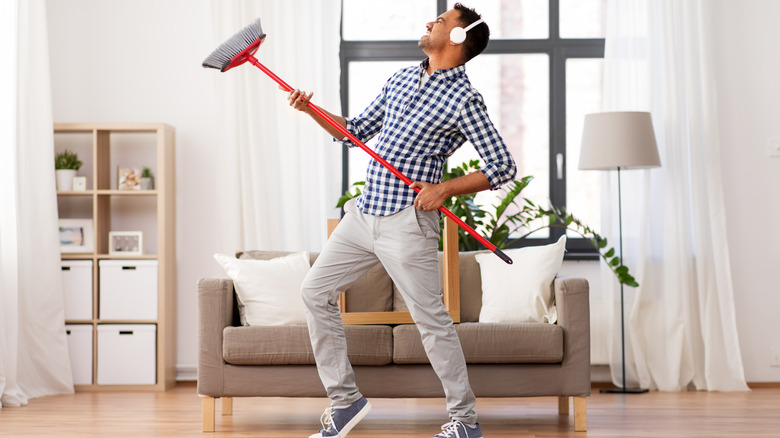
While there is no problem in going a few days in between cleanings, it's always a good idea to give your hardwood floors a quick sweep or dusting on a daily basis. Not only does this go a long way in keeping your floors looking nice, it also prevents the build-up of dirt and grime, which can become a fall hazard over time as your floors become slippery. The best ways to remove the grit that accumulates on your floors over the course of any given day is with a simple broom or dust mop, explains Better Homes & Gardens. A dust mop, also known as a dry mop, typically features a long handle and a mop head in various sizes that's comprised of microfiber materials designed to pull in and hold dust and other small particles (via The Spruce). Mop heads can either be thrown into the washer for cleaning or disposed of in the case of disposable electrostatic cloths.
Whether you choose a broom or a dust mop, the method for cleaning your hardwood floors is the same. You'll want to first remove any obstacles that could hinder the movement of the broom or mop. Then, work in an even pattern, making straight movements across the room. Slightly overlap each pass and push accumulated debris in front of the broom or mop as you work. Finally, toss the pile of debris and you're done!
2. Vacuum hardwood floors
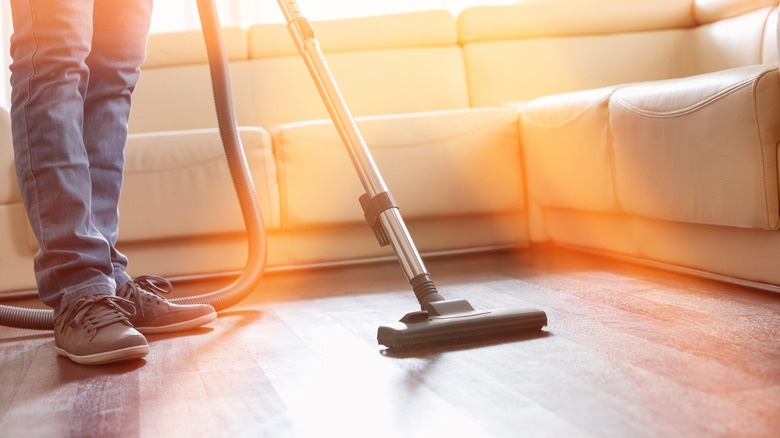
For a more thorough cleaning of your hardwood floors, you'll want to drag out the vacuum at least once a week. This is the best way to remove dirt and debris from the small crevices found in hardwood flooring, as per Good Housekeeping. Brett Miller, vice president of technical standards, training, and certification at the National Wood Flooring Association, explains why vacuuming on a regular basis is key for the longevity of your hardwood floors to Architectural Digest. "Keeping debris off the floor is key," he shares. "If there's a piece of debris on a wood floor and you walk across, it's like sandpaper on the bottom of your shoe. It can ruin or scratch that surface."
A canister vacuum is the ideal choice as opposed to an upright vacuum as it comes with detachable brushes. When cleaning hardwood floors, you'll want to use the long, oval floor brush, which is great for reaching smaller spaces and won't scratch your floors. If you only have access to an upright vacuum, just make sure to turn off the rotating brush to avoid surface scratches while cleaning your floors. You'll want to choose the strongest suction setting possible on your vacuum to suck up the smaller particles hiding in the cracks and crevices.
3. Mop hardwood floors
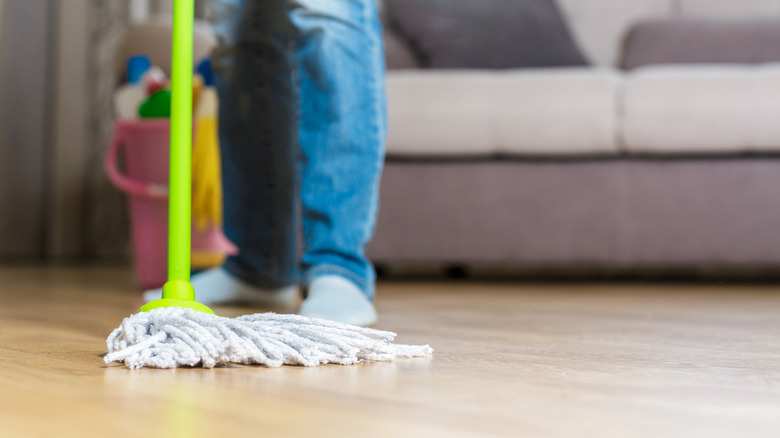
Sometimes dusting and vacuuming doesn't remove all the dirt, grime, and oil that builds up on your hardwood floors over time. You will occasionally need to wet mop your floors to deep clean them — about once a month, as per Today. Remember that you should never use a soaking wet mop on hardwood floors as water can destroy the wood and cause it to buckle. A damp spin mop will do the trick without allowing puddles of water to sit on the floors for an extended period of time.
When it comes to which wood-cleaning product to use on your floors, you'll want to consult the manufacturer of the floor finisher used on your hardwood. If you can't find the product recommended by the manufacturer or if it isn't in your budget, a bit of soap and water is all you need. In this case, just mix a quarter cup of a pH-neutral, mild soap with a bucket of water. Mop your floors in small areas to start and go over wet spots with a dry towel as you work.
Natalie Wise, author of "The Natural Home: Tips for Cleaning with Natural Ingredients," spoke with Today about how to properly mop hardwood floors. She recommends not using a vinegar-and-water or lemon juice solution to clean hardwood floors, even though this solution is often recommended. "These can damage the floor's seal," she says.
4. Remove surface stains
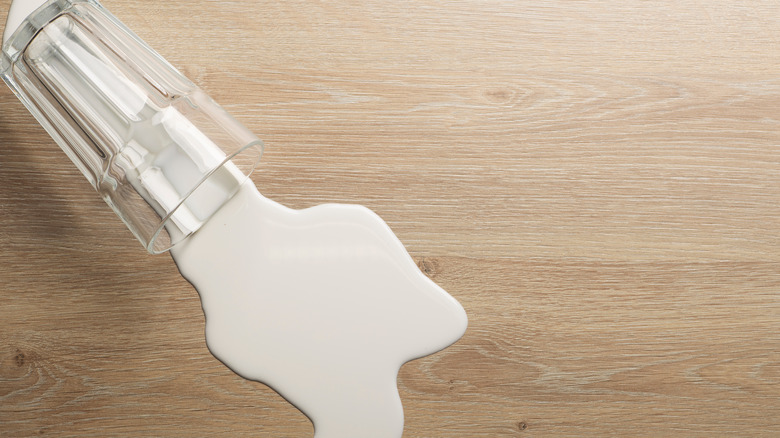
You should always prevent stains from settling into your hardwood floors by immediately wiping up spills as they happen. However, if you already have a set-in stain, you'll want to first figure out your floor's finish before attempting to remove it, advises Better Homes & Gardens. Hard finishes will normally prevent stains from soaking through the wood; however, soft oiled finishes, which are typically present in unfinished floors, allow liquids to penetrate the surface. Hard finishes will only require a clean cloth to wipe away stains.
In the case of a soft oiled finish, the treatment you use will depend on the type of stain. For dark stains and spots caused by pets (such as urine or feces), treat the area with No. 000 steel wool and floor wax. Adding a bit of bleach or vinegar will also go a long way in tackling dark spots. Remove the product with a slightly moist cloth after about an hour.
Oil-based stains can be treated with a cloth and dish detergent, then wiped away with plain water. For watermarks and white stains, bring out the No. 000 steel wool and floor wax again. For deep stains, you'll need to sand the floor and treat it with mineral spirits followed by fine steel wool. With all the above treatments, you will likely need to re-stain the wood where you treated the spot and then wax and buff the area to disguise the treatment.
5. Touch up surface scratches
As much as we may try to prevent superficial scratches (only affecting the finish of the flooring), they can still happen, especially if we have pets. Surface scratches are easily treated with apple cider vinegar and olive oil, which only cost a few dollars to purchase, according to Jabara's Flooring. The way you'll use them to treat your hardwood floor is simple: just mix, apply, and wipe away a few hours later!
If this doesn't completely remove the scratches, don't fret as there are additional steps you can take to mend your floors. First, track down some hardwood floor cleaner and gently clean the affected area to remove debris. Follow up with a plain water rinse and then dry with a clean rag or towel. This next part involves wedging a bit of furniture or floor wax into any visible scratches that weren't removed with the apple cider vinegar and olive oil. A putty knife is an additional tool that can help you guide the wax into the rivets on the wood. After the wax is worked into the scratches, get rid of any excess and then buff the area to make it appear smooth and glossy again.
A stain marker from a furniture touch-up kit is another option for treating superficial scratches in your hardwood flooring. The marker contains a small dose of an oil-based wood finish that is perfect for filling in small dings and scratches and keeping your floors in tip top shape.
6. Recoat hardwood floors
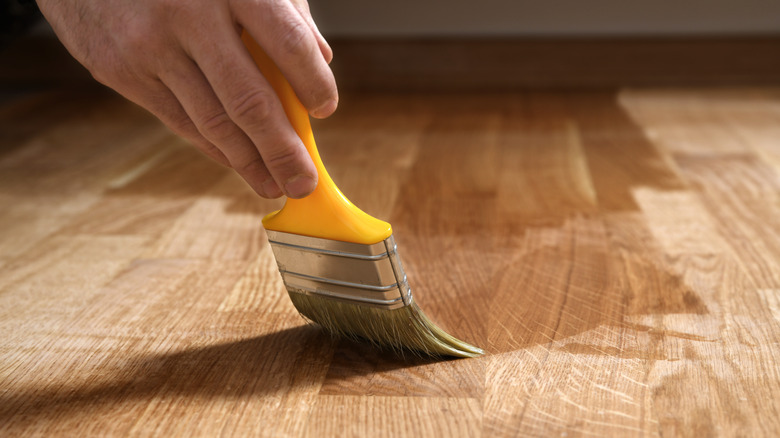
Hardwood floors are known for their durability, meaning they can take a lot of wear with minimal damage. Every once in awhile, however, wood floors can start to look dull and scratched up, so you'll want to apply a recoating to make them look as good as new. Mark Whatley, who works with Amber Flooring, spoke with Architectural Digest about recoating hardwood floors. "A recoat ... is actually applying another coat of finish to the top of the floors to bring back the luster ... of that finish, so you don't have to go through the sanding process," he explains.
You may be thrilled to learn that recoating doesn't require sanding, making your job easier and less costly. In fact, all you need is to add a new coat of finish to your floors after buffing them to smooth rough spots, then clean them to remove all debris and dirt, as per Build Direct. Keep in mind that before recoating, you need to determine which type of finish you're working with. If your flooring has a wax finish, you will need to remove it first before recoating. To apply the finish, use a long-handled foam or lamb's wool applicator and work in the direction of the grain of the wood. Keep the room well-ventilated as you work. Recoating can be done whenever your floors start to lose their sheen but experts recommend recoating every three to five years, according to Omaha Floors.
7. Refinish hardwood floors
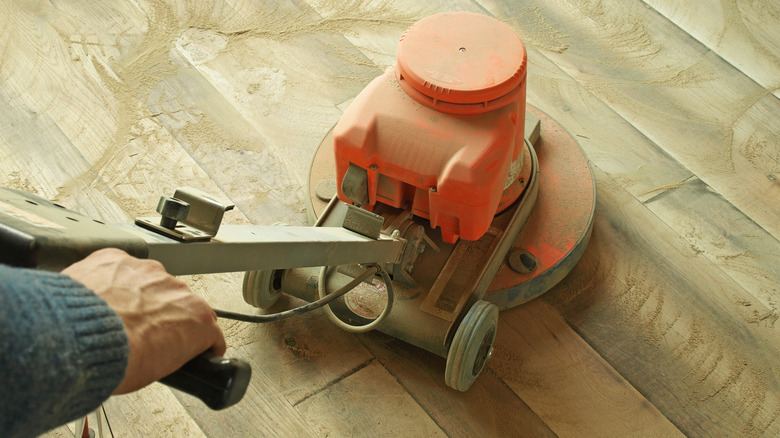
Sometimes a simple recoat isn't enough to get the scratches and deeper damage out of your hardwood floors. Over time, hardwood floors stand up to plenty of wear and tear and while they typically last longer than you might think, they can require a refinishing every five to ten years or so. If you're looking to avoid paying a flooring contractor, rest assured as it is possible to go the DIY route, according to Home Depot. A refinish requires you to completely move anything blocking the surface of your floors into another room, including rugs and furniture, as you'll be working over the entire space. If you have shoe base moulding along the base of the walls, pull this up as well so you don't miss those edges. A quick run of the vacuum and mop will ensure the floors are clean enough to work with before you get to the task at hand.
You'll need a drum or belt sander to eliminate the scratches from your floors. Remember to go with the grain of the wood as you sand. When you're done sanding, take an edger sander to those hard-to-reach corners and edges. Then go over the floor with a floor buffer that includes a fine-grit screening pad to smooth over any leftover uneven areas. Once you've gotten rid of any debris with a vacuum, go ahead and give the floor a coat of wood stain. The wood finish will be the last step.
8. Protect hardwood floors
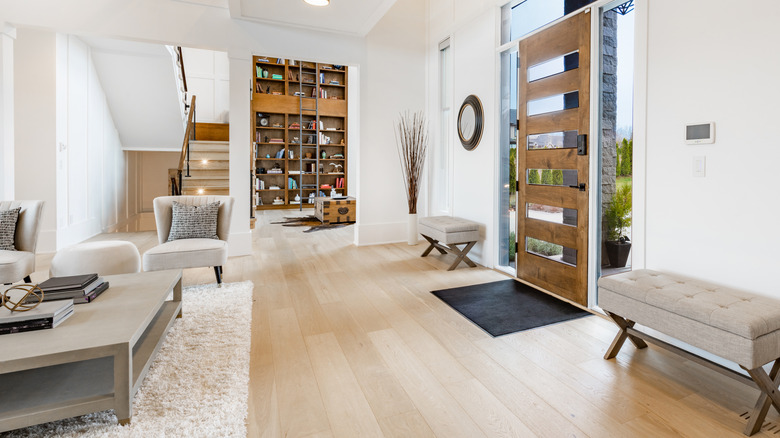
When it comes to extending the longevity of your hardwood floors, protection is key. There are ways you can prevent scratches, wear and tear, and dirt and debris accumulation that will ensure you get the most out of your hardwood floors — and reduce the costs of having to carry out deep repairs. For starters, spread doormats and rugs at all entrances to your house and encourage family members to wipe their feet before entering, advises This Old House. In addition to preventing dirt from making its way into the living areas of the house, doormats also catch small pebbles and debris that can leave scratches. You can also tell anyone entering your house that you live in a "shoe-free" home to further protect your floors. Purchase a cute shoe rack or basket to set up near entrances that will serve as a visual reminder for people to remove their shoes.
Since high-traffic areas often mean more damage on your floors, consider placing area rugs in these sections of your house. Other ways you can protect your hardwood floors are by using furniture sliders when moving furniture around and placing furniture pads and felt floor protectors underneath legs and heavy pieces of furniture to avoid dents and scratches. Finally, make sure you are always clean up spills as soon as they happen to prevent stains and water damage.