8 Easiest Ways To Clean Your Interior Walls
While you may have your cleaning schedule down, there's one thing that can make your home look a little worn: dirty walls. Whether you have painted, paneled, or wallpapered interior walls, it can be difficult to know how to give walls a thorough cleaning without ruining them. Additionally, cleaning your interior walls may sound like a big job, but fear not, says cleaning expert Melissa Maker from Clean My Space. "If you're going to clean your walls, you should maybe clean them once or twice a year, thoroughly during spring cleaning," she told Real Homes. "Or, if you're preparing to paint your walls, that's the other time you want to clean them thoroughly. Otherwise, you're going to be focusing on spot cleaning."
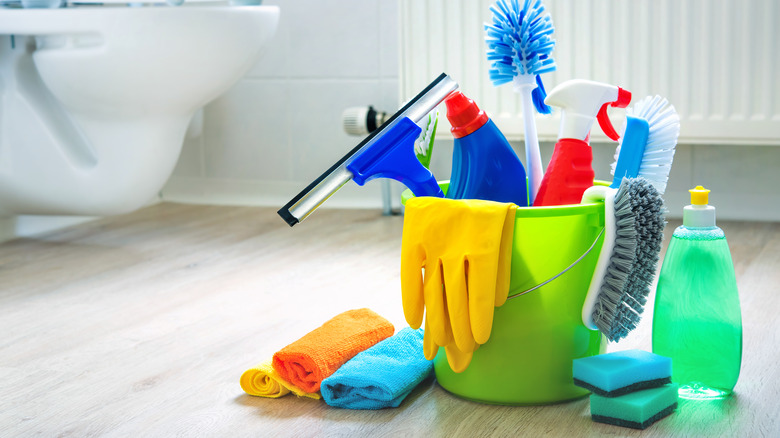
Additionally, Cleaning entrepreneur Sabrina Fierman explained to Architectural Digest the importance of having the right tool for the job. "Cleaning the walls can be a delicate process, and what you use is dependent on what the wall treatment can hold up to and resist," she revealed. Indeed, knowing your approach and doing a small tester before you clean your walls can save you a tidy-up job. Fortunately, it's unlikely that you'll have to buy any specialist equipment. So, here are eight of the easiest ways to clean your interior walls.
1. Furniture polish and duster
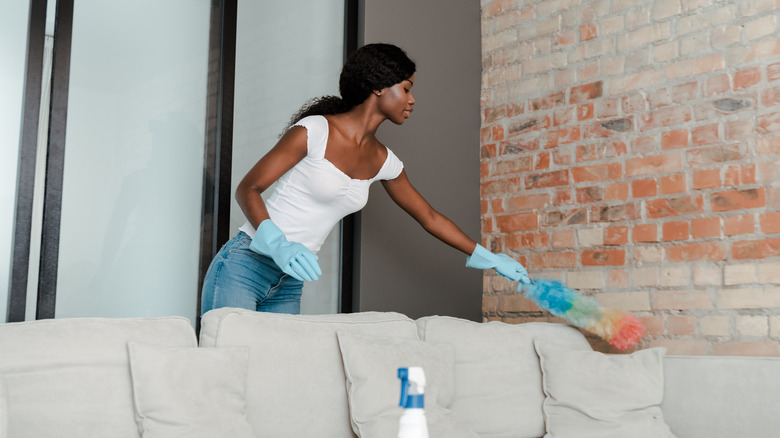
Before you fill your buckets with cleaning products and water, consider the type of dirt that's on your walls; is it mud or outside filth? Is it dust? Is it grease? If you notice that a lot of it is grime that wipes off easily, then all you may need is polish and a duster.
Real Homes explains that before any cleaning job you should always polish your walls; this will get rid of any excess dust before doing a deeper clean. The polish will remove surface grime, and you may notice that after an initial wipe down that your interior walls are already looking a lot better. Additionally, Home Made Simple explains that it doesn't matter what sort of walls you have (painted or paper), dusting and polishing shouldn't damage them. However, before you finish you should ensure that you've gotten rid of any residue or dampness.
2. Sponge and soap
If you've dusted your walls and notice some dirt or pollution stains that are a little bit more difficult to budge, then Dulux recommends that you wash your walls with warm, soapy water. Use your mildest cleaning detergent or soap and the mixture shouldn't be harsh, or you'll risk damaging the walls.
Architectural Digest writes that you should soak a soft sponge in the cleaning solution before you squeeze it out to get rid of excess water. Then test a small patch of wall that isn't in direct eyesight. If the solution reacts badly with the paper or paint you don't want it to be obvious.
Once you're sure it's safe to get started, start at the top of the wall with a sponge that's damp but not soaking wet. Run it along the wall in circular motions; work across the wall and then down. This should give you the maximum time for the wall to dry and you should be able to see the spots that you've missed.
3. Cleaning wipes
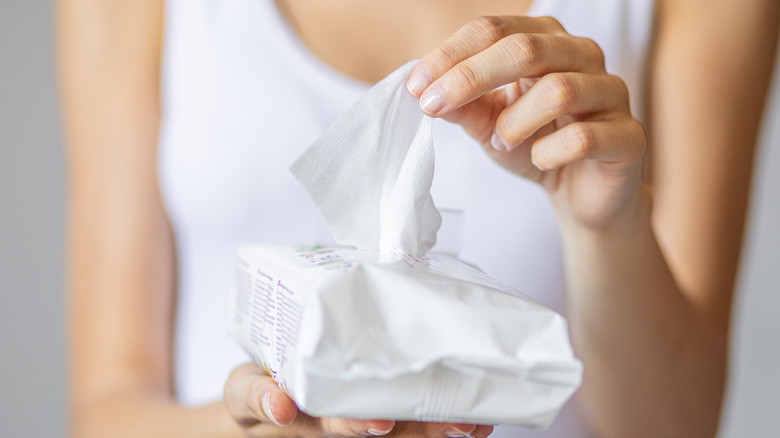
If you're tending to hard to budge stains and have tried washing over your walls with mild soap and a cloth, you could try using disinfectant wipes on your walls. Wipes are effective on concentrated stains as they allow you to scrub at them without adding lots of moisture to your wall.
Real Homes explains that makeup removal wipes and baby wipes can also be used to try and get rid of marks on your wall, as long as you ensure that they're not heavily scented and that they're recyclable. However, washing your entire wall with cleaning wipes isn't sustainable or time-effective, but if you only have small areas to focus on then they could be a really accessible remedy. Additionally, The Thrifty Couple details that cosmetic wipes aren't heavy duty so they won't be able to get rid of serious stains. Still, they work perfectly for crayons and pen marks, scuff marks, and general wear and tear.
4. White vinegar
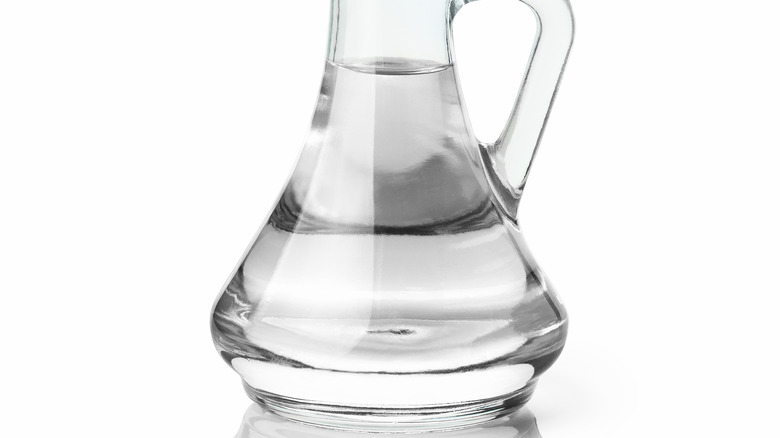
If you're ready to give your walls their annual clean and want to bring out heavier duty products, then Dulux explains that you may find a great grease-buster in your kitchen cupboard. The retailer outlines that getting rid of grease marks can be particularly difficult, especially if they've been left to sit for long periods of time. However, if you mix warm water with white vinegar you may be able to wash them away without having to scrub your walls.
Fill a container with warm water and then add 1 cup of white vinegar. Mix it up sufficiently and then soak a cloth (you may want to wear gloves so to protect your hands from the smell). Ring out the cloth and wipe over the grease stains. Just note that it isn't preferable to use this method all over your walls as it may leave your house smelling a little bit strong.
5. Baking soda and water
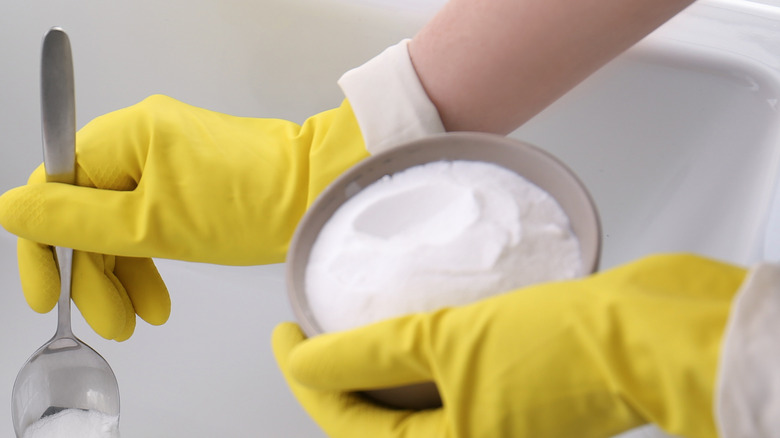
If you don't have white vinegar on hand, then baking soda and water can be a great alternative. While it has lots of uses in the kitchen, baking soda also has many properties which are perfect for cleaning. In fact, Architectural Digest calls the ingredient "a natural stain fighter." All you need to do is add 1/4 cup of water to 1/2 cup of baking soda. Mix together and it should form a thick paste.
Slather the solution onto the marks and stains on your walls that simply won't move. Ensure that you put a thick, even layer across the stain to ensure that it fully lifts. You can leave the solution for any period of time, but you want to give it enough time to get to work. After an hour or longer, come back to the stain and wipe away the solution. It should have taken the stain clean off.
6. Acetone
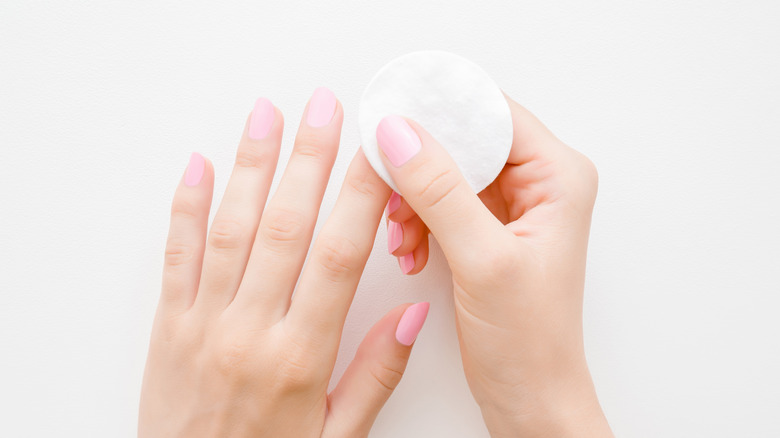
Acetone may sound like an extreme product to be putting on your walls. However, Bright Hub explains that the chemical can be found in many paints, plastics, and resins. It's also a key ingredient in nail polish remover.
Home Stratosphere explains that if you've managed to get other paints, cosmetics, or dyes on your wall then the acetone in nail polish remover may lift it right out — and it can be found in most bathroom cupboards. However, you must be extremely careful when using strong products like acetone on painted and papered walls. If spread out too liberally, acetone can remove the surrounding surface of your wall.
If you want to use acetone to get small stains out, then tip a small amount onto a cotton ball or end of a cotton tip. Gently wipe over the stain and once you're finished, dab away any excess acetone with a paper towel.
7. Hydrogen peroxide
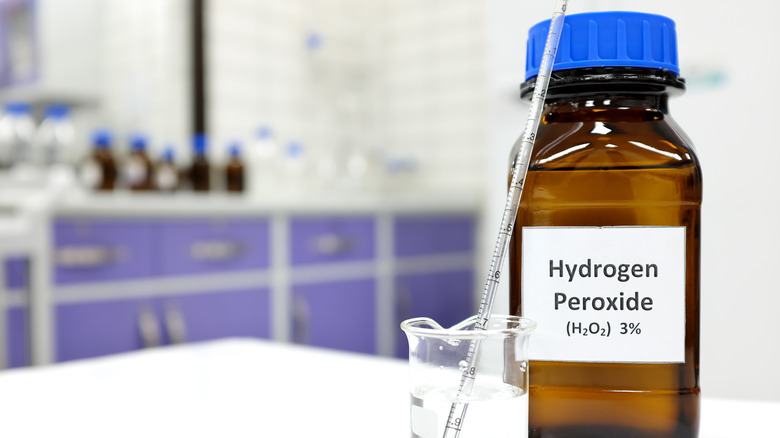
Hydrogen peroxide is another product that should be handled with care. However, if you've noticed wine or food spillages on your walls then it may be a great, targeted cleaning solution. Sometimes you have to fight a powerful stain with an even more powerful solution.
Architectural Digest writes that you should soak a cleaning cloth in water and soap. Ring out any excess water and then put a couple of drops of hydrogen peroxide on it. Wipe over the stains using gentle, circular motions, and ensure that none of the cleaning solutions drips onto the floor or other surfaces. Don't scrub the walls; once you begin to see the stains lift then you can dab the area dry with paper towels. If the stain doesn't lift the first time then you can repeat this process.
If you're going to use hydrogen peroxide then you should wear gloves to protect your hands and ensure you don't get any on your clothes.
8. Eraser or corrector pens and pads
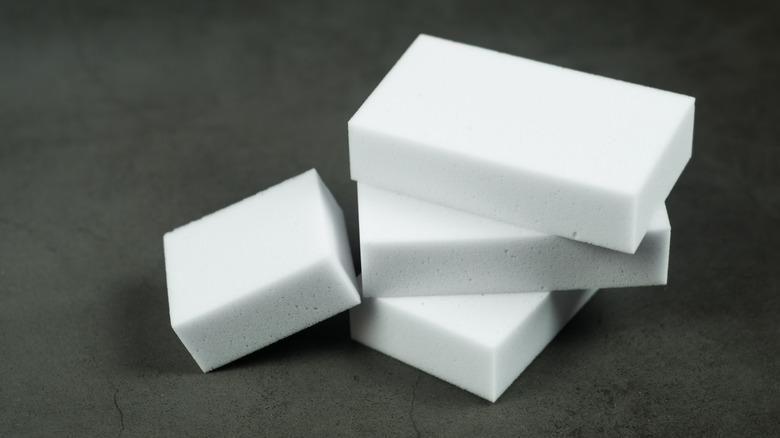
Trying to wipe stains and scuffs from your walls is one job. However, if someone has taken to drawing on your walls in pen, marker, or crayon then you may need to buy some specialist cleaning equipment. Your kids may think using their bedroom wall as a pretty canvas adds something to their overall ambience — but marker can be incredibly difficult to remove with water and soap alone.
Mr. Clean writes that you can buy correcting eraser pens and pads which react with ink stains and wipe them away. All you need to do is wet the wall around the stain and pat away any residue, then you can glide the eraser across the stain. You shouldn't apply too much force and let the product work its magic. Also, you can repeat this process if the stain has faded but not disappeared. However, before using specialist products you should do a test on a discrete part of your wall.