Should You Be Cleaning Your Walls Before Painting Them?
We may receive a commission on purchases made from links.
Painting your walls takes time and money whether it's a DIY project or you're hiring someone. When you're finished, you want your walls to have a smooth, evenly painted surface. In many cases, this means lightly cleaning your walls before you start to paint.
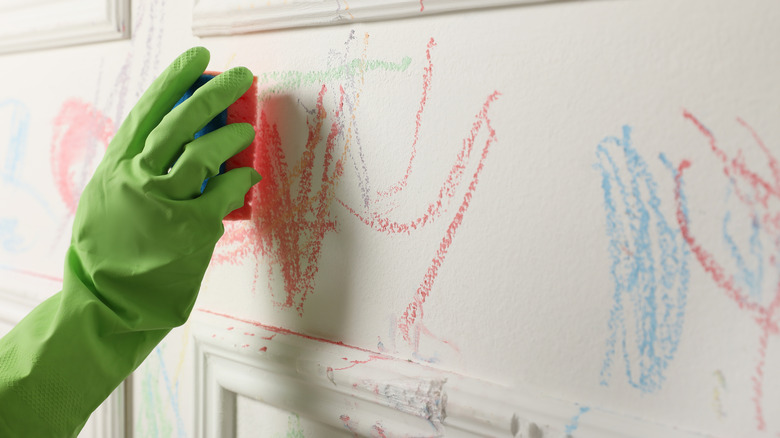
Have you ever seen the outline on a wall where a picture or a clock used to hang? If you have, then you know how much the paint color can change over the years. Additionally, we get used to looking at our walls and don't even realize that there are layers of dust and grime accumulating on them until we take down a picture and compare the original color of the wall to what we have now! This is especially true in heavily used rooms such as kitchens, bathrooms, and kids' rooms, according to Family Handyman. Cooking oils and smoke, moisture and soap products, finger prints, and crayon marks have to be removed in order for the new coat of paint to stick to the wall.
Cleaning walls before painting
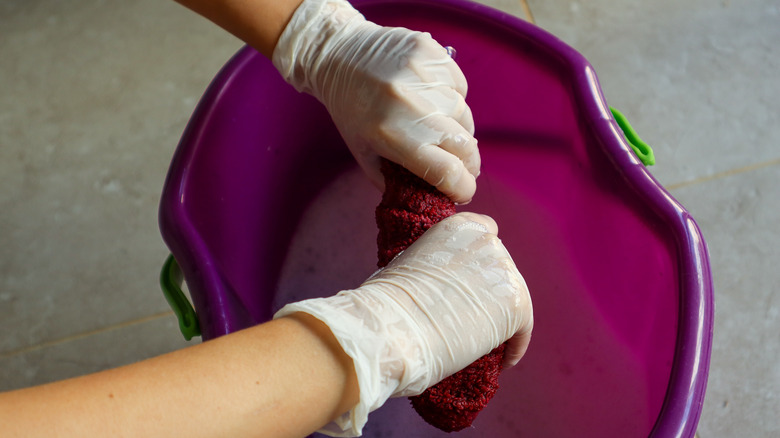
This Old House gives some easy-to-follow steps to clean your walls, whether you're just spring cleaning or preparing to repaint. Start by dusting the walls to remove any surface dirt. Check the website of your paint manufacturer before you start using a cleaning solution. Most major manufacturers recommend using a solution of water and a mild detergent. Always test a small, inconspicuous section of your wall first, use a non-abrasive sponge, and clean gently.
Cleaning your walls before painting may seem like an unnecessary chore but it will save you from having to repaint areas that blister or come out bumpy. Break the job into sections and begin in the upper corner of one wall, wiping down the wall as you go. Start with a dry cloth or mop to remove the dust.
After dusting, This Old House recommends using the most gentle cleaning solutions first. Different paint finishes, such as matte, eggshell, and flat are more delicate and do not need harsh scrubbing. Glossy and semi-glossy finishes can tolerate a degreasing agent, including a grease-cutting detergent. You can also use most non-abrasive, multipurpose cleaners on this type of paint or make your own by mixing 1 teaspoon of liquid dish soap and ¼ teaspoon of white vinegar into 1 quart of water. This cleaner should work on most latex paints. Magic eraser sponges can also be helpful.
Dry your walls after cleaning
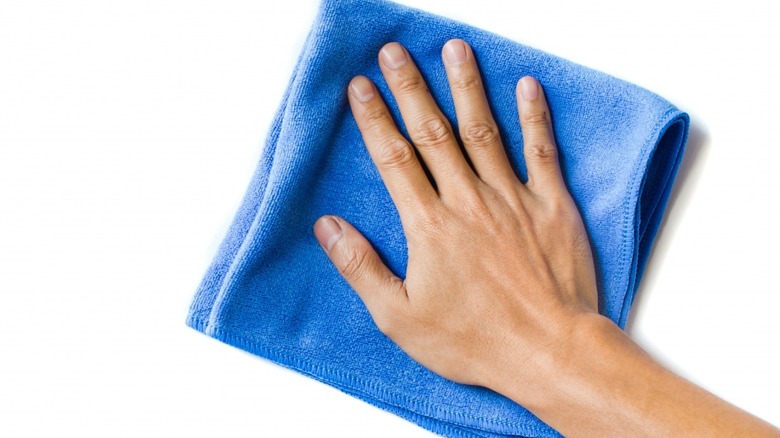
Wipe your walls with a clean, lightly damp sponge after you've used a cleaning solution to wash your walls. They should not be heavily saturated with water. Then, before you start painting, make sure your walls are completely dry, as paint will not adhere to damp walls. This may mean waiting overnight. If the weather permits, open your windows to help speed up that process, as noted by Home Depot.
If there are small clumps of old, dried paint or spackle on your walls, you can very lightly sand those spots using a fine-grit sandpaper. Make sure to wear a face mask and eye goggles to protect yourself. You will have to wipe the dust off with your lightly damp sponge and let the walls dry once again before painting. When you stand back and look at your beautifully painted walls, you will love the results!