The 10 Do's And Dont's Of Building A Retaining Wall
Retaining walls serve a variety of objectives, including reducing soil erosion, transforming steep slopes into terraced settings, and establishing focal points in the landscape. They are, in fact, some of the most prevalent methods for resolving issues created by hilly terrains and can also turn unworkable inclines into gardenable outside areas. But, according to skilled designers and builders at Sebring Design and Build, a retaining wall doesn't have to look like any other concrete wall.
Despite having an overall modest look, these walls require careful planning and, in some cases, skilled engineering to maintain their shape. Because soil is heavy, especially when wet after a rainstorm, a simple retaining wall built with knowledge might hold up to 20 tons of soil pressure. The pressure of the soil increases dramatically with each extra foot of height. If you make a mistake with your construction designs, you could wind up with a weak wall that bulges or, worse, collapses. However, retaining walls can be built by DIY enthusiasts with some basic construction experience. Does this describe you? If you want to get your hands dirty, make sure you consider these do's and dont's of building a retaining wall.
1. Don't forget to check with authorities

Because the impact of a retaining wall on the natural flow of water may affect your neighbors, most towns require homeowners to get a permit before starting construction. Make sure you ask anything that comes to your mind about relevant issues to your project. Later on, you can narrow down your options. Furthermore, ensure you are aware of the regulations surrounding retaining walls and don't start building the structure without the necessary approvals, the city of Portland's government-issued web page advises.
While you're at it, dial DigSafe (811), a worldwide program that notifies local utility companies that you're planning on digging on your property. They can figure out if their buried wires will be in the way and label their exact locations. Also, obtain bids from at least three different contractors and before you do anything, figure out how much the project will cost. Do not hire anyone without first learning how much money they expect for their services.
2. Do choose the best materials

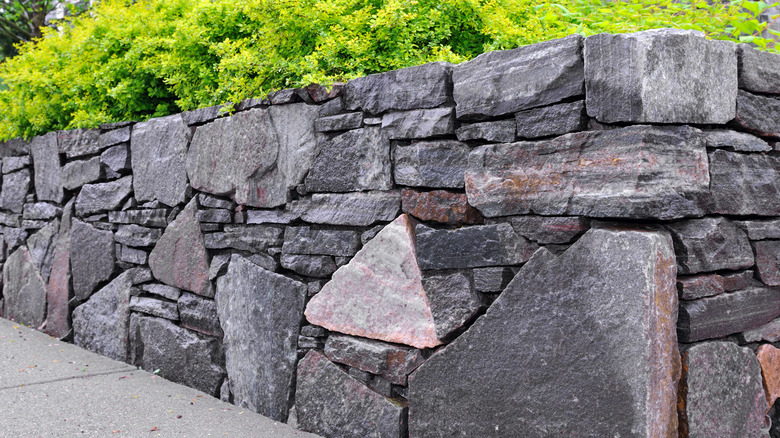
Choosing the appropriate retaining wall material can be troublesome and complicated. As per Family Handyman, there are numerous possibilities from which to choose, but you can hire a professional to help you decide which material is ideal. Choosing the suitable material is crucial since it will result in a long-lasting retaining wall. Some materials you can pick from include bricks, poured concrete, treated timbers, natural stones, and blocks.
Keep in mind, however, that the materials you choose will have a significant impact on the structure of the retaining walls as well as the overall aesthetic appeal of your home. Although there are various excellent materials for retaining walls, one of the best options you have is brick. It has a warm, elegant, and traditional feel to it. Brick has several advantages over other materials, with durability making it an excellent choice. Moreover, water will never deteriorate or damage bricks as with some materials.
3. Do begin with a good foundation
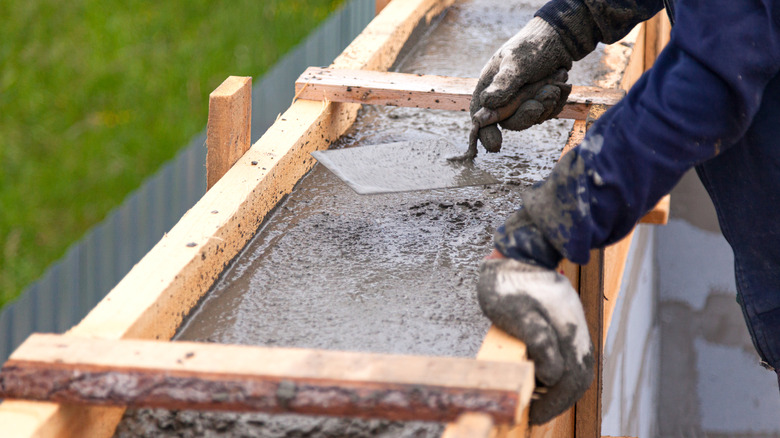
The importance of a solid foundation cannot be overstated, according to a paper by experts W. H. Mosley, R. Hulse and J. H. Bungey. It is one of the first things you should do while constructing a retaining wall. Before you start building it, make sure your foundation can withstand the weight. Also, choosing the wrong material for your wall's base will cost you money and time in the long run, so ensure you do a good job with this aspect. You may have to patch fractures in the walls afterward if you overlook it.
Your retaining wall's support system will determine how strong it is. For instance, a trench filled with 3 inches of crushed rock will help keep a stacked-block retaining wall standing no taller than four feet from shifting and settling. Of course, the exact depth of the trench will depend on the wall's projected height, but there's a general rule of thumb: Excavate a groove that is 1/8 of the wall plus 3 inches. For the sake of this case, let's say you want your retaining wall to be 3 feet tall (36 inches), you should dig the trench 8 inches deep to accommodate 3 inches of crushed rock and about 5 inches, or 1/8 of the visible retaining wall, to start the structure below grade.
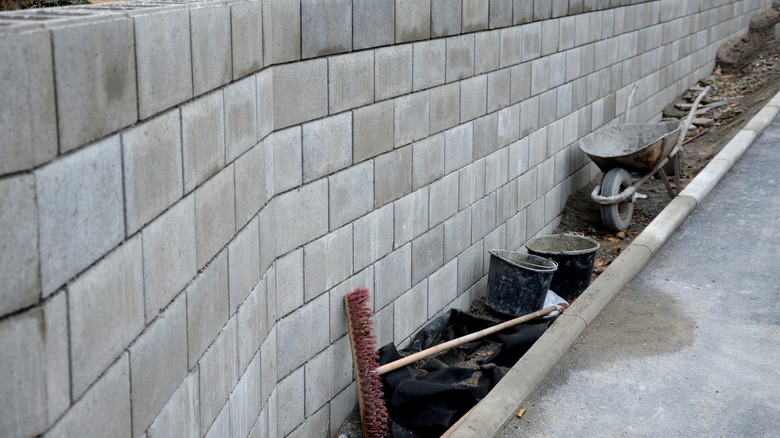
4. Don't lay the bricks unevenly
Because the first level of blocks will set the tone for the subsequent stack of retaining wall blocks, it is critical to ensure that it is evenly aligned. If you don't keep the first row even, the rest of the rows will be crooked and unappealing. In addition, it's important to remember that if the gravel layer beneath the retaining wall isn't balanced, the unevenness will show up in the top levels of the retaining wall. So, if the area where you're going to build the wall has an irregular slope, you'll need to smooth it out before you start. Preparing a sturdy foundation for the wall might aid in its stability.
According to SFGATE, a rake is a useful tool for smoothing the soil. Simply press the earth to compact it and provide the retaining wall with a firmer foundation. Before you begin setting the blocks, use a 4-foot carpenter's level to confirm that the gravel layer beneath the first course of blocks is level.
5. Do have an intensive plan

Because retaining walls may make or break the practicality and aesthetic of your outdoor space, careful design is required. You must carefully plan a wall layout while considering a variety of aspects such as its shape, size, height, location, and function, among other things. Therefore, The Structural World recommended that you seek the advice of certified engineers or architects in order to design a well-built retaining wall.
If your property is at the bottom of a hill or on a steep inclination, for example, you need an elaborate plan. Indeed, a retaining wall serves as a barrier against mudslides and flooding and can also transform an unusable setting into a functional one. Retaining walls have also been used for many years to create terraced areas ideal for planting. However, without a solid plan and the advice of a building expert in such areas, your retaining wall project could end up costing you time, money, and energy without benefitting you at all.
6. Don't settle for one tall wall
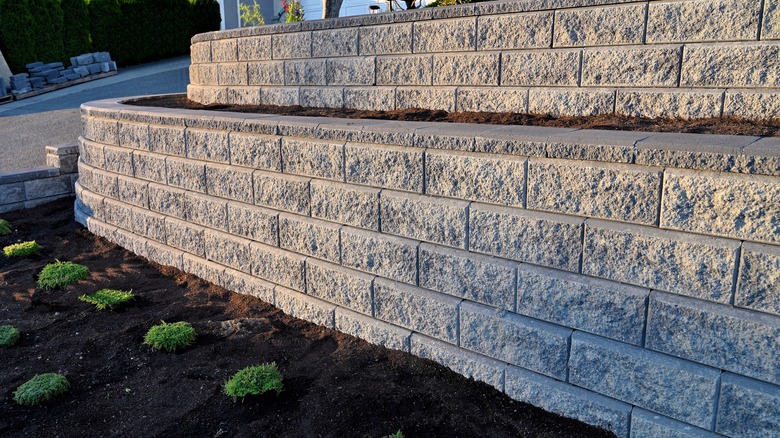
Although retaining walls taller than 4 feet should be designed by professionals, you may be able to DIY a solution for a steep slope by constructing two or more "tiered" retaining walls rather than one tall wall. A sequence of short walls offers an aesthetic texture, and each wall will carry less soil weight, reducing the likelihood of failure.
When constructing a tiered retaining wall system, place the higher wall behind the lower wall at a distance of twice the lower wall's height. For example, if the lower wall is 3 feet tall, the upper wall should be at least 6 feet away from it. This prevents the higher wall from putting too much pressure on the lower one. When creating tiered walls, however, slope stability is a major consideration. Although a single layer may be locally stable, there is the possibility of stability failure below the bottoms of tiered walls. Versa Lok recommended building tiered barriers only if the ground is stable.
7. Don't forget to stack blocks slightly sloped backwards
A wall that leans toward the soil it retains is less prone than a simple old vertical wall to be pushed outward by soil pressure. Plan and construct your retaining wall to slope at a minimum of 1 inch per foot of height. Working with retaining wall blocks would make this "step-back" building a breeze because every block's bottom edge has a locking flange that guides it into place slightly below the lower block, preventing the top blocks from being pushed outward.
If your retaining wall has blocks as a building material, stack them on a slight incline; this will keep water from collecting on the block itself, Building Products Corp recommended. However, this may cause an inward force, which is why you should ensure you use mortared joints. To guarantee that your blocks are piled evenly, use a laser level; you'll find it nearly impossible to stack them perfectly by just eyeballing it.
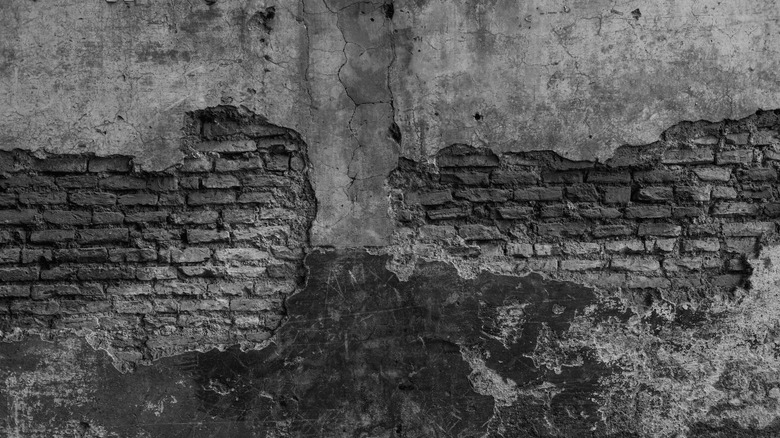
8. Do allow for drainage
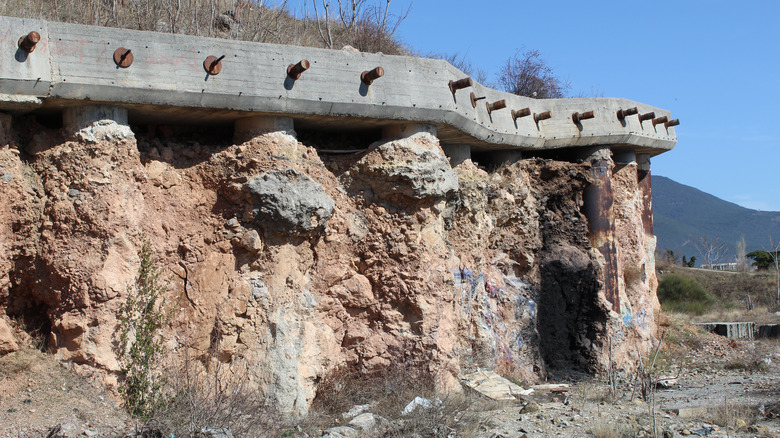
The natural enemy of retaining walls is groundwater, Landscaping Network determined. Clay-type soils swell when saturated, putting undue pressure on the backside of the wall. When building the retaining wall, making drainage arrangements at the same time will help you avoid failure. Hydrostatic pressure will amplify behind the wall if drainage is not handled, causing damage such as bulging or cracking.
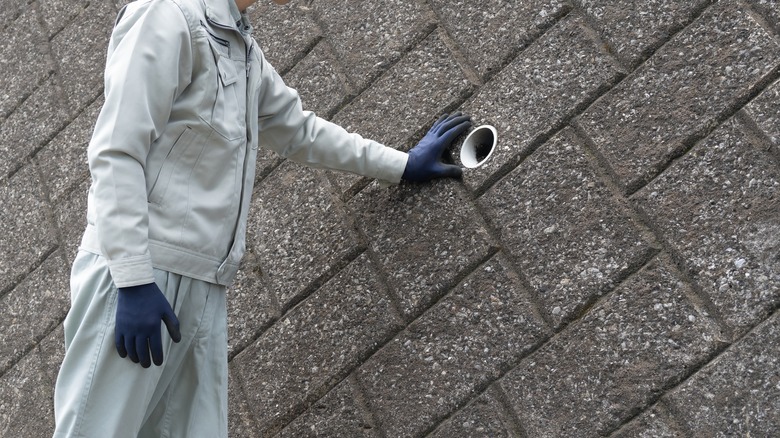
There are several options for ensuring proper water drainage for safety and to keep the need for repairs to your retaining wall at a minimum. First, be sure to backfill at least a foot of space with gravel behind the wall. The second option is placing a pliable perforated drainpipe, sometimes known as "drain tile," at the foot of the wall that can provide the necessary groundwater escape route. The perforated pipe will transport groundwater to each edge of the wall, where it will safely drain away. The drainpipe's ends should exit on each end of the wall, and you can cover them with crushed stone to disguise them.
9. Do backfill correctly

After you've installed the drainpipe, backfill the space behind the blocks with sand or pea gravel. Either solution will allow water to trickle through to the drainpipe at the base of the wall. According to New Life Rockeries, the backfill, which is the soil behind the retaining wall, must be appropriately compacted. At least 12 inches of granular backfill (gravel or a similar aggregate) should be laid directly behind the wall to allow optimum drainage. Then the rest of the space behind the wall can be backfilled with compacted native soil.
You should also add around a 6-inch layer of native soil on top of the gravel and pat it down well if you plan to do landscaping behind the wall. Low retaining walls are often used as planting beds, and they can give character to a flat yard. The gravel fill will offer additional support from the pressure of the soil behind the retaining wall.
10. Do seek help from experienced professionals
You'll need professional assistance with the permit process for retaining walls, but also with the engineering of these structures and probably when building them as well. After a severe downpour, the last thing you want is a disaster on your hands. When it comes to retaining walls, competent engineering entails various things, Slatter Management said. As mentioned, the walls require substantial support, and this assistance begins with the proper trenching and foundation material.
A completely leveled surface is also required for your retaining walls. Otherwise, your walls will sag like the Leaning Tower of Pisa before collapsing in the rain. You must also ensure correct stacking of the above-ground components. And if you're also pondering the cheapest way to build a retaining wall, the answer is professionally, so you know it's done well. Invest in good materials, too. You need the wall to stand no matter the weather, and having an expert on hand will help make that possible.