The Precise Way To Clean A Keurig
We may receive a commission on purchases made from links.
The Keurig might be one of the most convenient inventions in recent history. For those of us who like to have a hot cup of coffee in a matter of minutes and with minimal effort, it comes in especially handy. While using a single-cup coffee maker is a breeze on busy mornings, you do need to set aside time to clean it on a consistent basis.
According to Women's Health, there are two main reasons to deep clean your Keurig. One is to avoid the growth of bacteria, which occurs due to warm water sitting in the machine for an extended period of time, as well as from unclean hands touching the different parts. The other reason is to prevent the buildup of limescale, which happens thanks to heavily mineralized water hanging out inside the Keurig.
You're probably thinking "gross," but cleaning your Keurig is actually pretty simple. Read on to find the precise way to get yours as clean as possible — no matter how long you've had it sitting on your kitchen counter.
Unplug the Keurig and remove the parts
The first step before cleaning any appliance is making sure that it's unplugged. This is not only to keep you safe, but also to preserve the parts.
Speaking of which, the very next thing you want to do is to separate any pieces of the Keurig that are removable. The specific parts vary depending on your exact model, but, according to The Spruce, this should include the tray in which your mug sits on while the coffee brews, the pod holder, and the water reservoir and its lid.
Home Depot suggests waiting at least a half an hour after your last brew before removing the components in case they're too warm to the touch. The company also recommends removing and disposing of the water filter cartridge (if your model has one). Before you throw it away, make sure you have a replacement filter cartridge on hand.
Wash the removable parts
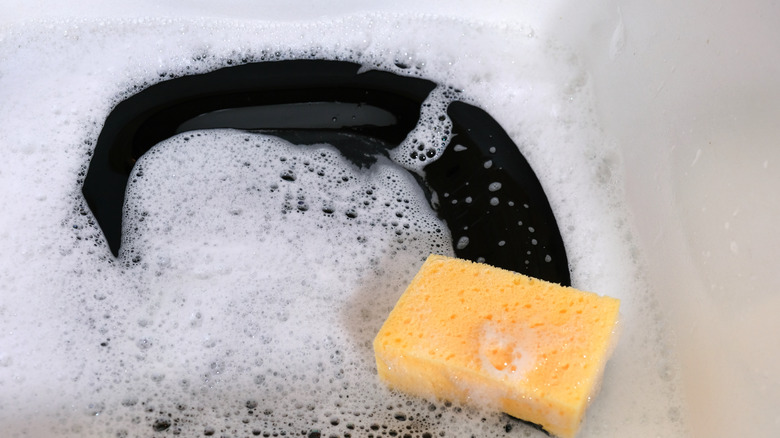
Next, you'll want to hand wash all the parts you detached from the machine. Apartment Therapy proposes soaping up a regular dish sponge with hot water and carefully cleaning each part. Some parts of certain Keurig models are dishwasher-safe, but always check the warranty and manual before choosing the easier route. The last thing you want to do is warp or break a piece and have to order a replacement.
If coffee stains have built up, which they tend to do in the tray, use the scrubby side of the sponge to loosen them. You can also let it soak in the sink for a bit as you continue the cleaning process.
House Beautiful advises against using something to dry the inside of the reservoir as it can leave behind lint. Allow it to air dry for a few minutes while you move onto the next step.
Wipe the outside clean
Now that most of the internal parts are clean, it's time to wipe down the outside. You might find that coffee splatter, the grounds from the pods, and dust have accumulated on the outside of your Keurig.
While avoiding the plug, Insider suggests using a sponge or paper towel with some soapy water to wipe down the exterior of the appliance. Be sure to inspect inconspicuous spots, such as underneath where the coffee comes out, as this is where your machine get especially dirty. If your specific model has a touch screen, carefully wipe that with a damp cloth. No need to worry about hitting the buttons, as it's already unplugged.
For the tough-to-reach spots, HGTV recommends using a small brush dipped in vinegar to scrub away residue and the grounds that collect around the pod opening. Next, wipe the machine down with a dry towel before reassembling the pieces.
Pour vinegar in the reservoir
Now it's time to descale your Keurig, which is the key to getting it clean on the inside and keeping it in the best condition. This, of course, leads to your coffee tasting great for years to come. And the great news is that you most likely already have what you need hanging around the kitchen.
According to Keurig themselves, descaling is vital because it clears away calcium deposits, otherwise known as limescale. This process should occur on a three-to-six-month basis. There's even some models that alert you when it's time.
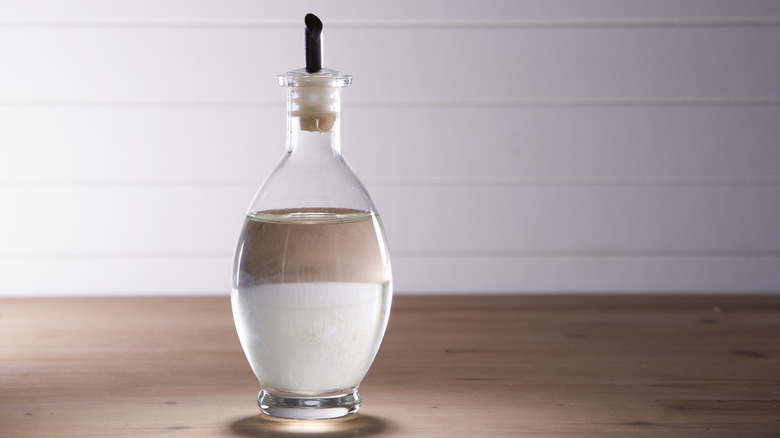
The Kitchn recommends using plain white vinegar and filling the reservoir about halfway, followed up with water. You can also choose to purchase a descaling solution made by Keurig. If using this method, Country Living advises pouring the entire bottle into the reservoir, filling the empty bottle with water, and then pouring that in as well.
Descale the Keurig

Fortunately, descaling can be done without much work besides a few clicks of a button. If you followed the first few steps, the pod insert should be clean and clear. It should stay that way while you go through this process.
Place a ceramic mug on the tray and press the brew button to start. Once the cycle is done, carefully pour out the hot vinegar and then run the machine again. Repeat the brew cycle a few times until there is a small amount of the vinegar or descaling solution still in the tank.
HGTV suggests letting the machine sit with what's left for several hours and then running it again until it's empty. You'll notice the liquid inside the mug will be a bit dirty, which is how you know the descaling is working. Don't be surprised if this process makes you want to clean your Keurig more often.
Run the Keurig with water

Chances are, you don't enjoy the taste of vinegar in your morning cup of coffee. While any lingering solution likely won't have too strong of a taste or smell, there's an easy way to get ahead of it. Real Simple recommends grabbing your reservoir after it's empty and simply rinsing it out with water. It's important to note that it's smart to wait until the tank is cooled down before doing so to avoid burning yourself.
Then, fill the tank back up to the top with water. Place a clean mug onto the tray and hit the brew button. Keep following the same process as you did with the vinegar or descaling solution, dumping out the brewed water and running the machine again. Once the tank is empty, it should be completely clean and ready for you to enjoy a vinegar-free cup of morning joe.
Change the filter when needed
One last piece of the Keurig cleaning puzzle may or may not apply to you. Most models, although not all, have the previously mentioned filter cartridge that should be changed out about every other month (or after 60 uses), according to Keurig.
Before replacing the cartridge, first remove the filter holder and toss the old cartridge (if you didn't already do this earlier). The Spruce suggests using a bit of warm water and dishwashing liquid to wash the filter holder and then letting it air dry. In the meantime, take the new filter cartridge and soak it in a bowl of water for about five minutes. Afterwards, rinse it under water for one minute and then secure it into the filter holder. Place the filter into the tank and you're all set to go.
Precisely following these steps on a regular basis will help keep your Keurig in prime working condition and each cup of coffee tasting as good as the one before.