The Best Way To Clean Your Coffee Maker
Does your coffee have a peculiar flavor? Your home coffee game isn't as strong as it could be if you haven't cleaned your coffee maker in a while, let alone since you got it. Maintaining your coffee machine properly not only keeps it in top shape but also produces better-tasting coffee. Coffee makers accumulate dirt, oils, mineral residue, and even yeast and mold if they are not cleaned regularly, all of which can end up in your brew.
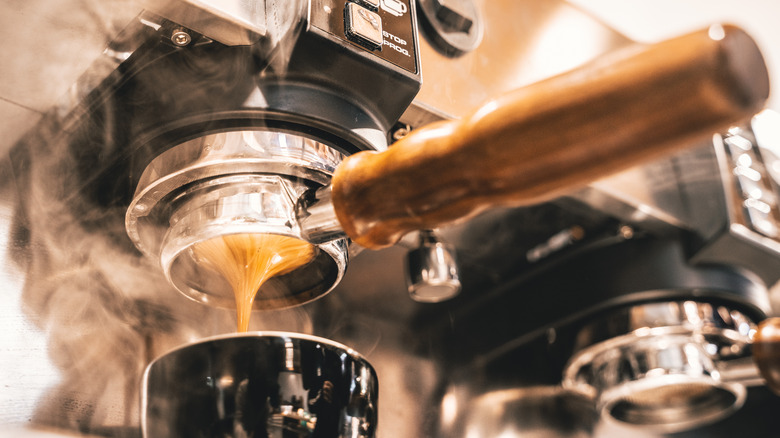
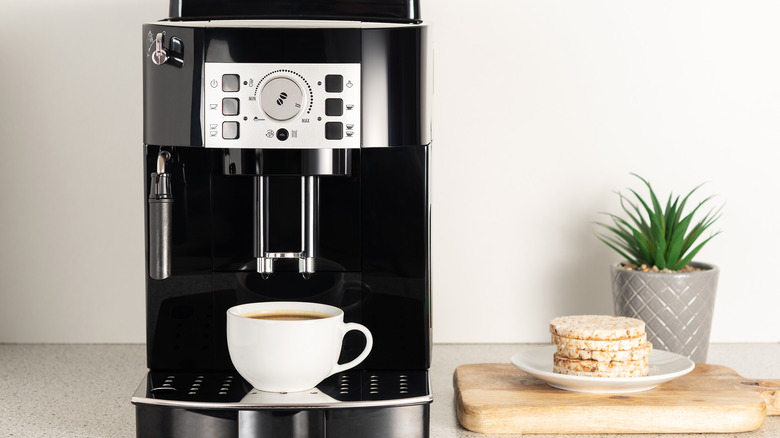
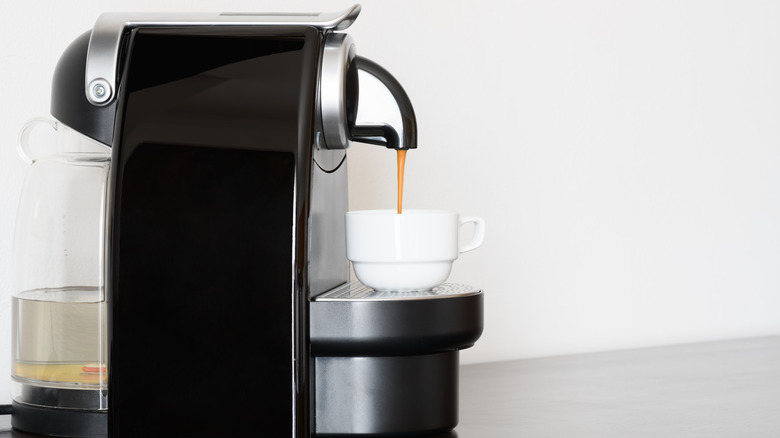
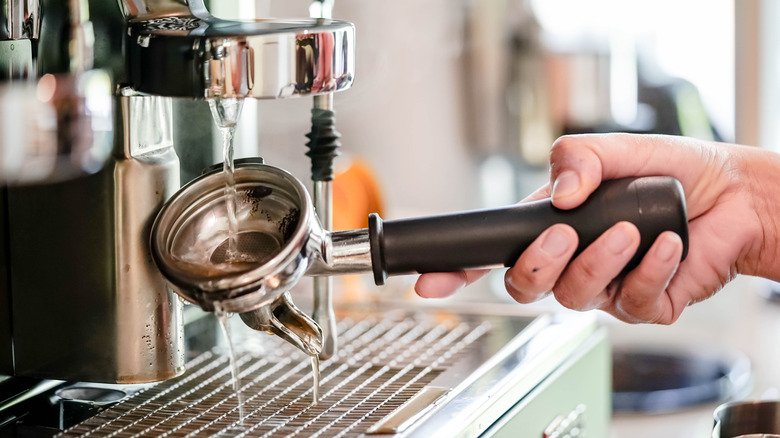
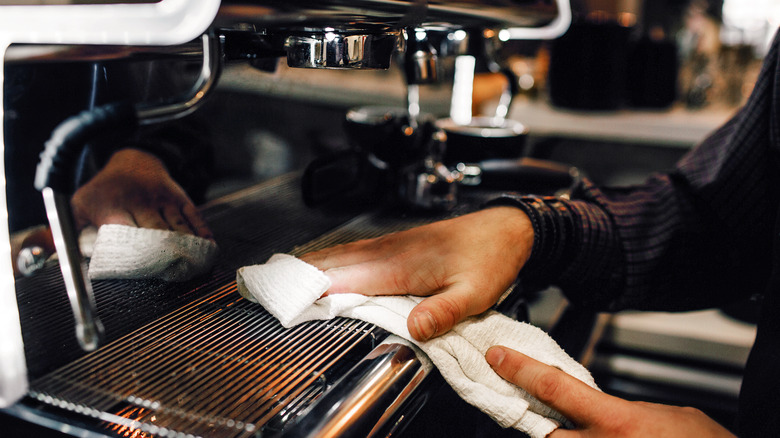
On that note, the probability that your coffee machine isn't as clean as you believe is high. Some of the telltale indicators of a filthy coffee maker are obvious: Stains, gummy sludge, and mineral buildup ultimately collect on your coffee maker and pot, causing clogging in the brewing process and producing bitter coffee. However, an NFS study found that the bacteria and germs you can't see are a bigger issue. Cleaning a coffee machine isn't difficult, fortunately. If you need more detailed instructions, see your machine's instruction manual, but the information below applies to your regular coffee pot, espresso machine, or French press, as well as single-serve brewing systems that operate coffee pods.
Why you should clean your coffee maker

If you use a dirty coffee machine, your coffee will taste bitter, burned, or stale. Not only that, but too much accumulation on the coffee maker can lead to the growth of germs and mold over time. This happens when you leave old coffee and coffee grounds in the carafe and filter for too long. Another reason to clean your coffee maker regularly is that a dirty coffee maker will decay faster, requiring you to replace or repair broken parts sooner.
In the damp environment of leftover coffee grounds, yeast strains, molds, and bacteria can thrive freely, making coffee makers one of the germiest spots in the house. According to the FDA, these organisms can cause allergic reactions or even infections, so your coffee maker could get you sick if you don't clean it properly. The good news is that cleaning a coffee maker is easy — and you can do it using safe, environmentally friendly materials and products you probably already have on hand.
How often should you clean your coffee maker?
As Woman's World noted, you should wash the carafe and all the removable elements of your coffee maker immediately after each use to avoid coffee stains and bad odors. Don't leave coffee grounds in the filter for too long, and don't leave brewed coffee in the carafe for too long. After cleaning the pot, it's also a good idea to leave the reservoir lid open for an hour or so to prevent mold and mildew buildup.
Clean your coffee maker, including the brew basket, lid, and jug, with a grinder after each use, discarding any dirt. Descaling should be carefully done at least once every three months to avoid mineral deposits. If your home has hard water (with high mineral content), or if you use a rinsed — not clean — bottle to fill your coffee maker's water tank, residue can build up faster. In this case, a monthly cleaning is a must. So, if you follow these coffee machine maintenance tips daily, you should only need to clean your coffee maker with other solutions once every couple of months — or whenever your coffee tastes bitter.
Is the process similar for Keurig coffee makers?
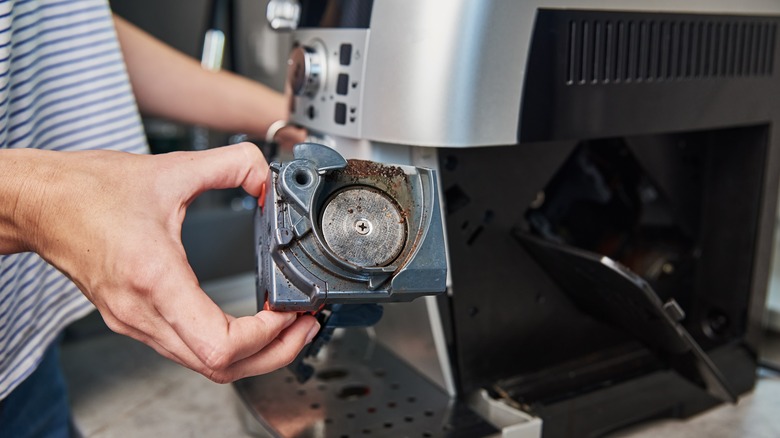
Keurig coffee maker machines are convenient, but there are always trade-offs with anything. They have a lot more internal components than typical coffee makers. As a result, they can host more germs and bacteria. However, don't let that intimidate you: It simply means you should clean it more frequently. Ensure you wash the mug tray, and K-cup holder in warm soapy water once a week and remove the water filter from the system. Wipe everything down, rinse it and let it dry completely before putting everything back together.
Furthermore, you should replace the filter cartridge every two months and make sure to follow the instructions on the new cartridge to ensure proper installation. Every three months, descale your machine: This process is relatively similar to a regular coffee maker, Tips Bulletin noted. Turn off the coffee maker, drain the water, add a cleaning solution, and brew until it's clean. Allow it to sit for a few minutes before thoroughly rinsing.
Clean your coffee maker with vinegar
Distilled white vinegar is a natural decalcifier and cleaning agent, getting rid of calcium deposits, bacteria, and mold — all things that can grow inside the machine, Household Management 101 noted. Most drip coffee makers recommend decalcifying with white vinegar every three to six months because it is the most convenient method of cleaning your machine.
Remove all of the coffee from the carafe if there's any left. Don't let it go to waste — drink it up! Remove the filter and toss the grinds out. Rinse the filter basket and the carafe to ensure no grounds got stuck in there. Half-fill your carafe with distilled white vinegar and half-full with water. Pour it into the water reservoir — it should be completely full. Start a brewing cycle. Turn the coffee machine off halfway through the cycle and let it sit for an hour or so, then re-start the coffee maker and wait for the brew cycle to complete.
Don't freak out if the water is discolored or smells bad. This means the vinegar is doing its job. Rinse out the carafe and discard the old, stale water. Run three more complete brew cycles with plain fresh water. Let it cool between cycles before refilling the water chamber to avoid an unintentional steam facial. Each time, rinse the carafe and refill it with fresh water. Wipe everything down after washing the carafe and basket in hot soapy water. Allow the components to air dry completely.
Clean your coffee machine with lemon juice
Lemon juice can be used not only to flavor drinks and foods but can also do wonders as a washing agent, Gadget Review said. It is also acidic and has a pleasant odor. Lemon may appeal to you more than vinegar in terms of taste and scent, though you'll still want to run a few freshwater cycles to help the coffee maker get rid of lemon residue. You'll find that getting rid of the lemon taste is much easier, which means you might be able to save time by only running one freshwater cycle rather than two or three as needed when using vinegar. To clean your coffee maker using a lemon juice mixture, follow these steps: Pour 2/4 cups (or around 6 tablespoons) of lemon juice into the coffee pot after diluting it with 2/4 cups of water. For most machines, this amount should suffice. Run a brew cycle and follow it by three or four more cycles with plain water.
You won't have to worry about how to clean your coffee pot with vinegar if you use this simple lemon juice solution: It will achieve the same result.
Clean your coffee maker with baking soda
If you don't like using substances that have a taste, baking soda is the best option for you when it comes to removing unpleasant odors and flavors from the interior of your coffee machine. This ingredient is the pantry's version of a wonder medication; you can use it to clean just about anything! As The Coffee Tools noted, you can use baking soda to clean your coffee machine and eliminate dirt and mildew, but you must first prepare two things before you start washing your equipment: The solution and the machine.
Mix 2 tablespoons of baking soda and 1 cup of warm water, and let the baking soda melt. Take all of the remaining coffee from the machine and make sure it's entirely empty before you start washing the device. Fill your coffee tank and the pot with the mixture and allow it to sit for a while. Wash the pot with a scrubbing sponge or a cloth. Run a complete cycle, then run a second cycle with only water. Fill your machine's tank with new water, turn it on, and wait for it to brew. The fluid will run into the carafe, cleaning it.
Whatever method you use to clean your coffee maker, you should always run a full cycle with only water to ensure that any other residue is removed.
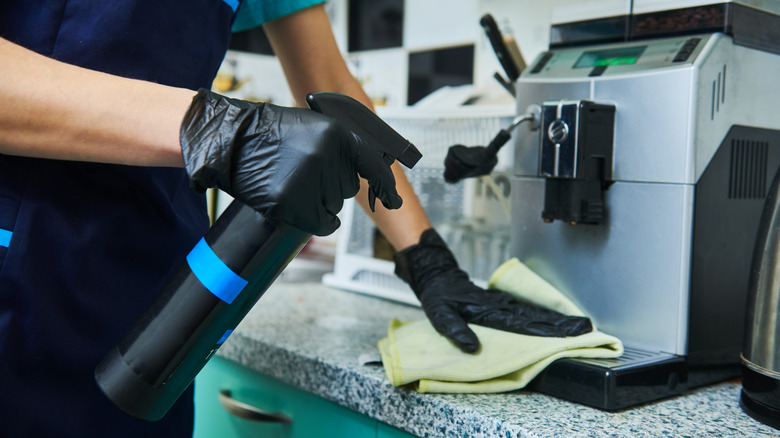
Use CLR to clean your coffee machine
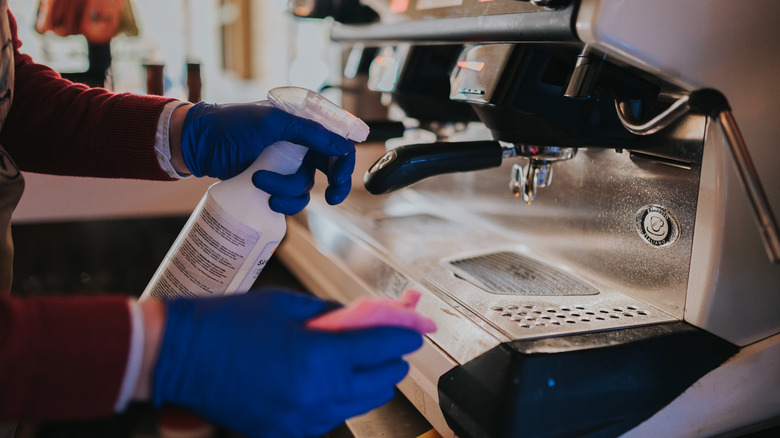
Store-bought treatments are extremely popular when it comes to cleaning, especially if you need to descale your coffee machine due to stubborn mineral buildup that soap, vinegar, or lemon juice can't remove. Although it may sound like a harsh cleaning chemical, you can use CLR (Calcium, Lime, and Rust Remover) on various objects needed in the kitchen, but it is most renowned for its effectiveness in cleaning dirty coffee makers. CLR contains a variety of acids that aid in removing old and difficult-to-remove lime stains, rusts, water stains, and calcium deposits from various surfaces. And according to Firewood Coffee, when it comes to eliminating calcium and lime deposits, CLR is far better than any regular solution because of its potent ingredients.
To use CLR, combine 1 part of the solution with 8 parts water. Pour the mixture into the coffee machine's reservoir. Run one complete brew cycle followed by three to four freshwater cycles until the cleaner scent is gone. You can also use CLR in your carafe, which is helpful because it removes buildup immediately before your eyes, restoring it to its original state.
Clean your coffee maker with vodka
Vodka will rapidly become your best buddy if you need a heavy-duty cleanser that isn't store-bought and has a highly sterile fragrance when finished. Coffee Corner noted it's also a good choice because it has no flavor or odor. The alcohol acts as a potent detergent, assisting in removing any residue that has accumulated. If you bought a new machine and it still smells like plastic, cleaning it with vodka will help you get rid of the stench. This procedure, which has been utilized for years, is one of the most often used by households to clean coffee makers. So, when you use vodka instead of vinegar or lemon to clean your coffee maker, you won't have to worry about smell or flavor.
Combine 3 parts water and 1 part vodka in a mixing glass. Pour the mixture into the coffee's water reservoir. Run a brew cycle. Run one more cycle with fresh water to give it a good rinse. Fortunately, you'll only need to run one freshwater cycle after that, as the vodka taste will have faded by the end of the first round of cleaning.