Cleaning Hats Has Never Been Easier
We don't think twice about tossing the t-shirt we wore for a few hours while running errands in the hamper to be washed. But we don't always bat an eye at how often we wear our hats without giving them a good cleaning.
It's obvious when makeup or sweat builds up on the inside of your favorite cap or beanie, especially if it's a light color. However, we usually can't see the oil, dirt, and hair or skin care products that are left behind after wearing them. Not only that, but according to Who What Wear, the outside of a hat can collect pollutants from wherever you go as well. For both your health and the condition of your hats, it's important to wash them from time to time.
Not every hat is made the same, both in material and shape, so there's not a one-size-fits-all approach to cleaning hats. Ahead, you'll discover the easiest ways to clean different types that also protect them from losing their shape.
Baseball hats
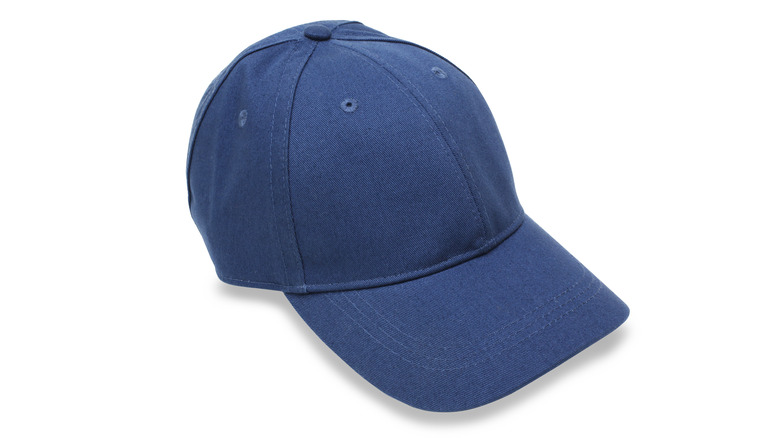
The hats that tend to get the dirtiest, the quickest? Baseball caps. We wear them to our workout, at the beach, and for so many other activities where sweat and dirt can easily collect. Whether stains show on the inside or outside of the hat, there's thankfully a simple way to clean it.
For a quick clean, Reader's Digest suggests combining either laundry detergent or dishwashing detergent with cool water into a small tub. Let the hat soak in it for anywhere between 10 and 20 minutes, swirling it around in the mixture from time to time. Once you're satisfied with how clean it is, run it under water and wring it out, avoiding the brim.
If you need to deep clean the hat, Real Simple advises to soak it in a tub with cool water but replace the detergent with a color safe product such as OxiClean. A clean toothbrush can be used to buff out any tough stains. Let it sit submerged in the mixture for one hour and then rinse just like the above process.
Vintage baseball hats
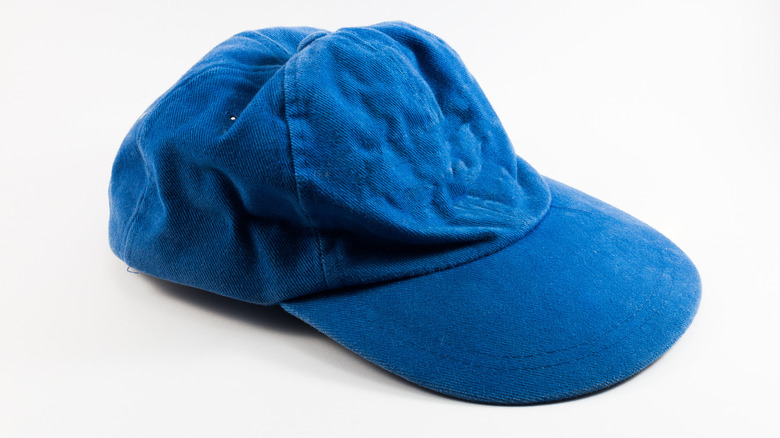
If you've had a hat for more than a few decades, chances are that it's seen better days and needs a good cleaning. However, a cap made before the 1980s is considered vintage and has a different brim than what's available these days. Instead of plastic, the brim is made of cardboard, so submerging it in water like the methods just mentioned is out of the question.
A solid spot treatment is all you can do, and will most likely need for these types of hats. According to The Spruce, you'll want to mix 1 teaspoon of a powerful detergent with 1 cup of lukewarm water. Using a soft brush, dip it in the mixture and use it to gently scrub any stains away.
Once you've gotten the stains out, use a clean, damp cloth to rinse away any remaining detergent, and then simply lay the hat out to dry.
Beanies
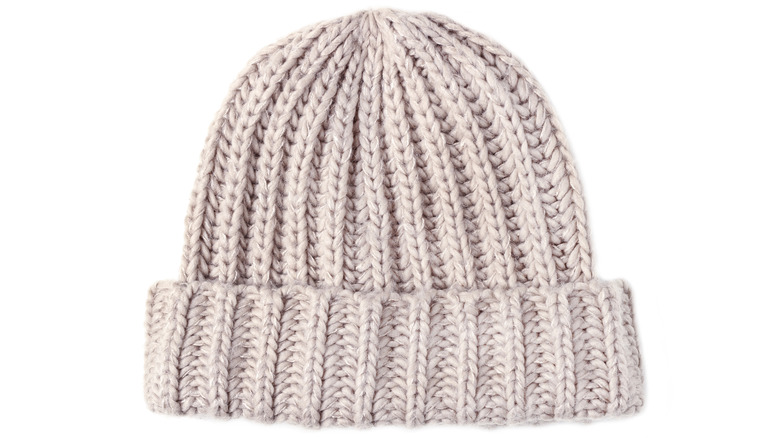
While we're not usually sweating in the winter time, beanies can still get dirty especially from hair products or makeup. So it's important to clean them on a regular basis to avoid causing potential breakouts or transferring buildup to your newly clean hair.
The good news is that most knit beanies can be tossed in the washing machine on a gentle cycle, according to Bustle. If the hat is on the delicate side, they suggest playing it safe and hand washing it. For this method, combine 1 teaspoon of detergent with warm water in a small tub. Spin around the hat for five minutes, then empty the tub and fill it with plain water. Submerge the hat and spin it around again until all of the suds are gone.
If there's a pom pom attached and it's the same material as the hat, it can get wet, but avoid messing with the shape of it. If it's another material, such as faux fur, avoid getting it wet altogether. Whether you let the washing machine get it clean or do it by hand, let the beanie air dry to maintain its shape.
Berets
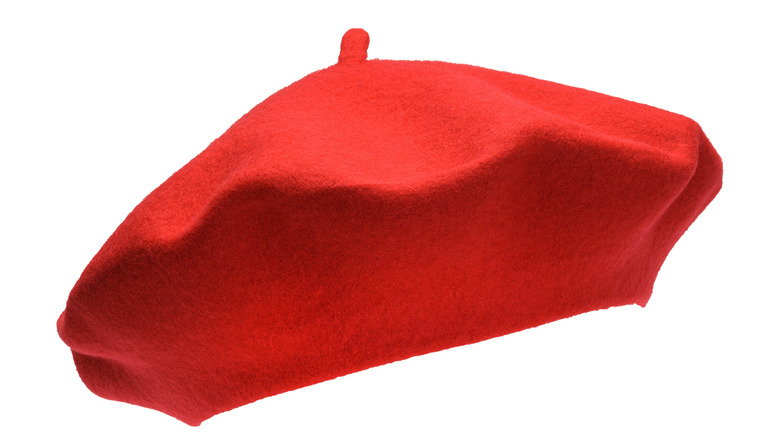
Another type of winter hat that can unfortunately be subjected to getting dirty is a beret. If you don't wear yours often, you may not think it needs to be cleaned. However, even just one wear with styled hair can cause it to collect buildup.
Even though they're considered soft hats, berets still have a unique shape to them so it's best to leave the washing machine out of it and go the hand wash route. Before diving in, PureWow recommends inspecting the tag for instructions to be sure. Once you know your beloved beret is able to be hand washed, simply fill a small tub with warm water and a bit of a gentle detergent. Let the hat soak in it and use a soft brush to buff out spots.
Once you're ready, either rinse the hat under water or transfer it to a tub of just water to remove any remaining soap. Use a clean towel to dab it dry and place it over a bowl to help keep its shape.
Felt hats

Felt hats seem to be in no matter what season it is, so they tend to get a lot of wear year round. Additionally, many are an investment so it's important to keep them in the best shape possible. Cleaning via traditional methods won't work, however.
Per Bustle, an easy solution is to dust cornstarch onto any oily spots to absorb them. The Spruce suggests using either cornstarch or baby powder to do the same and then letting it stand for a bit before using a soft brush to remove any remaining powder and fully get the oil out.
For the outside, you'll also want to use a soft brush and counterclockwise motions to clear away any debris or dust. This will also help to smooth the hat out in general, returning it to pristine condition. While you never want to use water on a felt hat, if there is a stain that needs to come out, hold a steamer about a foot away from the spot to relax it. From there, use the brush to buff off the stain while it's still slightly wet.
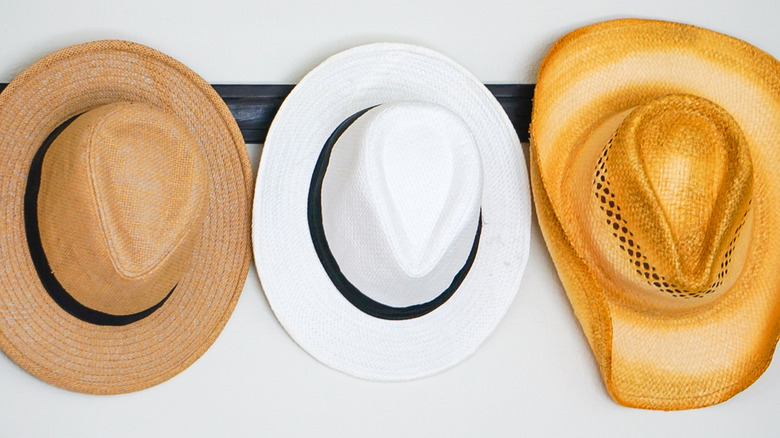
Straw hats
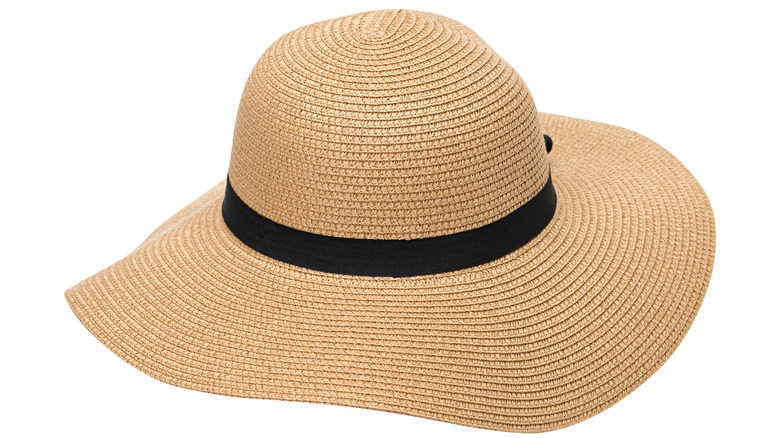
You may know the pain of a misshapen straw hat if you've ever gotten it wet via splashes in the pool or waves at the beach. So it shouldn't come as a surprise that cleaning a straw hat with water isn't the best idea. But whether it's a floppy hat or a fedora, they still need to be cleaned due to the amount of sweat and sunscreen that builds up.
According to Martha Stewart, it's best to use a cleaner that's specifically designed and made to be safe for straw such as NuStraw. Using a soft cloth dipped in the cleaner, carefully run it over the hat in a circular direction. Pay closer attention to and spend more time on any obvious stains. After you're done, use a dry cloth to go over the hat again and remove any leftover cleaner.
If your straw hat has a band around it and a stain or two are lingering, feel free to use a cloth with a mix of water and a mild laundry detergent to scrub them out.
Bucket hats
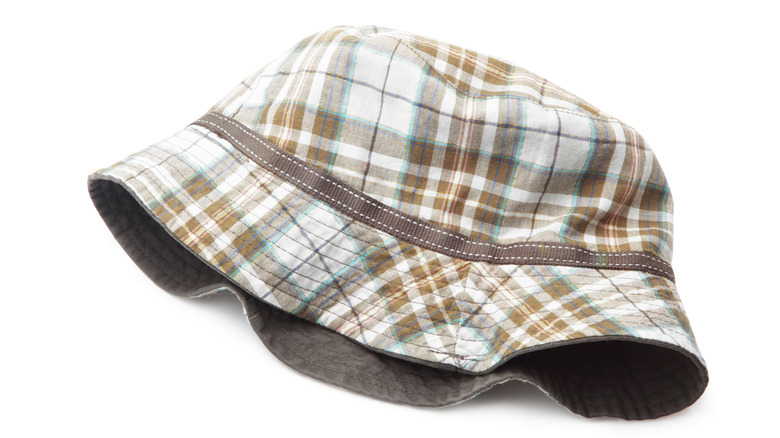
Bucket hats have made a big comeback as of late and they seem to be loved by all generations so, therefore, they're here to stay. Similar to baseball caps and straw hats, they are usually worn on hot days, such as at the beach, so they need to be cleaned regularly. Thankfully, there are a few options to get the job done.
According to Types of Hats, a bucket hat can be cleaned in the washing machine with a mild detergent on a cold, gentle cycle. You may want to pre-treat any noticeable stains beforehand and opt to use a mesh zippered bag before tossing it in.
If you'd rather hand wash the hat, first pre-treat if need be and then dunk it in a small tub of water and the same detergent you'd use in the washing machine. Use a soft brush to buff out any stains and let the hat soak for a minimum of 20 minutes before rinsing it under cold water. For either method, be sure to let it air dry to keep the bucket shape.
Suede leather hats
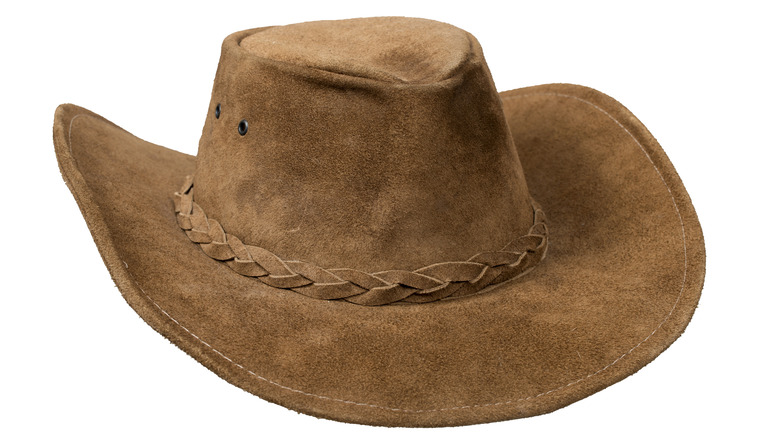
It's common knowledge that suede and leather aren't the easiest types of material to clean. A way to prevent them from getting stained in the first place is to use a protector made specifically for the material. You can ask the retailer you bought it from or search online and apply at least once per year, as noted by The Spruce.
If you'd like to or need to clean the hat, take a soft brush and buff away any debris. If there are oil stains, sprinkle on cornstarch or baby powder like you would for a felt hat, let it sit for a few hours, and then run the same soft brush over the spot. If there is a particularly bad stain, mix a mild laundry detergent with water onto a white cloth and dab at it. Once it's dry, use the brush again to buff the material and return it to its original state.