How Should You Really Be Cleaning Your Cleaning Supplies
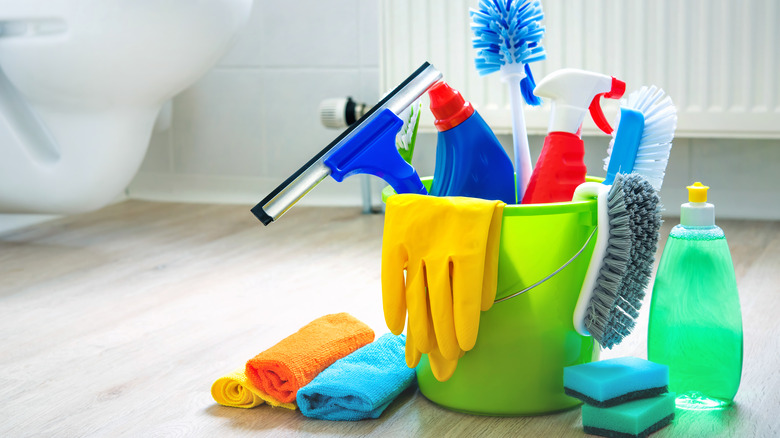
It may seem counter-intuitive that you have to clean your cleaning supplies from time to time, but as you clean your house, all that dirt, dust, and grime transfers to your cleaning tools. And if you don't clean your supplies, they will eventually become too dirty to properly clean your home — not to mention, unsanitized cleaning supplies harbor potentially dangerous and health-threatening organisms, including mold and bacteria, as per Clean My Space. Making sure your supplies are always in top shape also ensures that they have a longer lifespan, meaning you get to save some money that would otherwise be spent on replacements.
The good news is that your cleaning supplies won't be hard to clean, especially if you keep up on regular maintenance, the frequency of which depends on the specific item. The tools you need for cleaning will also depend on what you're cleaning; however, you likely already have most on hand. Additionally, some of the items don't require you to be the one to directly clean them, making the chore even less of a hassle. For example, sponges can be placed in your dishwasher on a sanitizing cycle, while rags can simply get thrown into your washing machine. Scroll through the following guide for everything you need to know about cleaning the various cleaning supplies in your home.
How to clean sponges
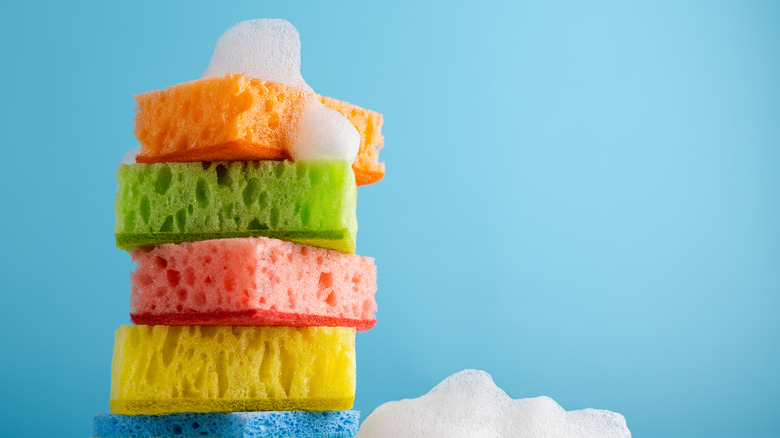
Since sponges are often kept moist, they are the perfect breeding ground for germs, as per Good Housekeeping. If you don't regularly clean and disinfect your sponges, you will end up transferring these germs to your dishes as you wash them. Not only should you be cleaning them at least once a week, but you should also dispose of sponges every couple of weeks, especially once they start shredding or turning gray or brown.
There are multiple ways to clean your sponges, but Good Housekeeping recommended using bleach to ensure your sponges end up as germ-free as possible post-cleaning. This simple cleaning method requires a gallon of water and 3/4 cup of bleach. The sponges should soak in the mixture for around five minutes before going through a very thorough rinsing to remove all traces of the bleach.
If bleach isn't appealing, or if you simply want a more hands-free method, sponges can also be placed in your dishwasher to undergo a sanitizing cycle. If your dishwasher doesn't have a sanitizing option, the "heated dry" mode will accomplish the same thing. As long as your sponge is metal-free, you can also pop it into the microwave. Cellulose sponges will need to be submerged in a 1/2 cup of water and microwaved for two minutes, while scrub sponges need only a 1/4 cup of water and just one minute of microwave time. Make sure you set your microwave to high in both cases.
How to clean mop heads
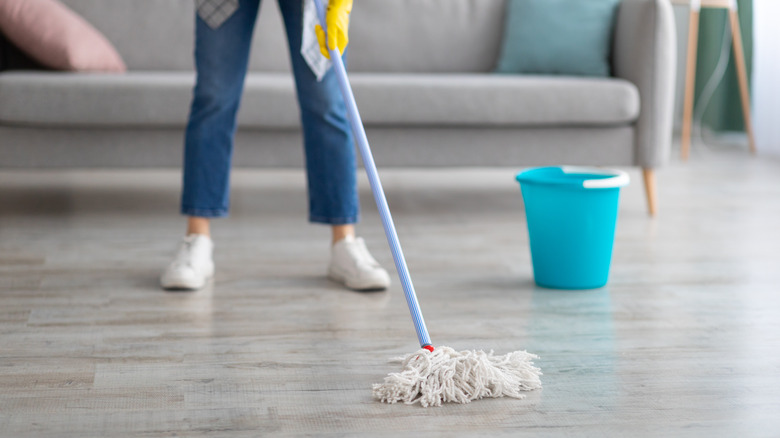
Cleaning your mop heads will require a pre-clean as well as a deep clean. While the idea of a two-step clean may not seem appealing, Lemon Blossom Cleaning reported that mop heads accumulate millions of bacteria throughout and after the cleaning process. If you don't properly clean your mop heads every time you use them, the bacteria end up back on your floors the next time you mop. Not the most pleasant thought, right?
To avoid bacteria-laden mop heads, you'll want to set up a pre-wash immediately following your mopping session. All this entails is emptying your mop bucket and filling it with the hottest water possible from the tap. Add in a splash of vinegar and let your mop head soak for several minutes. Once the time is up, rinse the mop under clear water.
The next step is a sanitizing wash. This is where you'll need to figure out the type of mop head you own in order to understand which method to use. For detachable mop heads, including any type except for sponge heads, you can toss them into the washing machine on high heat with regular detergent. Sponge heads can be treated like kitchen sponges — either wash them in the dishwasher or soak them in bleach. Fixed mop heads will need to soak in a bucket filled with equal parts water and bleach for 15 minutes or so and then rinsed well to get rid of any remaining bleach.
How to clean brushes
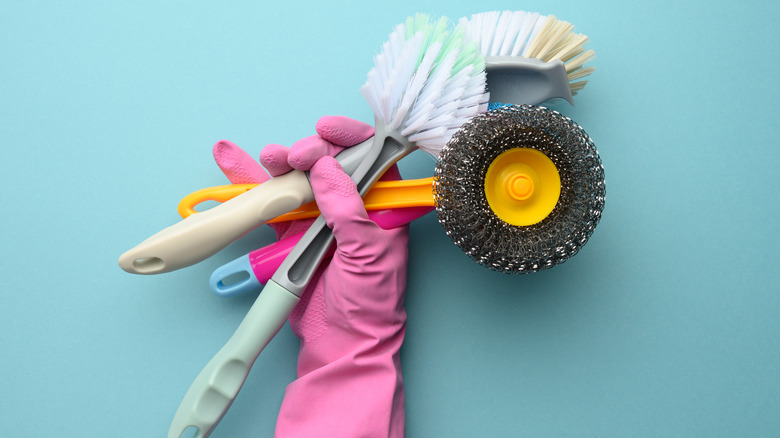
You likely use a range of brushes when it comes to cleaning your home. Whether it's a scrub brush to clean the bathtub, a toothbrush to whiten up the grout on your tiled floors, or a toilet brush, you should be regularly cleaning your brushes.
Housewife How-To's pointed out that scrub brushes should be cleaned after every use. This includes toothbrushes used for cleaning only. To get started, you will need to do a pre-wash to remove dirt, followed by a second wash to disinfect the brush. The pre-wash consists of a soak in warm water mixed with a splash of dish soap and a sprinkle of baking soda. After a few minutes, rinse the brush and move on to the sanitizing soak. In a bowl, mix two cups of water as hot as it comes from the tap with a cup of vinegar and a tablespoon of both washing soda and Borax for the best cleaning power. Soak the brushes for another several minutes, and then let them dry without rinsing.
The cleaning process for toilet brushes is much simpler as you can disinfect the brush in the toilet itself directly following each clean, according to Housewife How-To's. Once you've finished cleaning the toilet bowl and flushed the water, pour in some disinfectant and leave the brush to soak in the water for several minutes. Rinse the brush by flushing the toilet again. Before storing it, make sure it dries thoroughly.
How to clean brooms
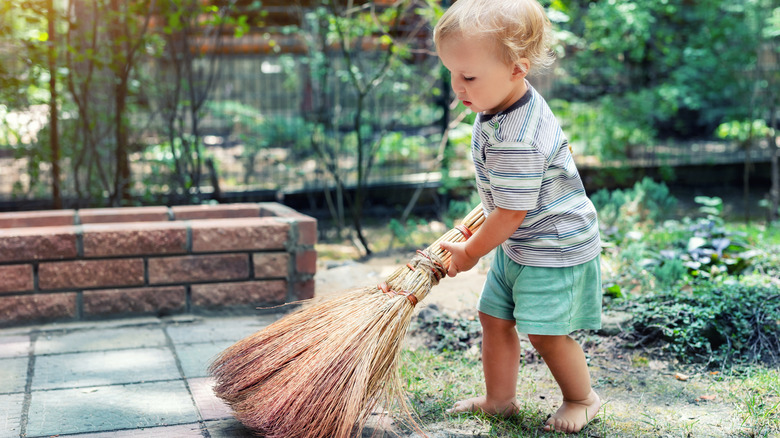
While it may make sense that toilet brushes, sponges, and mops need regular cleaning, most people tend to neglect cleaning their brooms. Although brooms don't need to be cleaned as frequently — every three months on average — they are in contact with the dirt, grime, and germs that collect on your floors and will cease to clean well if they are never cleaned themselves, as per Food52. There are a few steps involved with cleaning brooms, but the whole process shouldn't take long.
Food52 recommended first freeing any accumulated hairs, dirt, and dust bunnies from the broom head with your hands. You can also shake it off outside or in a garbage bag. Another option is to use your vacuum cleaner to remove debris. The next step is to wash your broom head in a bucket of warm water with a bit of dish soap and oxygen bleach powder. The bucket will need enough room for the broom head to sit completely covered for anywhere between 30 minutes and an hour, depending on how dirty it is. Note that brooms with natural fibers, including corn and straw, shouldn't sit for as long in the cleaning solution — 15 minutes should do the trick. Once your broom has soaked thoroughly, simply rinse it well and let it dry, preferably in a sunny outdoor spot. Before tossing the cleaning solution, give your dustpan and brush a wash as well.
How to clean rags
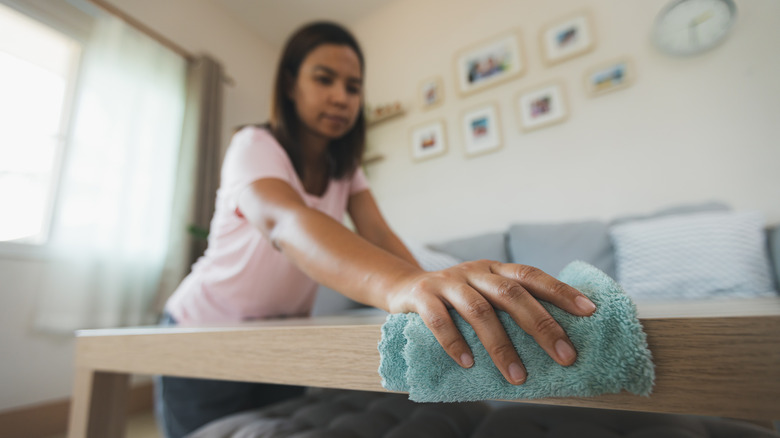
The way you wash your rags will depend on the material, according to A Clean Bee. Due to the amount of dirt and bacteria that your rags collect during cleaning, you should also wash them after every use. As a general rule, you can wash your rags in the washing machine on a hot setting with your normal laundry detergent. You should always wash them alone as opposed to with other types of laundry to avoid cross-contamination. In addition to the normal wash cycle, you should also sanitize your rags with a bleach wash every 2-4 uses.
To sanitize cotton rags, you should follow the instructions on the bottle of bleach for how much to add to a load of laundry. You can add the laundry detergent as you would for a normal wash. Set the temperature to the hottest possible setting and run your machine. Cotton rags can either be dried in the dryer or hung to dry on a clothing rack indoors or outdoors.
If you have microfiber rags, you will need to take some extra care when washing. For starters, you shouldn't wash them with any other fabric types. You also cannot add bleach as this will damage the fabric. Fabric softener is a big no-no as well. You will need to use a cold temperature setting and a natural laundry detergent free of scents and dyes. Microfiber rags can be dried on low heat, but they also air dry incredibly fast.
How to clean vacuums
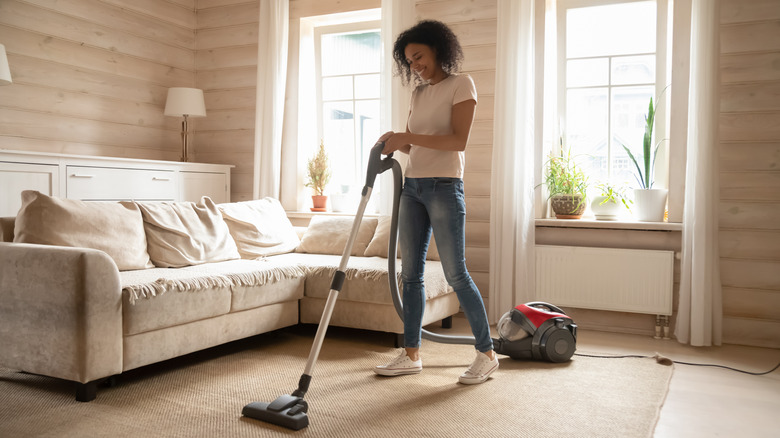
Vacuums often get clogged with dust and dirt and need regular maintenance, as per Oh So Spotless. The spinner brushes also tend to accumulate hair and fabric fibers over time, making them less effective at performing their job. You should always pay attention to the bag or canister's fill level as you vacuum and empty or change out as needed. The filter will also need to be changed out and cleaned according to the manufacturer's recommendations. For thorough deep cleans, don't wait longer than a year to a year and a half to avoid potentially costly repairs down the road.
The first step to cleaning your vacuum is taking apart the various components. For canister vacuums, wash the canister in warm water mixed with a bit of soap and give it a few scrubs with a bristled brush. Use a toothbrush to clean hard-to-reach areas. You will then need to cut out any trapped hairs and strings from the beater bar and spinner brushes. You can remove these components to clean out any dust or dirt underneath. Any attachment accessories can be washed with warm and soapy water. Once clean, rinse them thoroughly and let them dry overnight. Next, disinfect any parts that touch the floor with a bit of alcohol disinfectant. The final steps include wiping down any other parts that you haven't cleaned yet and putting the vacuum back together once everything is dry.