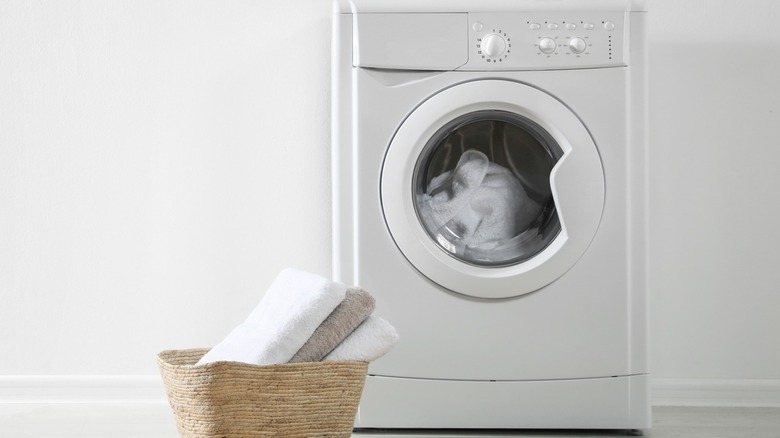
How To Successfully Clean Lint From Your Dryer
We may receive a commission on purchases made from links.
It's pretty common for certain areas of your home to not get cleaned as often as others. Most of these areas typically include the inside of cabinets, ceiling fans, walls, pantries, and even dryer lint trays. It's common knowledge that lint trays should be cleaned at the end of every load of laundry; however, according to Air Pro Hawaii, the dryer lint vent should only be cleaned on an average of once a year to every six months.
While it's far easier to clean the dryer lint tray, the dryer vent is a different story. It takes certain steps and a lot of caution to successfully complete this task. You also may need a few basic tools such as a screwdriver, a lint cleaning brush, a standard vacuum, soap and water, etc. If it's that time of year for you to clean your vent or you want basic tips on how to clean your tray, here is a step-by-step informative guide on how to successfully clean lint from your dryer.
1. Why it's so important
First and foremost, let's talk about the importance of dryer maintenance. You may be asking yourself, "Why is it so important to keep the dryer clean?" Well, there are a few answers to this question, the main one being debris buildup. Debris buildup can lead to several problems, especially when it comes to lint. One of those problems is allergies. If you find yourself sneezing out of nowhere, especially when you get near your dryer, it may be time to clean it.
Another important factor is fire prevention. According to Family Handyman, on a yearly basis, 15,000 fire reports are made due to dryers catching on fire from excess lint and debris. This happens because debris, primarily lint, can fall into the small holes and gaps within the dryer. The dryer then gets clogged up, causing the heating element to work harder. This is where the fire typically and almost always starts. However, this can easily be prevented by cleaning your the dryer regularly.
2. Where to start?
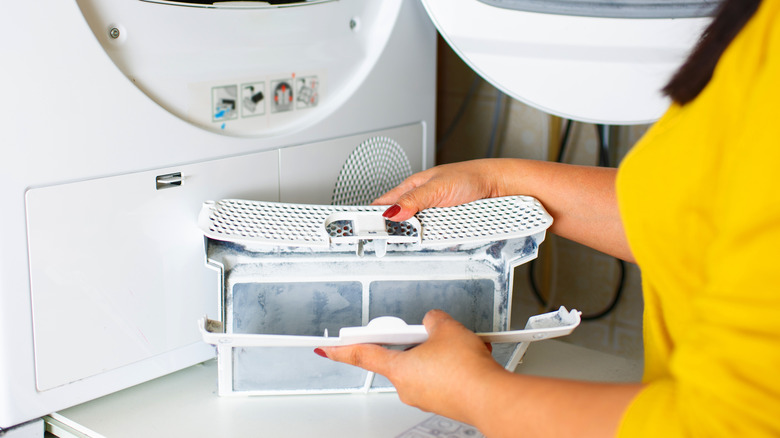
The most basic area to start tackling dryer lint is the lint tray itself. If you want a thorough cleaning, start by simply taking the tray out of the dryer. Remember that vacuum we mentioned earlier? Use that to clean as much of the lint off the tray as possible. If there's a few pieces that won't budge, that's okay. Next, go to the sink and grab some soap and warm water and gently rub the tray until all the lent is gone. You can also use other ingredients such as baking soda or vinegar if that's your preference. You will know that the tray is cleaned when water runs through all the holes. If it doesn't, repeat these steps as many times as necessary. It's also important to note that the tray needs to be fully dry before reinserting into the dryer.
While the tray is drying, take the vacuum's extension to clean out the dryer's lint tray slot. Some slots can be better accessed and cleaned by removing the cover of the machine. Just remember to unplug the dryer first! The dryer type and model will dictate if this is possible. If it is, take the screwdriver and take out all of the screws and lift off the cover. Molly Maid recommends taking a picture beforehand to help remember where all the screws go. Vacuum out the slot, reattach the cover, and reinsert the tray.
3. Hose cleaning
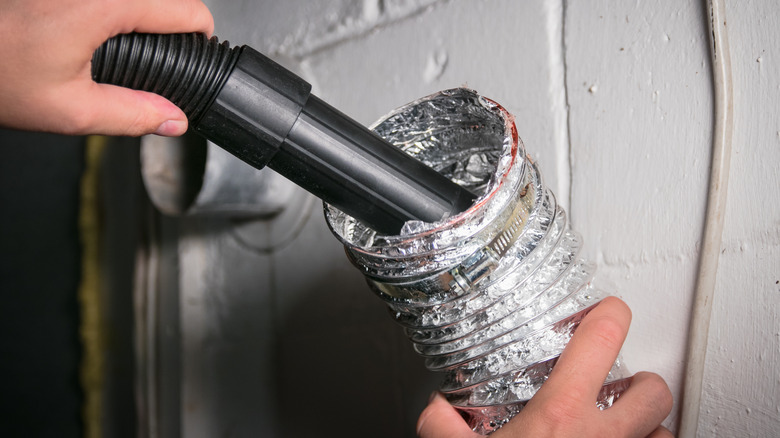
Now that the tray is cleaned, it's time for the dryer hose. Again, make sure the dryer is unplugged before continuing. The first step in this process is to locate the hose. This is probably the easiest step as it's almost always located at the back of the dryer. The hose is most likely held on with clamps that can be taken off using the screwdriver. When removing it, it's usually a good idea to have a trash bag to catch any lint and dirt that may fall out. However, if you're not worried about cleanliness, you can just sweep that up later.
The most common way to clean the hose is using the vacuum. Hoses can be fragile and easy to break and bend, therefore be very careful while cleaning. Take the vacuum and gently clean out the hose. This may take a few minutes as you are carefully doing this. If not, you can find a replacement hose at the store for a small price. Remember, each dryer requires different types of hoses, so be sure to find the one that fits yours. If you managed to not break it, good for you! Depending on how often your dryer gets cleaned, sometimes the vacuum isn't always enough. Bob Vila suggests taking a multi sided brush and an extender pole to gently brush the inside of the hose to remove any extra debris.
4. The two vents
After the hose is unattached and cleaned, the vent cover itself should be cleaned. The average cover is usually about 4 inches in diameter, metal, and is located between the dryer and hose. However, unlike the dryer hose, the cover is usually sturdy and solid and doesn't have to be handled as delicately. Much like the vent tray, the cover can be cleaned using soap and warm water. However, since the cover is metal, it's important to dry immediately to prevent any rust from developing. Upon washing and drying, the cover can go back on immediately.
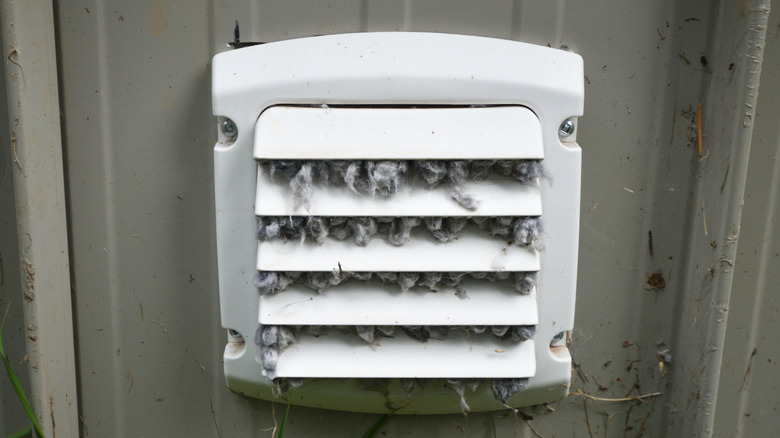
It should also be noted that there are actually two dryer vents: the one you just cleaned, and the one outside. This is often forgotten about as well as you don't see it unless you're outside. This dryer vent is located on the other side of the wall from the hose and has a few doors that are slanted. Typically, these doors open and close as the dryer runs. The Spruce suggests first checking the vent when the dryer is running to confirm that the doors are working properly. Then while the dryer is off, use the lint cleaning brush to brush over and under each door to remove any loose debris. If there is a decent amount of debris, use some soap and warm water to wash the vent as well. Let the vent dry before turning back on the dryer.
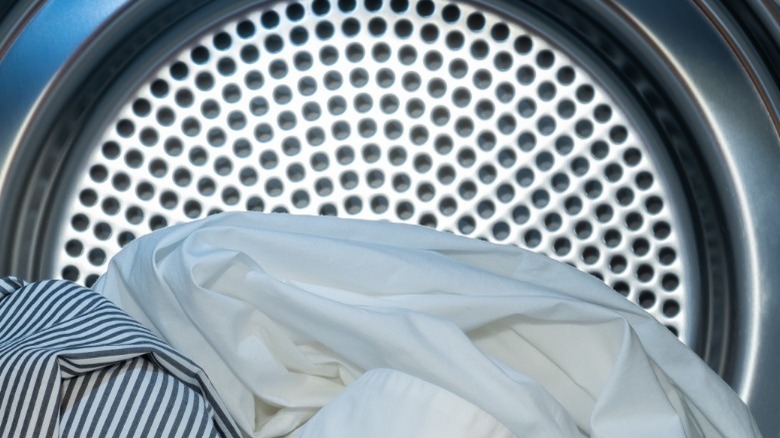
5. Don't forget the drum
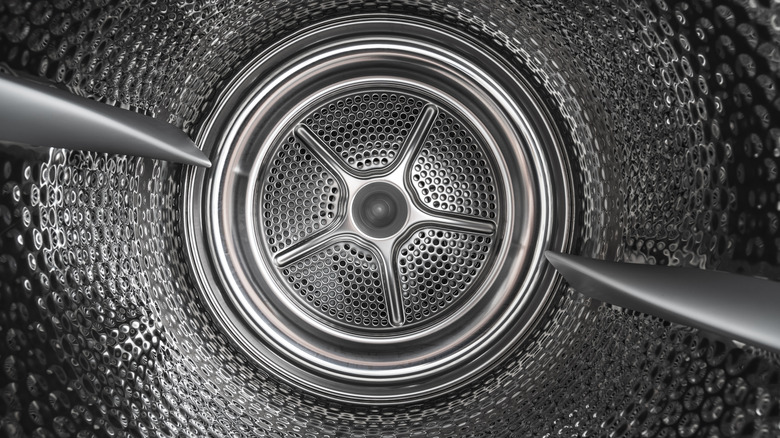
Lastly, probably the most forgotten part of the dryer to clean is the drum. This isn't usually thought of as most think that it never gets dirty, but just like any other part of the dryer, this needs cleaning too. Typically, this is mostly important for those that have pets, little kids, or those working in dirty conditions. Hard to see dirt, lint, and other debris can slowly build up overtime which, of course, can also lead to problems. Unlike the lint tray and vent, the drum doesn't typically need a ton of maintenance and wiping it down with a damp washcloth usually does the trick.
However, if certain items such as candy somehow made their way into the dryer, they can get stuck and require some deep cleaning to remove. You may have to take more soap and water, and even vinegar or baking soda to get this cleaned. Gently scrub, as to not scratch the dryer, the leftover debris. After cleaning, Whirlpool suggests drying a small load of laundry to completely dry the drum.
6. Cleanup and experts
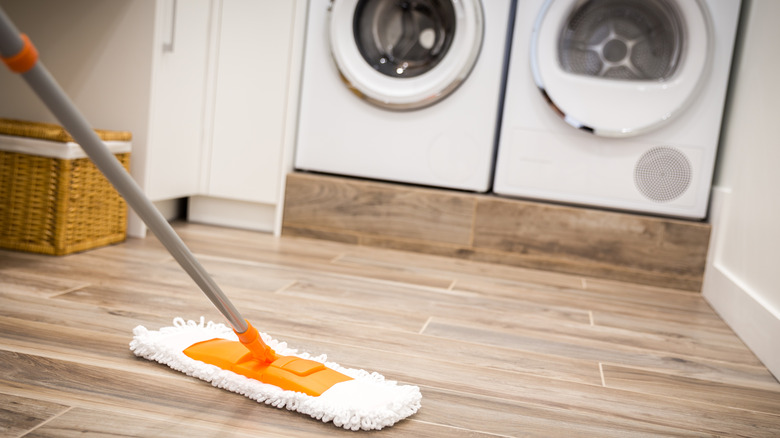
Congratulations! You've officially cleaned your dryer. However, you are not done. You've cleaned the lint tray, both inside and outside vents, the hose, and even the drum. What's next? Well, just like any other tasks that are completed, there is cleanup. If there is any leftover debris anywhere near the dryer it needs to be cleaned. This can also cause a fire hazard as a dryer sometimes blow heat out the back as it dries, especially if it's clogged.
Cleaning the dryer and the debris that comes with it can be a lengthy and tiring process that not everyone is able to do. Maybe you don't have the ability to clean your dryer. Maybe you just don't have the time or don't feel comfortable cleaning it. Either way, there is help out there. Most experts have more and better equipment than regular people have. Dig This Design even points out that hiring a professional is smart because most cleaners offer a warranty.