How To Grow And Take Care Of Gaura Plants
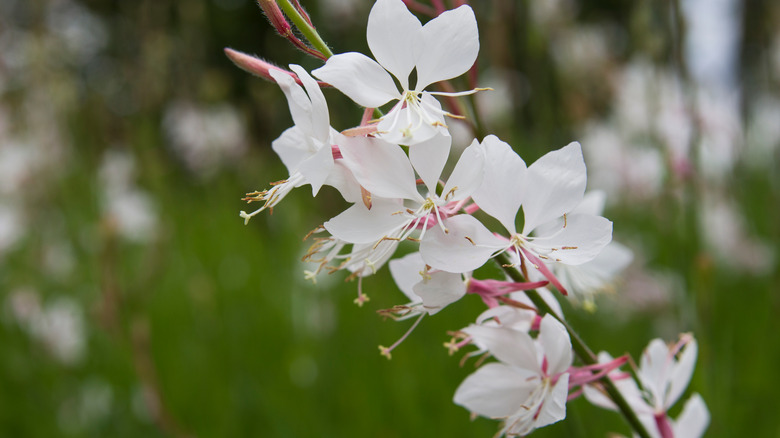
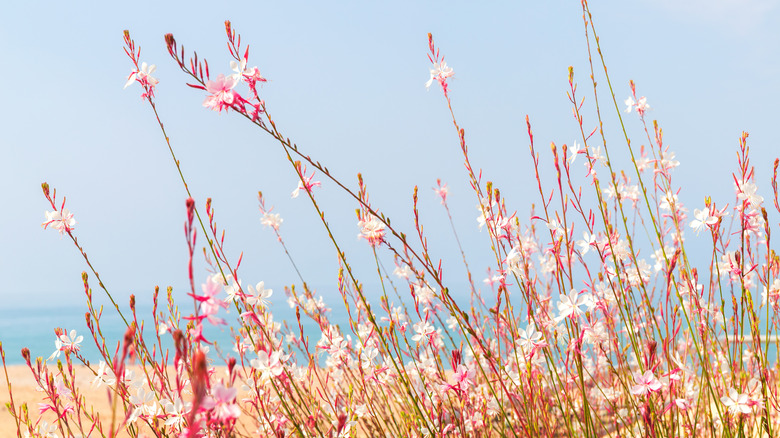
The gaura cultivar (Gaura lindheimeri), also known as the whirling butterfly, the wandflower or bee blossom plant, is a perennial that produces masses of pink or white flowers on long flower stems. Its unique name comes from the blossoms' appearance resembling butterflies dancing in the breeze. Although the plant is native to North America, it thrives exceptionally well in hot, dry climates and requires very little care. Blooming from mid-spring until late autumn, the gaura whirling butterflies cultivars can reach a height of 15 inches to 4 feet.
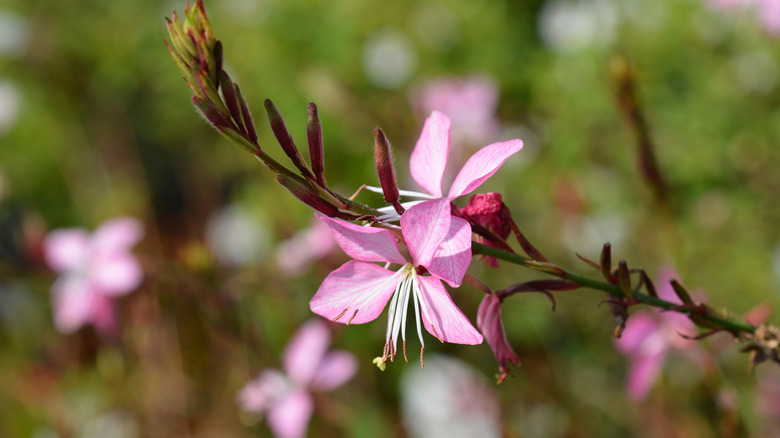
Numerous compact gaura varieties can be cultivated in containers, and they are mainly white and pink, with the pink type appearing only recently, as per Burke's Backyard. While the white types have a faint pink tint, other varieties produce bright or dark pink flowers. Both the white and pink cultivar varieties look great in the trendy "post-white" garden, which they may spice up with a dash of pink. Gaura flowers, like daylilies, survive only one day and grow for months on strong, wiry stalks if not cut back. The flowers are one inch in diameter and have four petals. Its leaves are lance-shaped, variegated, green-leafed, with burgundy tinted fresh growth in some types. The long bloom time of gaura plants, which is significantly lengthier than most perennials, is one of its best traits.
How to use gaura plants in the garden
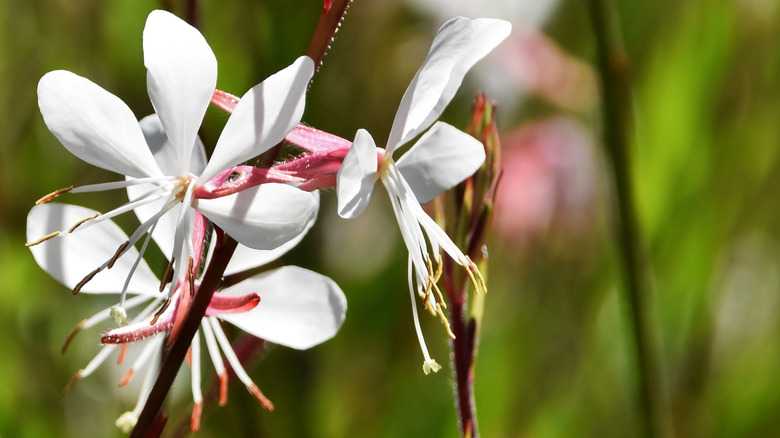
Gaura is really charming but is also tough, with stems covered in fine hairs. At the end of the summer, when most plants are looking a little ragged, and it's dry outside, gaura delivers, giving the landscape a light, airy feel. The bee blossom's star-shaped flowers continue to bloom long after other flowers have finished blooming, covering your garden in color and freshness with its white and pink flowers. The gaura flower also attracts butterflies from late spring through fall for enhanced color and interest.
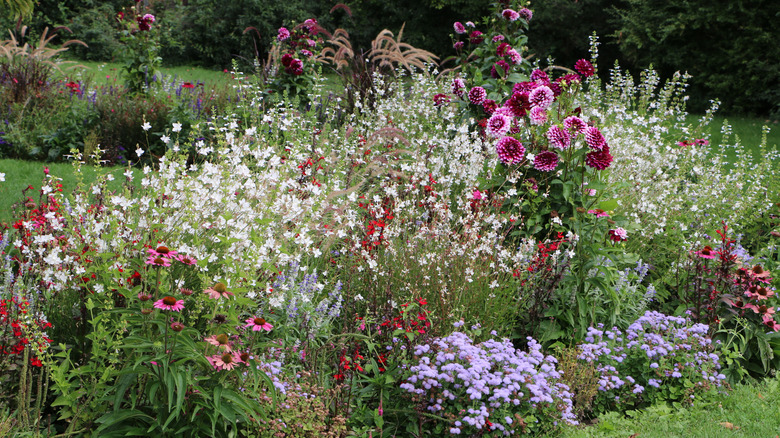
According to Gardenista, some amazing gaura companion plants include coneflower, yarrow, and tubers; this combination emphasizes gaura's whirling butterflies, especially since most varieties change color from white to pink to coral-red as fall approaches. Even the plant's iris leaves a magnificent backdrop when it finishes blooming, enhancing the beauty and charm of your garden. Cultivars come in various sizes and are utilized in the garden for many purposes. Some of the smaller types never reach a height of more than 2 feet, but they're great for making a low border or adding to rock gardens as single specimens. Larger gaura plants are ideal when surrounded by a mix of smaller, bright blooms; these combinations make lovely garden centerpieces.
How to grow gaura plants
The gaura plant grows best in an open, sunny place with well-drained soil. The cultivar has a large taproot, making it drought resistant. Once established, it thrives in dry environments, but be aware that heavy, wet winters can be devastating for it. When planting gaura in your garden in the spring, Gardeners HQ recommended ensuring at least 12 to 15 inches between the plants. However, grouping four to five gaura plants together will offer your garden the most impact.
Growing the whirling butterfly plant from seeds is the simplest propagation method; you only need to sow the seeds in the garden early in the spring or late in the fall. Another approach is to divide the plants in the spring, although they have long taproots that may make digging them out difficult. If you still decide to dig them out, ensure you thoroughly hydrate them. Separate each taproot, as well as its stems, and plant them in a fully prepared garden bed. Gaura plants can also be propagated using hardwood cuttings in the summer and softwood cuttings in the spring.
How to care for gaura plants
As the long butterfly wand blossoms flourish, the perennial can grow up to 3 to 5 tall. Gaura loves sun, adequate drainage, and a jolly good pruning, so plant it in a bright, open area with well-drained soil. Gaura plants require little upkeep once they've been established, which is ideal if you're short on time. Moreover, the bee blossom is a herbaceous perennial that goes dormant throughout the winter before sprouting new shoots in the early spring, which is why you should plant gaura in raised beds with compost and grit added to the soil ahead.
Pruning the gaura plant during the autumn is a must. Cut the shoots in half when they reach around 11 inches in height: This will result in a more compact, robust, and self-supporting plant with a more considerable number of flower stems that are less likely to flop around. Fresh flowers should bloom between 6 to 7 weeks after pruning. White Flower Farm recommends making sure to feed your gaura with a high-quality all-purpose fertilizer in the spring.
Gaura plants varieties
Gaura plant varieties are ideal for filling up gaps in beds and borders quickly and easily, Home Stratosphere wrote. With their lengthy summer flowering cycle, these cultivars are a great addition to any mixed perennial border. There have also been no reports of the white gaura or pink gaura varieties being poisonous for humans, domestic animals, or pets, so here are a few lovely types to plant in your garden:
-
"The Bride": This gaura type creates a velvety leaf mat that contrasts nicely with the delicate white blooms carried on long thin stems. It has a long flowering season, extending from early summer to late October.
-
"Ruby Ruby": With vivid pink blooms and dark pink-bronze stems and leaves, this cultivar is shorter than other gauras, so it's perfect for front-of-the-border plantings and as a cut flower.
-
"Gaudwwhi" or "Geyser White": This gaura type produces white blooms held like wands on long thin stems and makes a mat of delicate, mid-green leaves. It has a wild, disheveled appearance.
- "Gaudros" or "Geyser Pink": This plant type creates a lovely, mid-green mat that highlights the subtle pink of its blossoms.
How to repot gaura
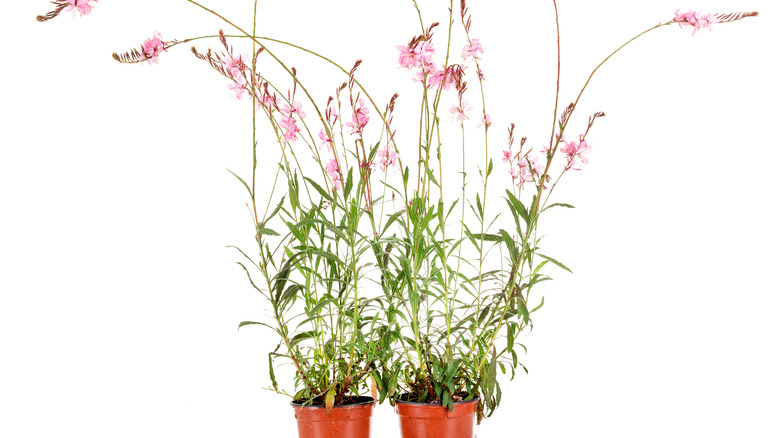
As per Balcony Garden Web, the gaura plant can be grown in pots, but you need to make sure the containers offer enough space to grow. The bee blossom can also be transplanted, but you need to be really careful when doing it and ensure you don't dig it up at once. When you do, follow these steps:
Make a circle in the dirt beneath the drip line around the root ball using a trowel. Dig out the root ball surrounding the drip line using a garden fork or a shovel. To reveal the roots, shake or brush off the excess soil. Pull the roots apart to divide the gaura clump into four or five portions. Plant the sections in the spot you chose for them and water the plants to help them establish their roots.
Remember to trim the plant back to about 2/3 of its unpruned height when it's around 12 inches tall, usually in midsummer. Also, keep in mind that older gauras are sluggish, so water and fertilize them sparingly to keep them blooming and promote compact growth and more blossoms. If cultivated in rich soils or in too much shadow, the flower stems may become leggy and droop, so be mindful of the place you select when repotting them.
Pest and disease issues
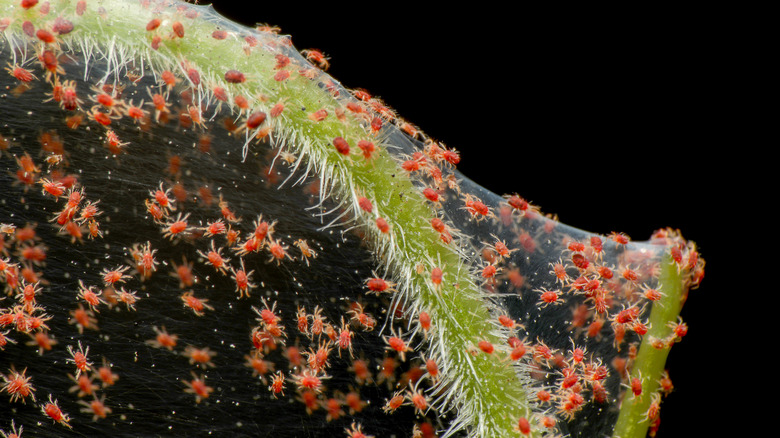
Like most outdoor plants, gauras are susceptible to the most common pests, including aphids, whiteflies, and spider mites. You will start to notice yellowing or brown leaves caused by pest damage, but since these pests are so small, you might not find the source of the problem until they appear in large numbers. If caught early, aphids can be managed by knocking them off using a "jet" or similar setting on a hose-end sprayer. A neem oil-based insecticide is effective against whiteflies and spider mites. Never spray blooms with insecticide, since they will also kill beneficial insects.
Gaura plants are also susceptible to disease issues in certain environmental conditions. In warm, humid regions, the leaves of these gorgeous plants might show signs of fungal problems, particularly powdery mildew and rust issues. Powdery mildew looks like a layer of baby powder on the surface of leaves, while rust presents as little orange circles. Rust can be managed throughout the season using a copper-based anti-fungal spray. To deal with powdery mildew, a simple mixture of equal parts dairy milk and water sprayed on the effective leaves should keep the problem at bay.