Use This Ikea Hack To DIY A Floating Nightstand

Every room needs a statement piece. A piece of decor that stands out and makes the room unique. It's even better if you can DIY that furniture to create something that's one of a kind in your home.
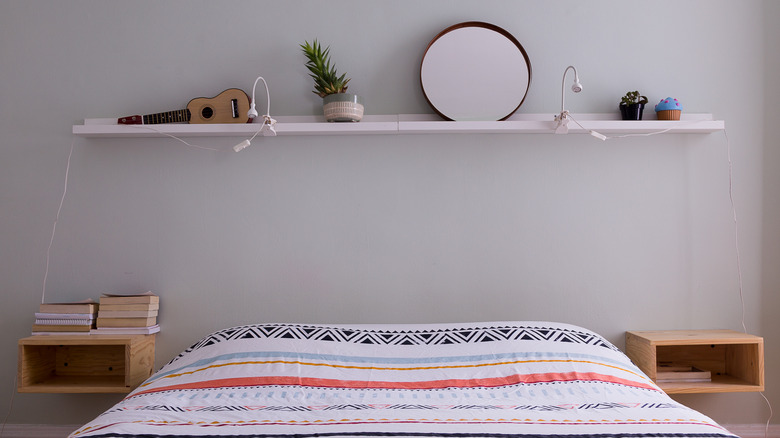
In your bedroom, a floating nightstand can be that statement piece. Floating nightstands are sleek and modern. They're a decor trend that doesn't seem to be going anywhere any time soon. They're also great for smaller bedrooms and saving floor space. You can have the benefits of storage without the furniture that can make a small room feel cramped.
Unfortunately, some floating nightstands can be pricey, depending on where you purchase them. Using this IKEA hack can save you some money while still giving you the stylish floating nightstand you may have seen in inspiration pictures. They also might not be exactly your style or match your other decor. When you DIY one, you can customize the nightstand to fit your needs and interior style.
Materials to buy
There are two styles of floating nightstands you can use in this IKEA hack. So before you head to IKEA, consider the style you want and how you may want to use your nightstand. Better Homes & Gardens suggests making your shelves multi-functional to get the most use out of a small detail.
The first style is simpler and cleaner. You'll be able to set items on top, but you won't have any storage where you can hide things away. It's a much more minimalist design, but you can still customize it to fit your needs and style. For this floating nightstand, you'll need the IKEA LACK shelf.
The second floating nightstand style includes a drawer for more storage. It's a more involved project and a more extensive DIY, but the final result is stylish and worth the work. From IKEA, you'll need the KALLAX shelf insert.
You'll also need laminate shelving that's ⅝th of an inch thick, 15 ¾ inches wide, and 72 inches long. You'll need L mounting brackets, furniture braces, heavy-duty screws, and wall plugs. For tools, you'll need a circular saw, a drill, Exacto knife, ruler, wood glue, and wood filler.
Ways you can customize your floating nightstand

The fun of IKEA hacks is transforming the pieces you buy into a piece that fits your style and decor. So before you attach your floating shelves, you should customize them. You can change the color with paint or add a downlight underneath to give your room a soft glow.
To paint IKEA furniture, start with a light sanding and a primer for laminate surfaces, says Apartment Therapy. This will create a smooth surface and prevent the furniture from warping. You can also use oil-based paint to keep the wood from warping.
To add a circular downlight to the bottom of your LACK floating nightstand, you'll need a slim LED downlight, according to IKEA Hackers. Trace the LED light on the bottom of the LACK shelf; the slim side of the mounting bracket should be pointing up. Be sure that the diameter of the traced circle is a bit smaller than the diameter of the downlight.
Cut out the circle with an Exacto knife and remove the exposed honeycomb structure. Make a hole for the switch and cables on the back of the LACK shelf. Then feed the cables through and connect the light per the instructions.
The last way you can customize your IKEA floating nightstand is by swapping out the hardware on the KALLAX shelf insert. Add a new knob into the existing hole or create new holes to add new drawer pulls.
How to build and install the floating nightstands
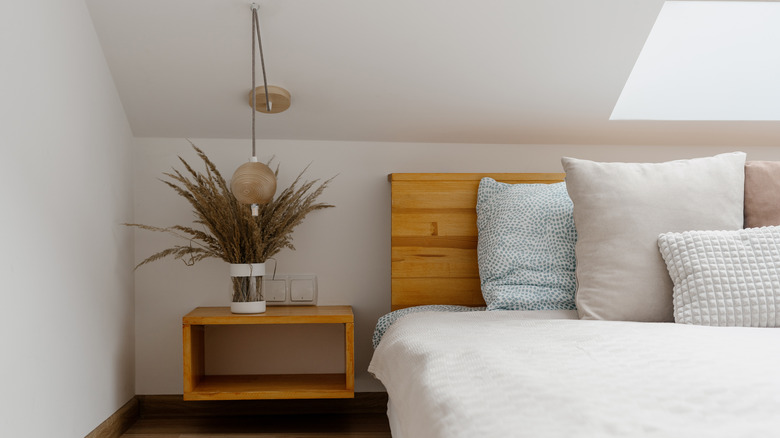
According to Nectar, nightstands are, on average, between 24 and 28 inches tall. You should install your floating nightstand about that high off the ground. You'll want to adjust the placement to fit the height of your bed.
The installation for the LACK shelf is simple, be sure to follow the instructions you receive upon purchase. Once you've installed the light, you can drill the holes and install the screws. Be aware that you may need to locate wall studs before installation. Once the screws are in place, you can hand the shelf using the attached mounting bracket.
To build the KALLAX floating nightstand, start by building the IKEA insert. Cut the cardboard frame in half with the Exacto knife along the horizontal center line. Build the box of the nightstand by cutting two 13 ⅛ inch pieces, and two 6 ¾ inch pieces with a circular saw at a 45-degree angle.
Attach the mounting brackets to the back of the 13 ⅛ pieces. On one piece, attach towards the edges; on the other, attach in the center. Use wood glue along the angled edges to attach the pieces together to create a box. Insert the cardboard with the drawer tracks into the box and screw in the insert with the accompanying IKEA screws. Mount to the wall using L brackets, wall plugs, and sturdy screws. Insert the KALLAX drawer and, voila, floating nightstand shelves.