How To Declutter Your Junk Drawer
The junk drawer is quite possibly the most unorganized space in any home. It's where miscellaneous items get tossed when they don't belong anywhere else. Dumping stuff into it is also a quick way to clear off your kitchen counters when company is coming. Not to mention, multiple people in the house may be pulling things in and out of it, causing pure chaos.
What if your junk drawer could actually be organized and functional so that you can always find what you need? It's possible, but only after you declutter the useless things that are currently in it. According to Apartment Therapy, everything that you don't need, such as broken pieces, random toys, menus, chords, and unnecessary office supplies, can and should be thrown away.
If you're not quite sure how to go about decluttering and getting your junk drawer in order, here is a step-by-step guide to help you do just that.
1. Take it all out
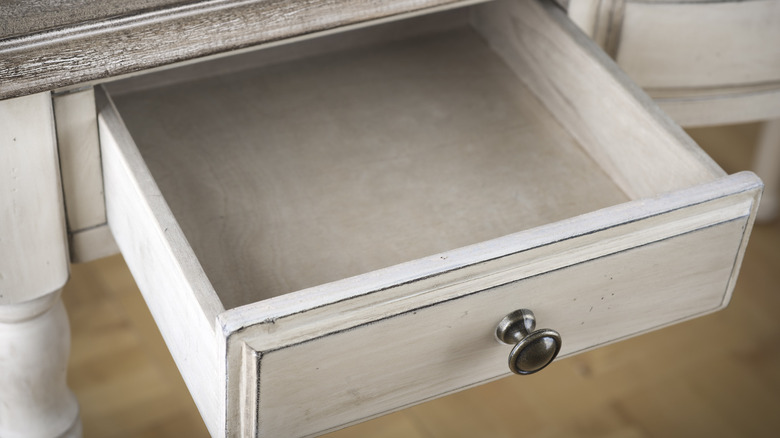
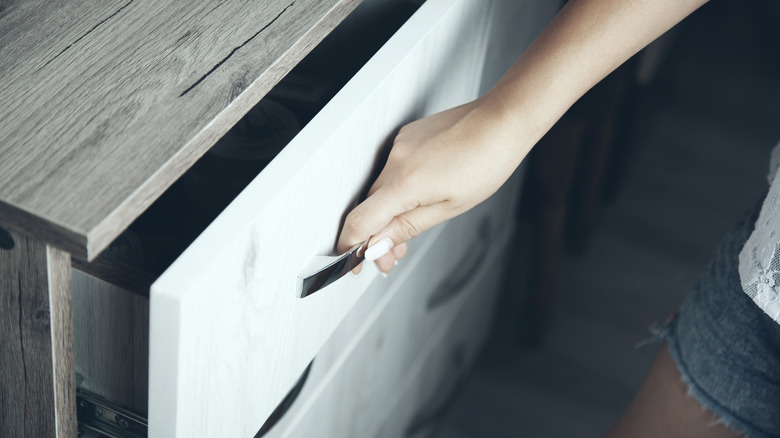
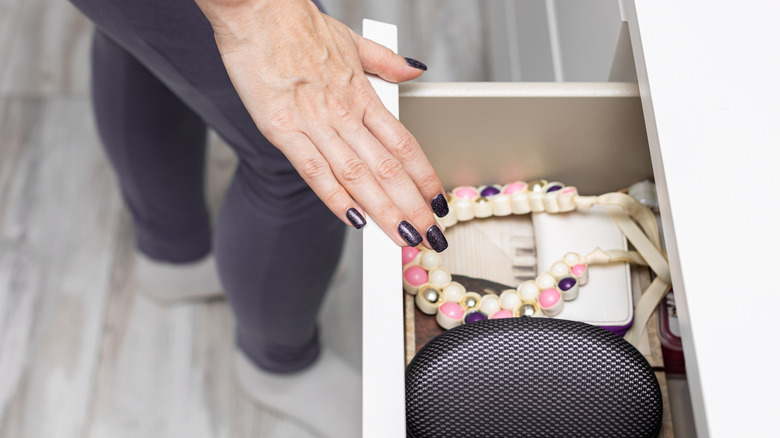
The first phase of any decluttering and organization project is to completely empty out the space you're working on. That's no different for the junk drawer, but it's also an easy step since it's such a small area to tackle. It's important to completely clear the drawer so you can start with a clean slate for your organization project.
Prep your workspace ahead of time by clearing the counters nearby the drawer or on a nearby kitchen island or table. Lay a couple of towels down if you'd like, or be prepared to clean the surfaces after you're done since dirt and dust may accumulate.
Start by pulling everything out of the drawer and placing items onto the countertops. If it's simple enough, per HGTV, you may want to remove the entire drawer off of its tracks. This way, you can reach the back of it with ease.
2. Toss the obvious
Once the entire contents of the drawer are visible on the counters or nearby table, it will be easy enough to spot the things that are actually trash instead of useful. How and why trash makes its way into the junk drawer in the first place is a bit of a mystery. But it seems to accumulate over time or becomes useless once it's been added to the clutter.
Take, for example, loose straws or chopsticks that you toss into the drawer that now would seem unsanitary to use for food or drink. Or batteries that were once good but have now become corroded. Those items plus wrappers, expired condiment packets, broken bits that can't be fixed, and frayed charging cables should all be disposed of during this stage. According to Domino, it's difficult to move on to organizing the drawer if you're still looking at things that don't belong in it.
3. Sort items by category
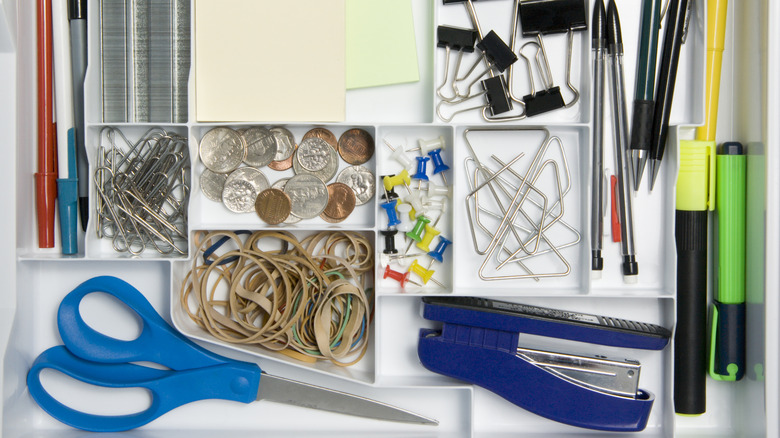
Now that you're left with only the useful stuff, it's time to sort them by category or by type. There is a term for this called storing like with like, meaning similar items should stay near each other wherever they are living in your home. You can start with broader categories such as office supplies and then narrow them down to binder clips, rubber bands, and pens.
If there's a limited amount of things that will fit comfortably into a single kitchen junk drawer, that's ideal. However, if you think you'd like to spread it amongst two or three, then sorting by category is even more important. You may even consider separating things out by task, according to Houzz. One drawer can hold what you need while heading out the door, while another can be used for mailing supplies. Before you decide this, you'll need a good idea of what you have and how many categories so you'll know how best to contain them.
4. Decide what to store
Exactly what would you like to see and be able to find in your junk drawer? Think about what would make your daily life and routine easier and make your decision based on that. If it's in a convenient spot as you're getting ready to leave the house, decide to store your keys, wallet, and sunglasses in it. Perhaps you often find yourself looking for a permanent marker, pair of scissors, or measuring tape, so it makes sense to have a utility section in the drawer.
Once you give the drawer a purpose or a variety of purposes, then you can see what does not actually belong in it. As The Spruce points out, you'll most likely come across things you know you shouldn't be in your soon-to-be-organized junk drawer. Those items can be set aside and rehomed to a more appropriate place in the house.
5. Clean it well
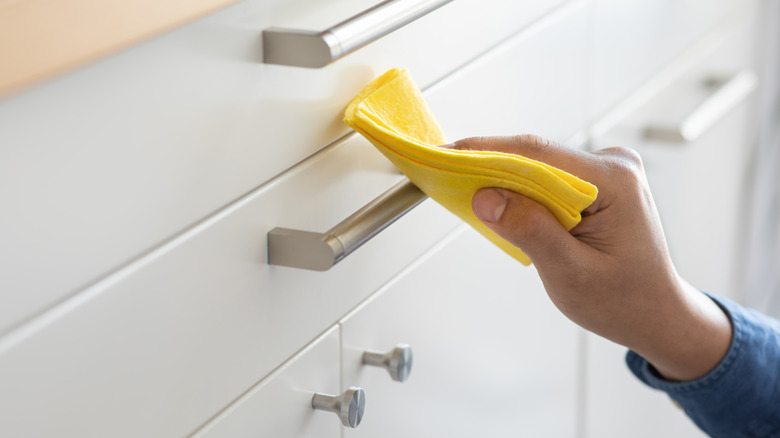
While the drawer is still completely empty, now is a good time to run the dustbuster and wipe it down clean before moving on to the next step, according to The Spruce. Take a dustbuster or handheld vac and suck up any crumbs or larger pieces of dirt. Then using a cleaner and a soft microfiber cloth, clean the remainder. For stubborn, sticky messes or stains, try a specialty cleaner, and if you're without a vacuum, use a lint brush to pick up the dirt and dust from every crevice.
Once the drawer is sparkling clean, you can opt to lay down some liners. Not only will this keep the surface of the drawer free of debris and help keep things in place, but it can also add a small flair if you pick a patterned or colored kind, according to Good Housekeeping. Be sure to have the exact measurements ahead of time so you can cut the liner precisely.
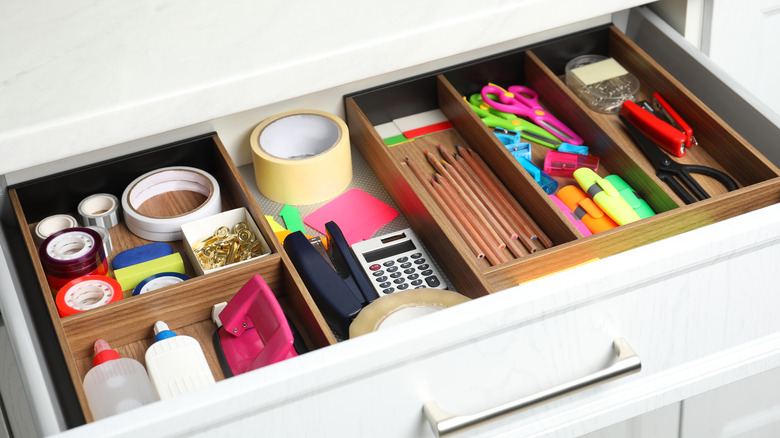
6. Incorporate organizers
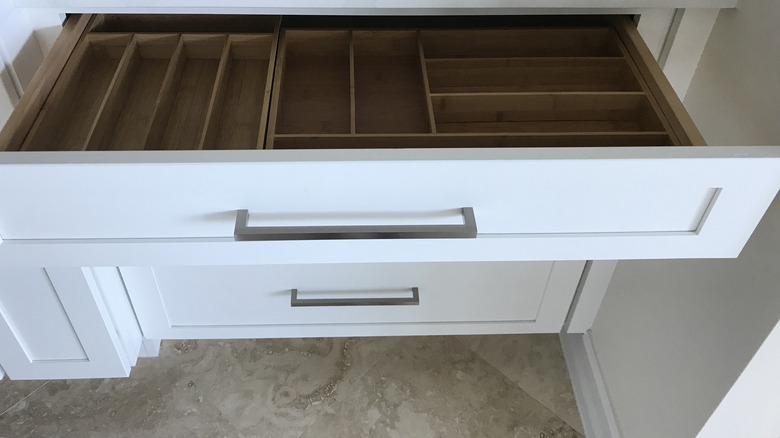
While you have those measurements handy, either shop for or find organizing items you already own that will fit the junk drawer's width, length, and height. Drawer organizers will go a long way in keeping the categories, or like items with like items, together and organized even as time goes on and the days get busy.
A popular option is to use inserts, either individually or as a single tray with sorted compartments. These are available in a variety of materials, so it's simply a matter of your preference. If you like to clearly see what's in the drawer, go for acrylic. If you enjoy the idea of environmentally friendly products, choose bamboo, or you can even repurpose small, sturdy boxes you already own. Another option, according to The Kitchn, is the use of drawer dividers. Spring-loaded dividers in either plastic or wood create neat lines for your things to stay put.
7. Set up the system
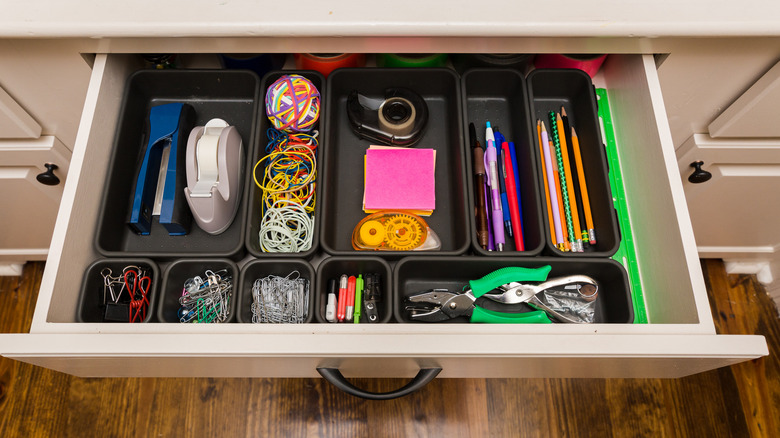
Now it's time for the fun part. Once the organizers you chose or found are sitting comfortably in the drawer, you can start to arrange your things back into it. If you're using inserts, play with the different shapes and sizes of them to see what works best. Small, square compartments work well to hold binder clips or keys, while long, narrow ones can store pens and a flashlight. Things that you reach for frequently are best front and center, while the less often used items can go towards the back.
The bottom line is that there should be a flow to the things in your junk drawer as opposed to disorganized chaos. If there are too many things that crowd the drawer, again, consider a second one. As The Kitchn points out, it doesn't have to be reserved for one room solely. You can absolutely create a junk drawer in another room as well, so long as it's organized.
8. Tidy it up regularly
Being that you have a decluttered and perfectly organized junk drawer, it's a good idea to stay on top of it. Regularly cleaning it out, tidying it up, and reorganizing it if necessary is important to do if you'd like to maintain the order. If there are other members of the household who like to sneak things in there when you're not looking, reassessing it frequently comes in handy.
Martha Stewart recommends revisiting your junk drawer about every six months or so. This ensures that you do it often enough to prevent it from becoming overwhelming. Feel free to do it more often if you prefer and add a reminder on your calendar until it becomes a habit. You can also incorporate it into your daily routine by multitasking. Since it's a fairly mindless task, use a casual phone call or even being put on hold as an excuse to tackle it.