The Most Effective Cleaning Method For Your Dryer Vent
Why should you bother with cleaning the dryer vent? Over time, with repeated use of this appliance, simple maintenance might slip your mind. However, if your clothes have developed a lint problem, or your dryer doesn't run at maximum efficiency anymore, then you know it's time to clean it. Plus, this is a safety issue since a clogged dryer vent presents a fire hazard, as noted by Bob Vila.
So what's the most effective way to clean your dryer vent? Actually, there are a few methods, with some being similar to others but achieving the same result but all you would need to do is choose the easiest one that works for your particular situation. Depending on the method, you'll need some work gloves, a vacuum cleaner, an auger snake, a screwdriver, a leaf blower, a dryer vent hose with clamps and brackets, a cleaning brush for dryer vents, a power drill, and in some cases a cleaning kit specially made for these devices. You should expect this task to take between one to two hours, depending on how deep of cleaning your vent needs and how long it takes you to remove parts and then reassemble afterward.
Pre-cleaning safety precautions
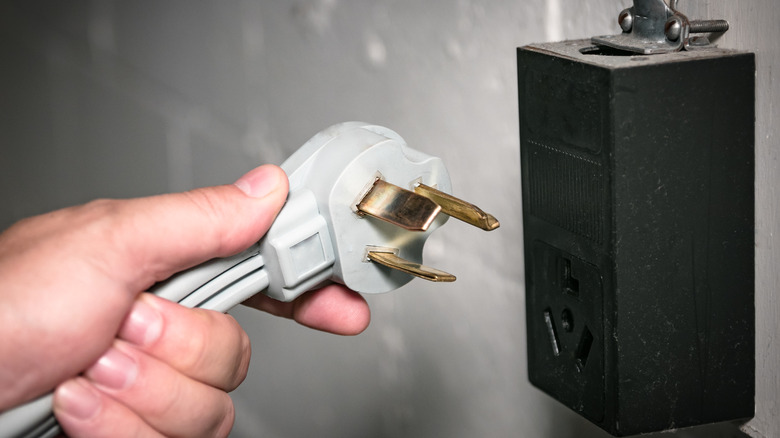
As with any electrical appliance cleaning, the first step involves unplugging it from the wall outlet. In the name of safety, this might be the most important move, according to Bob Vila. Depending on where your dryer is located and how heavy it is, you might need some help moving it to where you can get to the plug. Furthermore, in the situation of a gas dryer, you'll need to turn the gas knob to the right until it stops completely.
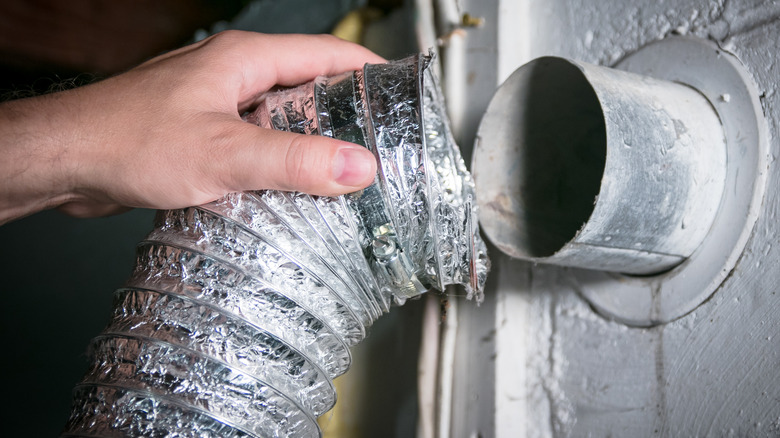
Also, getting this appliance as far away as possible from the wall would be your best option. Make sure you're clear of any shelving, counters, tables, or even the washer. This allows you more room to work without the hazard of bumping against any obstacles that get in the way. Once your dryer is moved to where you have full access to the back, you'll need to locate the vent; look for a silver or white, thin, rigged hose, and you'll find it in no time.
The next step is to disconnect the hose carefully. You'll start by pinching the prongs on the clamp that attaches the hose to the vent, as explained by HomeGuides. Otherwise, if you're dealing with a large pipe clamp, you'll need to loosen the screws with a screwdriver. Finally, unfasten the opposite end of the dryer hose from the port on the wall, and you'll be able to take the hose out from behind the appliance.
Vacuum the dryer's exhaust
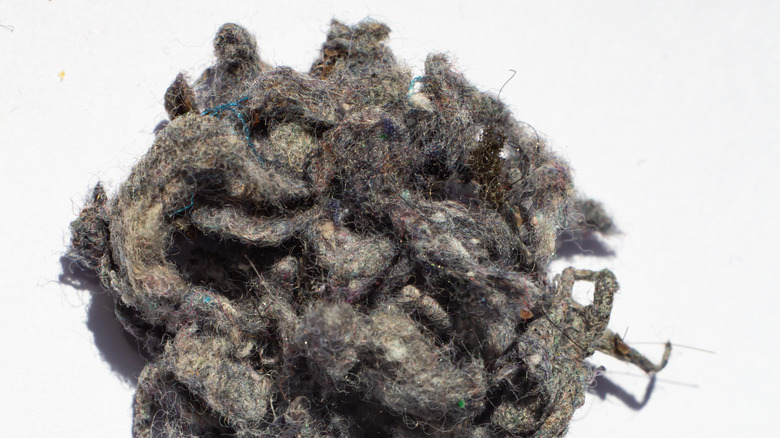
Before you start on the hose, you'll want to examine your dryer's exhaust that's located in the back and bottom of the dryer, which is the opening from where you have detached the hose or pipe. Using a flashlight to closely inspect this area will help with finding large clumps of lint or determining if this entire opening is clogged. In the case of the latter, you can take a round brush or just a rod to dislodge the lint. Once the lint starts falling out of the opening, you will then take the vacuum (a shop vac would work more efficiently) and remove all lint and dust.
As you will see later, a long-handle brush would come in handy for scraping any stubborn lint that sticks to the sides, as noted by Today. In fact, you might have to alternate between the vacuum and the brush.
Using a cleaning kit
To start off, vacuum the outer part of the dryer vent using the hose attachment to gain more reach. You might keep in mind that vacuuming only gets a small amount of lint out from the part of the vent closest to the opening. You're not going to remove everything all at once, especially if you've waited a while before cleaning the appliance.
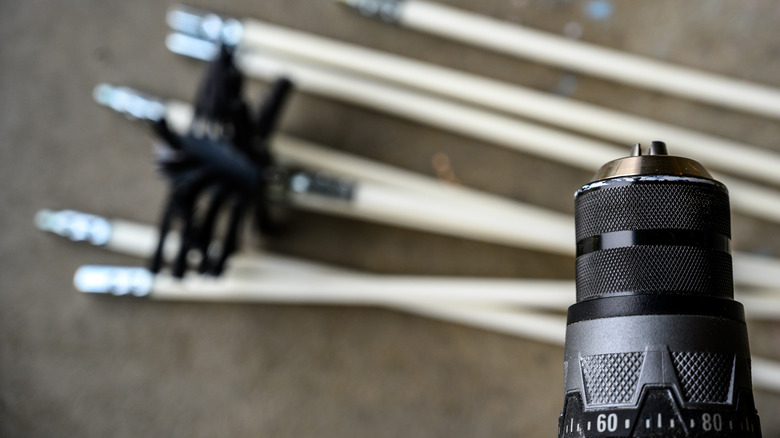
However, it's a good start and a decent method for loosening any fuzz that's gotten packed in overtime. Next, use a dryer vent cleaning kit that comes with a rod (sometimes more than one) that can be attached to a power drill, as Architectural Digest recommends. Also, some kits have an attachable brush that goes at the end of the rod. You'll go ahead and fasten the rods because this time, you'll need to reach deeper into the vent and clean out the dryer duct very well.
Once the parts are assembled and attached to the drill, turn it on medium speed and start cleaning away. You'll need to push and pull the rod and make sure the brush is spinning clockwise; otherwise, the parts detach from each other and the drill, making more of a mess. The lint should loosen up more and fall out as you're cleaning the dryer vent. After this part is cleared out, repeat the same process for cleaning the exterior part of the vent. Finally, you'll have all the lint swept up.
Using a long-handled brush
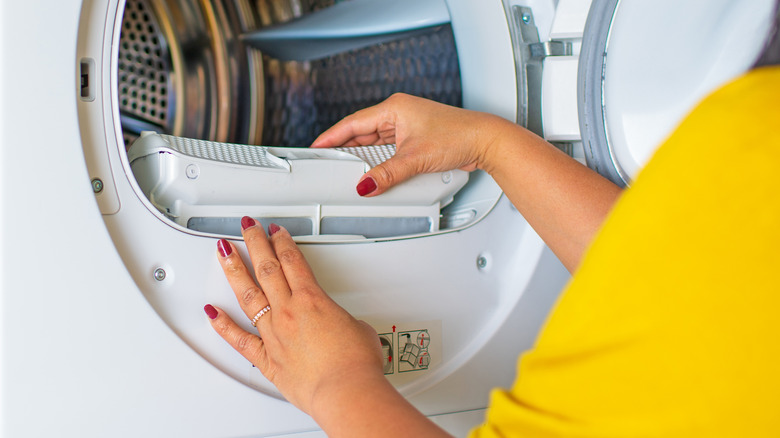
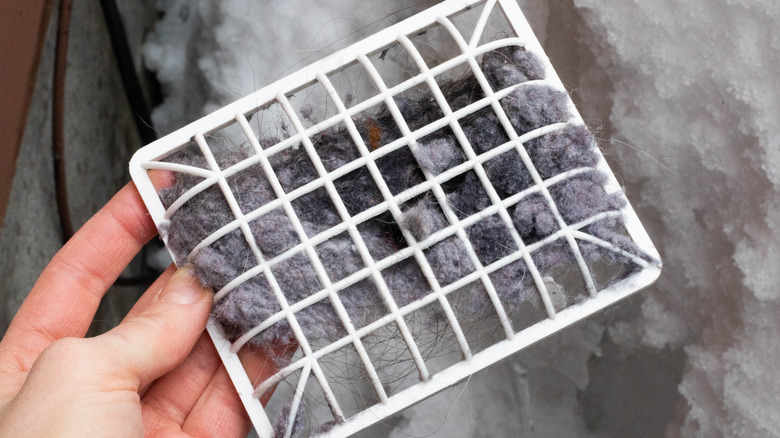
Using a long-handled brush provides another effective cleaning method for your dryer vent. One difference, however, involves starting with the lint trap filter, as noted in The Spruce. After unplugging your appliance and taking all necessary safety precautions, you need to remove this filter which is located at the top of the dryer or on the bottom, on the outer edge of the drum. You'll first need to vacuum the filter and the lint trap housing — using a thin hose attachment for the latter. Finally, take a long brush and clean out whatever lint is left in the lint trap housing, repeating these steps until the area is completely cleared out.
Next, remove the ductwork, and using a long-handled scrub brush, perform a back-and-forth motion to clean the inside. As you're clearing out all the fuzz, ensure to keep the brush's head clean by wiping it frequently. Repeat this process as you go deeper into the ductwork or by sections (if you had to take it apart). Finally, when all the lint is removed, reattach or replace the ductwork.
Inspection and reattachment of the hose
Finally, you will need to inspect the pipe or hose that connects to the vent. Along with looking for leftover lint and dust, you're focusing on the condition of the hose or pipe. If you see any damage, or if the parts appear to be worn, then they will need to be replaced, as recommended by Home Depot. In fact, you might consider checking the dryer's manual or online for your local safety codes to make sure that these parts are up-to-par.
Once you have established that all parts are ready to go, then you will reattach the hose to the vent cover which, in turn, gets attached onto the dryer. Basically, you're repeating the same steps as the removal except you'll slide the clamp onto the hose before placing it on the exhaust pipe. Then, you'll tighten the bolts on the clamp. If you need a stronger seal around the hose, then you should cover the edges with UL-listed foil tape.
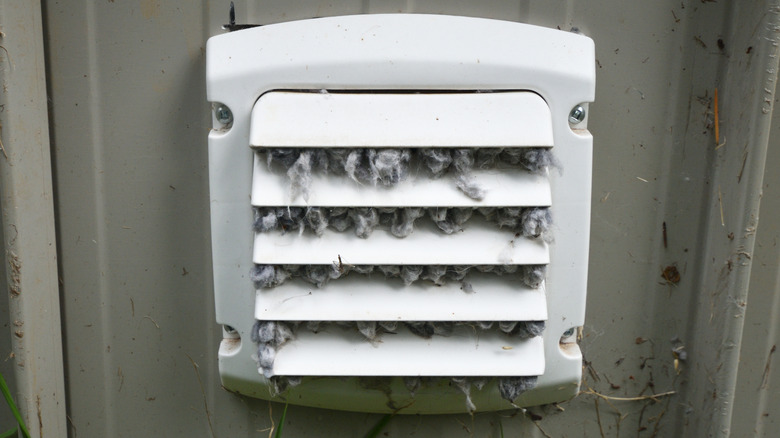
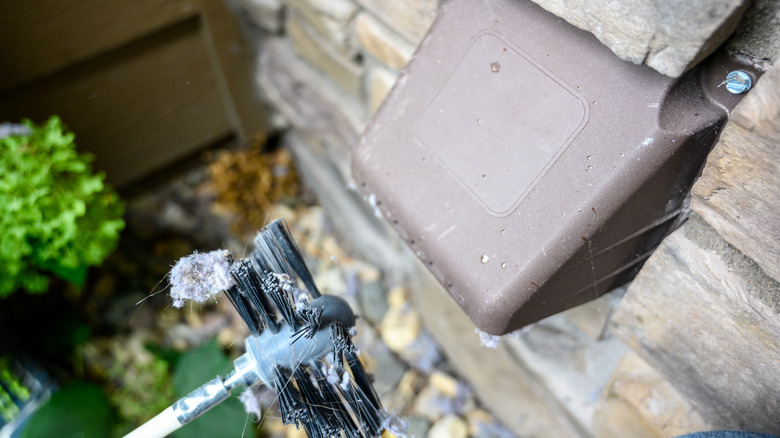
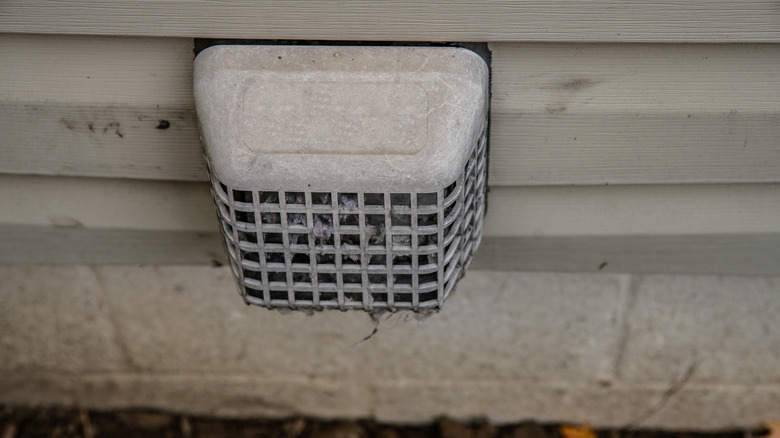
After you reattach the other end to the outdoor vent and before you plug your dryer back in, you might take this opportunity to check the exterior of the outdoor vent. Most likely, you have already removed all debris and lint, but you might check the overall condition of the attachment. If necessary, you will tighten screws and seal the edges with caulking. This step keeps outside debris from building up in the hose.
Regular daily maintenance
In addition to cleaning the dryer vent, regular maintenance goes a long way in keeping your device running in prime condition and preventing fires from occurring, Sears Home Services says. You may already empty your dryer's filter when it comes to daily maintenance, but vacuuming or scrubbing it every three months keeps lint from quickly building up. As for the lint trap, you can aim for the same frequency as your filter.
Ideally, as far as cleaning the dryer vent, you should perform this task once a year but not wait longer than two years. On the other hand, if frequent use is a factor, you might consider cleaning the vent every six months. When performing this task, ensure to also inspect various parts, from the ductwork to the exhaust vents, to see if they need replacing. Another tip to remember is to refrain from overloading your dryer since this causes the appliance to work twice as hard and increases the fuzz build-up in the vent. Lastly, don't forget to periodically clean the drums' inside to remove loose lint or residue from dryer sheets.
How to tell if your dryer vent is clogged
In addition to consistent maintenance, you should watch for signs of a clogged dryer vent, Capitol Chimney and Dryer Vent Service advises. Aside from lint build-up, mishaps sometimes happen, such as pests invading from the outdoors. Another common cause involves forgetting to check pockets for wrappers, tissues, etc. Once those items are released into the drum, they can easily get caught in other parts and cause a clog and a mess. Thus, you'll need to watch for the appliance's performance changes, such as clothing not coming out dry enough after a regular cycle.
Additionally, if you smell something burning or the appliance feels hot (warmer than usual) on the outside, you might be dealing with a clogged vent. And even before your dryer gets to that point, you might notice spots or lines of fuzz accumulation on your clothing which should not occur if a dryer runs efficiently. Consequently, this is a sign that tells you it's time to check the filter, lint trap housing, and vent.
When to call a professional
Some people might not feel comfortable handling ductwork, especially if the item is made from a less durable material, so calling a professional to clean the dryer vent presents a viable alternative. Also, if you're concerned about the safety aspect of this project, whether it relates to the utility connection or the cause of the clog, you should call a professional who is accustomed to working with different models of dryers, Angi notes, or who has dealt with the situation of a pest causing the clog.
Also, if the ductwork is rather long, or you don't have easy access to your vent, a professional would have the suitable tools for a job that's more complicated than what a store-bought cleaning kit can handle. Likewise, if you're in a situation where the ductwork, the exhaust vent, or other parts are worn out and need replacing, it's time to call the professionals.
Cleaning the work areas afterward
After you've completed the task at hand, it's time to tidy up your space. Family Handyman recommends removing all lint that has fallen out of the vent and duct work. A leaf blower might do the trick faster when you're clearing out lint from the outdoor area around the vent. For the indoor area around your dryer, using a shop vac is highly recommended since it tends to be more efficient. Plus, you can expect a huge amount of lint. So, depending how much lint has accumulated, you're looking at completing a combination of vacuuming and sweeping up any debris that has fallen out of the hose and vent.
This step proves to be vital since it mitigates future lint build-ups. When you keep the space that surrounds your dryer free of dust and dirt, the build-up won't happen as quickly. Just the same, if you keep the outdoor area that's close to the dryer vent free of leaves and debris, with a proper seal around the edge, no build-up will occur in that space either. Therefore, any subsequent cleanings will go more smoothly with regular maintenance.