How To Grow And Care For Microgreens
Whether you're new to gardening or have a seasoned green thumb, microgreens are a great way to practice the basics. Plus, they come with lots of health benefits and take very little work to grow, so they're a great return on the time investment.
If you haven't heard of microgreens, they are regular vegetables that are grown for several weeks, then harvested. While it might seem ridiculous to put the effort into growing a seed just to eat it a few weeks later, researchers have found that microgreens contain up to 40x more nutrients than the same volume of their full-grown counterparts, according to WebMD, making them a great way to ensure that you're getting enough vitamins.
Since microgreens are a relatively short-term project, they're also a great way to get used to a watering schedule, caring for plants, and adjusting care based on plant success. However, microgreen care can also vary from normal plant care — especially based on your growing medium.
How to grow microgreens
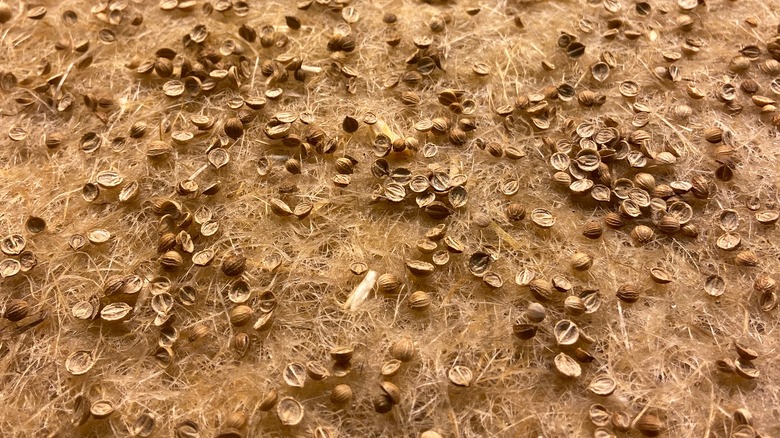
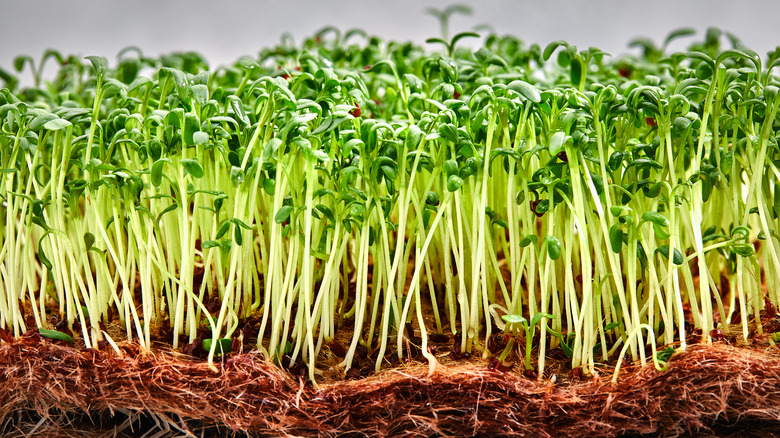
To grow microgreens, you'll need seeds, a wide opaque container, an opaque bag or second identical container, and a growing medium (generally a hemp mat, but seed starting soil can also be used). Before you plant your seeds, it's generally best to soak them for about 6 to 12 hours beforehand — this will help to increase your germination rate, according to New Earth Microfarm.
Once you've soaked your seeds, place your grow medium into the container. Then, either sprinkle the microgreen seeds onto the hemp mat or push them just below the surface of the soil. Give the seeds lots of water — if you're using a hemp mat, you should be able to see a shallow pool of water at the bottom of your container.
Now that your seeds have been planted, they'll need to enter the blackout period — they won't get any light for two to three days to encourage germination. Cover them with the plastic bag or place the second tray directly above, leaving a small gap for air, and let them sit. You may want to check on the seeds every 24 hours to monitor mold and sprouting levels. If more than half or 2/3 of the seeds have sprouted after two or three days, you can remove the cover and bring them back into the light.
How to care for microgreens
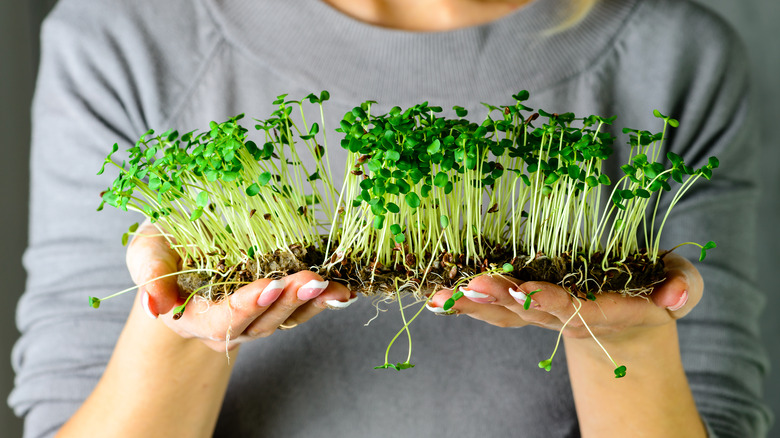
Once microgreens have left the blackout stage, they're incredibly easy to care for. While different varieties have different care requirements, it's generally best to leave your microgreen container near a sunny source (or grow light) and thoroughly mist them twice a day, says Microgreens Corner. Generally, this will continue for a couple of weeks until your microgreens are ready to sprout true leaves.
If you've never encountered the term before, true leaves refer to leaves that can photosynthesize and are usually jagged, according to Growfully. They appear after your plant has developed a few seed leaves, which are the first leaves to emerge (and are usually round).
Depending on the seed variety, it might be best to harvest your microgreen either just before or just after they sprout their first true leaves, as Microgreens Corner states. Either way, once your plants are ready to harvest, take a clean pair of scissors and snip away near the base of the seed. Then, collect the microgreens and wash them with clean water.
Microgreen varieties
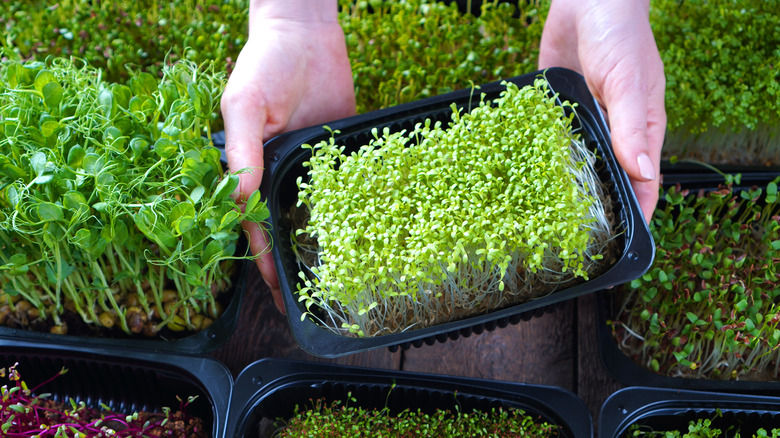
Since microgreens refer to plants cut at a specific point in their growth, just about any vegetable seed can be used to produce a microgreen plant. However, some plants are more commonly grown as microgreens than others. Similarly, some varieties are easier to cultivate, so they're highly recommended for beginners. The Gardening Channel has a nice list, but here are some of our recommendations.
-
Peas (Pisum sativum) have big seeds and are easy to sprout, making them ideal for beginners.
-
Radishes (Raphanus sativus) are also easy to sprout and grow very quickly (usually ready for harvest within a week), making them a great way to dip your toes in the water.
-
Kohlrabi (Brassica oleracea Gongylodes) grows quickly, but the seeds are small which can make them harder to spread on your growing medium.
-
Basil (Ocimum basilicum) is one of the hardest microgreens to grow since the seed develops a gel. Hold off on this option until you have some experience with other challenging varieties.
Since plants all have different grow times, some microgreen varieties will take longer than others to grow. However, all microgreens should be ready to harvest within three weeks (with most varieties ready within one to two weeks).
Are microgreens toxic?
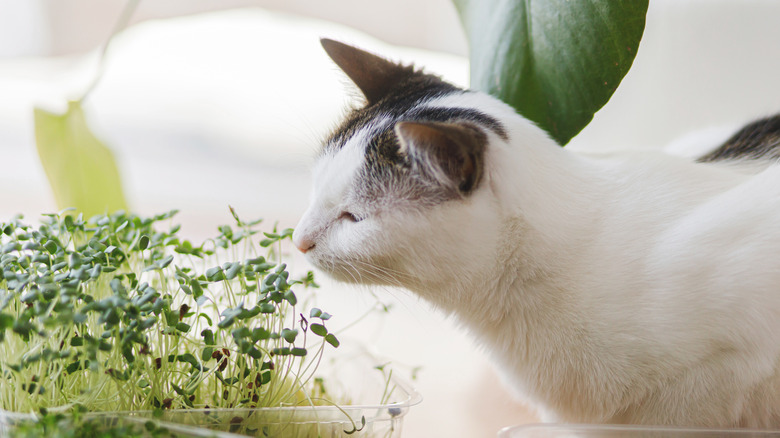
Since you'll only be growing microgreens with vegetable seed varieties, microgreens should not be toxic to humans. However, some plants that are cultivated as microgreens may pose harm to pets.
Though they are seldom grown as microgreens, Daily Paws warns that cats should never be allowed to consume onions, garlic, leeks, scallions, shallots, or chives, since they can all be poisonous. Likewise, Love The Garden warns that unripe tomatoes, onions, garlic, chives, nutmeg, broccoli, and rhubarb are all poisonous or can cause other major issues for dogs.
If you're looking for some pet- and beginner-friendly microgreen varieties, we'd recommend pea shoots, radishes, and sunflowers (though heads up, according to Preventive Vet, radishes can cause minor stomach pain in cats). However, if you have any pets in your home, we highly recommend checking toxicity and compatibility before planting any seeds — regardless of whether or not they'll be harvested as microgreens.
How to prevent mold
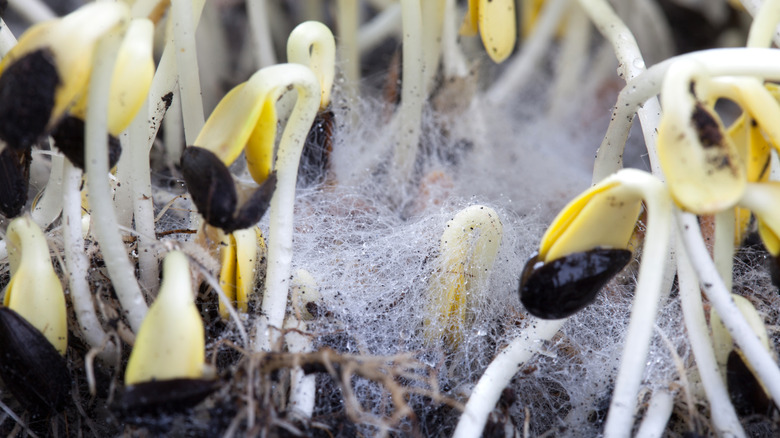
Since microgreens are usually grown indoors and are cut before most major issues can develop, they're generally quite easy to care for. There's a very low risk of pesky insects (unless your indoor plants already have an outbreak), and you won't need to worry about most leaf diseases or root rot. However, there is one issue that plagues novice microgreen gardeners: mold.
Although the blackout period is necessary for seeds to sprout, the combination of dark space, lots of moisture, and a lack of airflow make it easy for mold to thrive. To eliminate the risk, be sure to thoroughly wash (if not sterilize) your gardening container before planting your seeds. You may also wish to sprinkle cinnamon on top of the seeds — according to Gardening Know How, the spice is great at preventing mold from spreading. If you're still having fungus trouble, consider partially uncovering the seeds but leaving them in a dark room to increase airflow while still minimizing lighting.