Steps For Successfully Suspending Plants From The Ceiling
Suspending plants from the ceiling can transform your home into a serene oasis you would never want to leave. While plants on stands or the floor look great, hanging a plant from the ceiling will bring the eye up, encapsulate your space in greenery, and add lots of visual interest to your room.
Foli8 recommends hanging plants to save shelf or windowsill space. Suspending a plant from the ceiling will also display it better and allow your green babies to get all the sunlight they crave. If you have a plant with lots of trailing vines, hanging it will make it more visually appealing. Finally, hanging a plant in the corner of the window can help you decorate these otherwise empty spaces with elements that make your home feel more lively. If you want to use this captivating method of showcasing your favorite plants, below are the steps to follow.
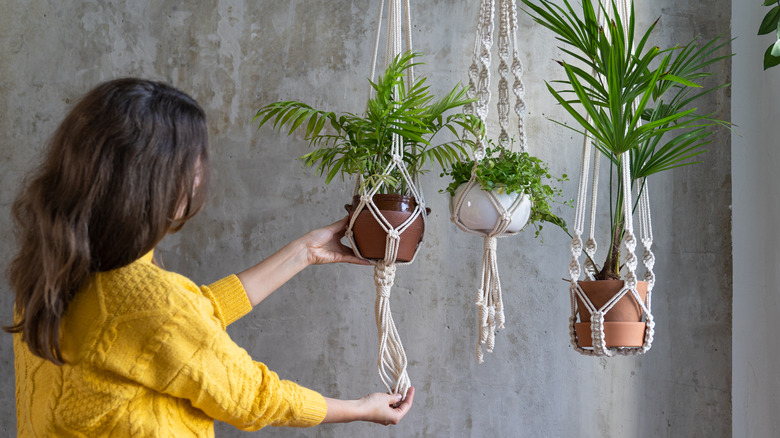
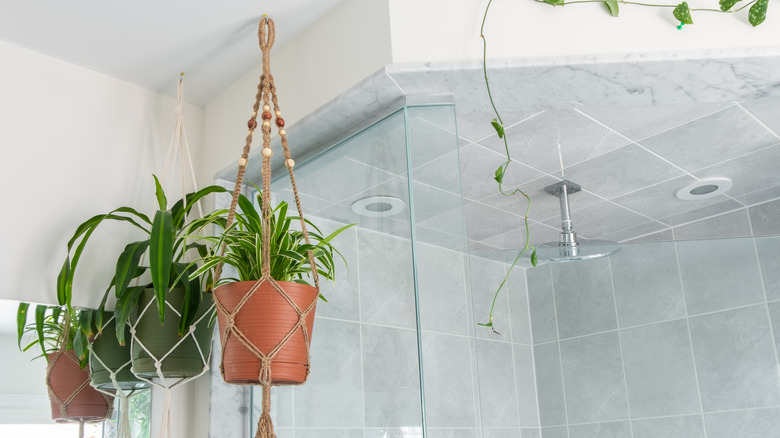
Choose a plant hanger
The first step is to choose a plant hanger, and there are a number of styles on the market. Backyard Boss suggests a macramé rope hanger for the boho lover, a metal planter for a farmhouse or rustic-styled room, and a stone planter for a chic and modern look. Or, instead of a planter, you could choose a hanging shelf to display your plants. Guide To Houseplants says that some varieties can even be hung upside down. Another type of planter you could try is an air plant planter, which doesn't have soil, but sits in a geometric holder and is watered with a fine mist.
When deciding on the right hanging planter for you, you'll need to think about the plant's watering needs, per Backyard Boss. You don't want water to drip on your floor when watering. Therefore, to avoid this, you could get a self-watering planter. This type comes with a reservoir that automatically waters the plant when the soil is dry. Or, you could choose a planter with an attached saucer or a drip-catch system.
Determine the location
Next, you'll need to determine where the plant will be hanging. Wayfair says to choose a location where it can get enough sunlight but can also be easily watered. You'll also want to keep enough room around the plant so it can grow. Typically, plants are placed in front of windows, light sources, or in the corner. Insider says that the location will also be determined by the variety of plants you are hanging. Some plants desire full sunlight, while others want indirect sort. Others can also live in shaded areas. Archute says not to suspend plants above furniture where people sit, and this is because water could drip from the planter.
Once you've decided on a location, use a ladder to mark with a pencil where you want it to be hung. You'll also need to use a stud finder to determine whether or not the location is on a stud or just in drywall. This will determine which hook you choose in the next step.
Select a hook
After determining the location, you'll need to select a hook. By Brittany Goldwyn says that when installing in drywall, use a ceiling hook with either a toggle bolt or a ceiling drywall anchor. If placing in a stud, use a screw hook with a threaded end. Insider says that when affixing to drywall, make sure you know the maximum weight. They say to use a swag hook, a hook with a toggle bolt with clips that open up once in the ceiling.
Ceiling hooks also come in a number of colors and styles, as demonstrated on Lowe's website. They're typically white, black, or metal, and if you have a white ceiling, a white hook will blend in and create a seamless look. Choose a black or a metal hook for a bold appearance. Also, think about what style hook will look cohesive with your planter and the rest of the décor in the room.
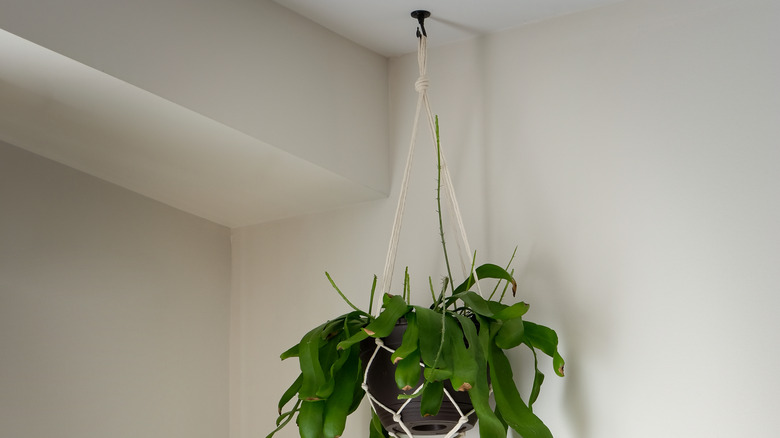
Install the hook

To install the hook into the ceiling, By Brittany Goldwyn first says to make sure you wear protective eyewear and a mask. You'll also need a drill and various drill bits. Insider says you'll typically need the ⅝ inch drill bit. Begin by drilling a hole into the ceiling where you marked earlier. You'll then screw the hook into the ceiling. To ensure that it is in place and can hold the weight of a plant, tug on the hook.
Pretty Handy Girl provides more detailed instructions. They say that if installing on a stud, first drill a hole that's slightly smaller than the diameter of the screw on the hook. You'll then twist the hook into the hole by hand. If using a toggle bolt and installing it in drywall, hold the clips on the bolt closed and insert it into the hole in the ceiling. Once inside, the clips will open up, secure the hook, and then screw it in by hand.
Hang the plant
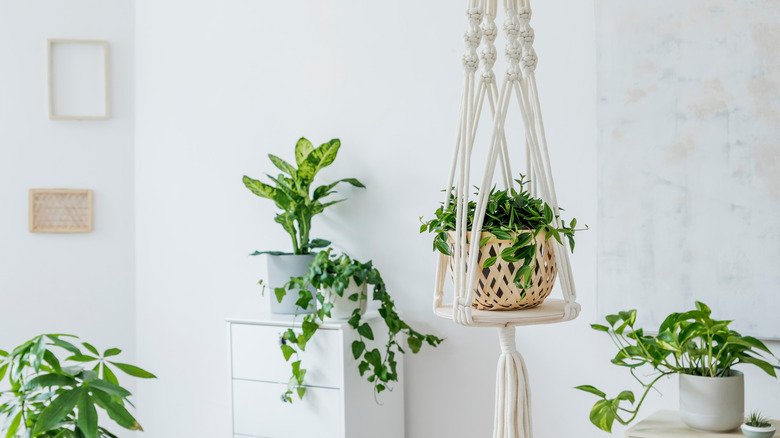
Once your hook has been installed, it's time to hang your plant. If your hanger and pot are connected, and the former has a ring or a loop, just suspend it, and you're done. However, some hangers are separate from the pots. If you have a macrameé hanger, place the planter flat on the ground, then put the pot in the center and lift from the ring or loop, per Insider.
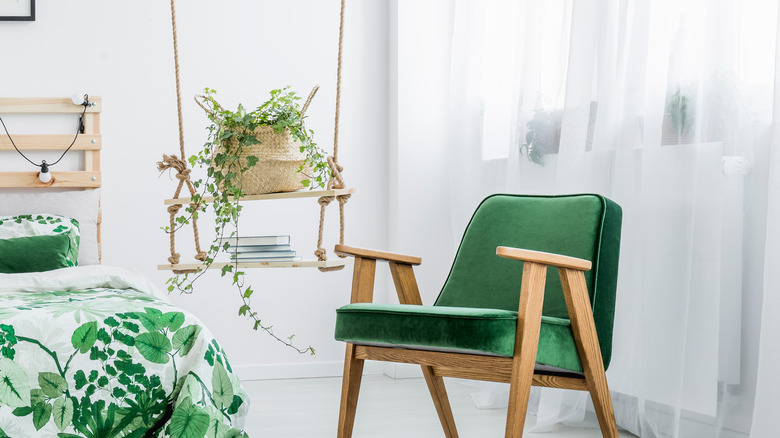
For plants with long vines, you could attach the long arms to smaller hooks along a window or wall trim, per My Scandinavian Home. This will make your plant appear more prominent and cover more space. Use adjustable chains if you want a plant's height to be flexible. Or, to make a plant hang down further, you could tie a piece of rope with a loop to the planter's ring, then hang it by the rope's loop. Once your plant is hung, take a moment to step back and admire your beautiful work.