How To Repair A Chipped Porcelain Bathtub Yourself

We may receive a commission on purchases made from links.
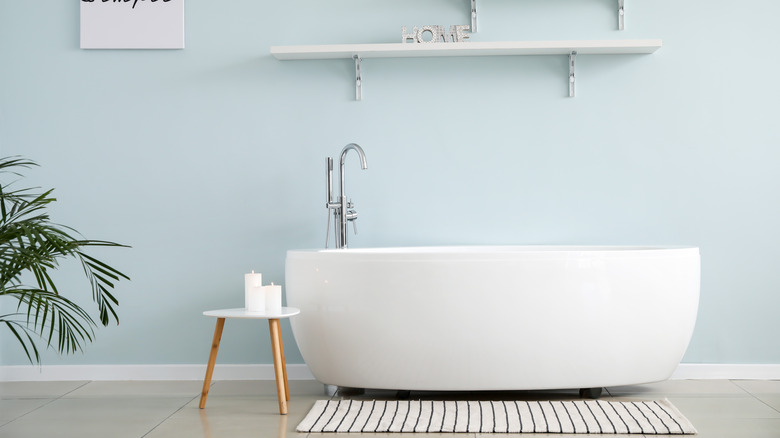
Whether you enjoy soaking in warm water surrounded by candles or have young children who love splashing themselves clean at the end of each day, a bathtub is an essential part of your home and life. Due to its sturdy structure, your tub may feel seemingly indestructible. Unfortunately, as common as accidents occur around your home, your relaxing and cleansing bathroom fixture is at risk when it comes to its looks and functionality. According to Vevano Home, most tub surfaces are finished with a hardened porcelain enamel. Although porcelain tends to be rather strong, it still has a habit of chipping and cracking.
Fortunately, repairing chips and cracks on a porcelain tub is not a difficult process. With proper guidance and the right materials, the repair process can easily be done without the help of a professional. To get you started, let's take a look at some basic steps you can take to repair your tub so you can quickly resume your relaxing end-of-the-day soaks.
Prepare the area
Before jumping into the repair process, there are a couple of preparations that need to be made. According to Someday I'll Learn's YouTube channel, the first thing to do is clean the damaged area. Cleaning the chip before you repair it is important because it prevents bacteria, mold, and other unwanted particles from contaminating the area after it is filled. As you clean, Modern Bathroom highly advises against using harsh or abrasive cleaning materials. Instead, apply a simple homemade cleaner consisting of warm water, ammonium, and baking soda with a soft sponge or cloth. For extra cleaning power, you can also cover the area with salt, top it off with lemon juice, and let it sit for a few minutes as it begins to disinfect.
When you're finished cleaning, simply rinse everything with warm water and leave it to dry. Once dry, you can continue your preparations by lining the borders of the chip with tape to keep the sealing compound from spilling out around it. Although Someday I'll Learn uses painters tape, masking tape can also work for this situation.
Epoxy putty
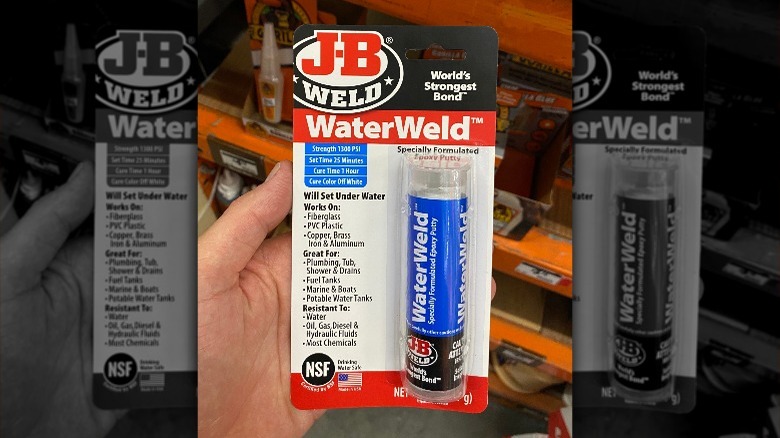
There are a variety of compounds you can use to fix a chip in your porcelain tub. Loctite, however, claims that epoxy putty is the quickest and easiest material you can work with. According to Sylmasta, epoxy putty is a dough-like substance that contains a powerful adhesive that bonds to nearly any surface. By using this material to repair a chip in your tub, you're not only revamping its look, but also providing the damaged area with a remarkably strong hold meant to last for years.
To use epoxy putty, you must first understand that it consists of two parts. Sylmasta explains that mixing these two parts together forms a chemical reaction, which causes the putty to harden as you position it onto the surface you wish to repair. Once the project is complete, the epoxy putty will be about as hard as steel. The entire process is very simple and easy, making it popular among both professionals and inexperienced do-it-yourselfers.
Apply the compound
After removing your epoxy putty from its packaging, start by kneading the two parts of the compound together. For the best results, both parts need to be completely blended before they're applied to the chip. Someday I'll Learn's YouTube channel recommends dampening your hands as you work it together in order to prevent the putty from sticking to your skin. Whenever you feel the compound is ready for application, simply press it into the chipped portion of your bathtub until the entire gap is full.
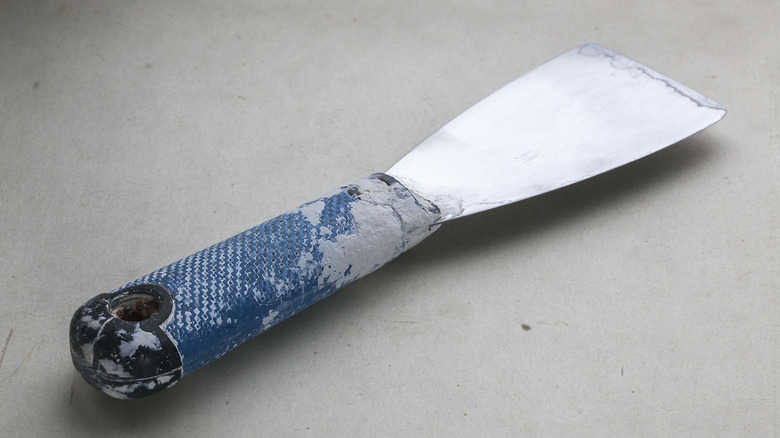
Once the putty is applied, you can use either a spackling knife or razor blade to scrape away any extra putty before smoothening it out with your fingers. Keeping your fingers and tools wet throughout this process is also advised for smoother, crease-free results. Finally, remove the tape from around the filled chip and use your dampened fingers or tools once again to smooth out the area. This time ensure that the putty is flush against the undamaged porcelain surface of your tub. When everything looks good, leave the area alone to dry.
Sand and polish
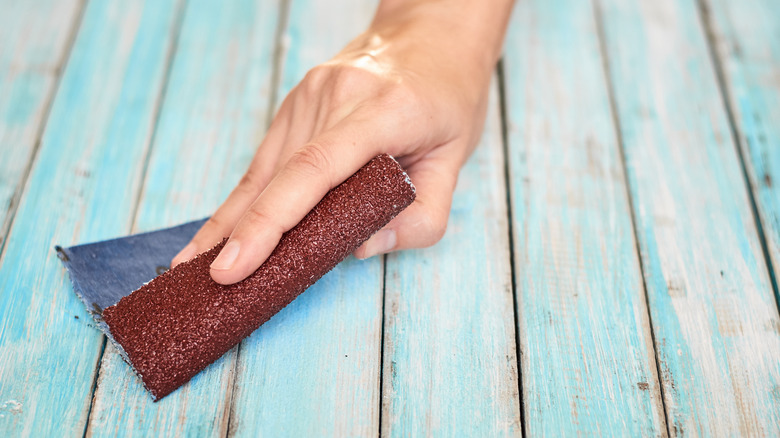
After about 24 hours, the epoxy putty should be completely dry, according to Poolarity – Life Hacks (via YouTube). Despite the smoothing process done following the application of the compound, the repaired area may be slightly rougher than the rest of your tub's porcelain surface. Luckily, this problem can be easily fixed with a bit of sanding. Start by sanding with a 2000 grit piece of sandpaper, then finish off by wet-sanding with a 4000 grit piece of sandpaper.
Once the area is smooth and flush with the rest of your bathtub, you can use a porcelain touch-up solution to cover the entire repair. This will help the epoxy putty blend in with both the original color and texture of your tub. Someday I'll Learn recommends Sheffield Porcelain Touch-up Paint for the best finish (via YouTube). Let the paint dry overnight before wet-sanding once more with a 1500 grit piece of sandpaper.
Protect your porcelain bathtub
After going through the process of repairing a chip in your porcelain bathtub, you may be interested in knowing how to prevent and protect your tub from future damage. Although not all chips and cracks can be prevented, there are still a variety of precautions you can take.
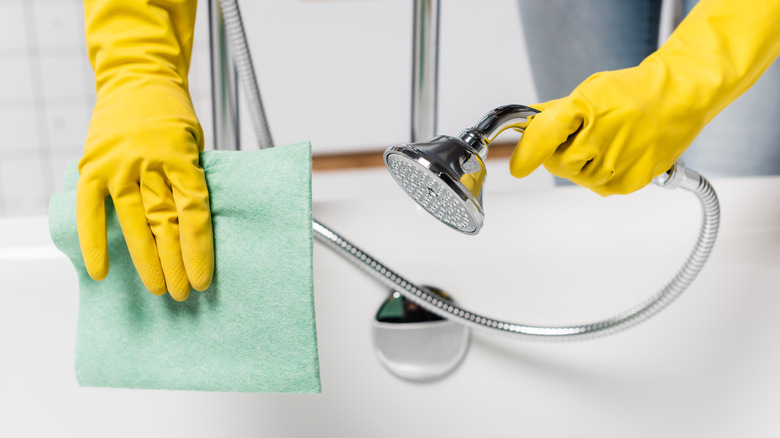
Connect 2 Local explains that one of the easiest things you can do to keep your tub looking great is to use its fixtures carefully and gently. For example, over time, the tub could actually separate from the base if you are regularly pulling on the faucet handles. How you clean your bathtub is also important.
As mentioned above by Modern Bathroom, porcelain bathtubs should not be cleaned with harsh chemicals or cleaning products. Instead, stick to natural cleaners, like lemon juice and baking soda. Finally, as you continue taking precautions around your porcelain bathtub, try to keep heavy objects at a distance. Most chips and cracks occur from heavy objects striking the enamel surface. Therefore, it's best to keep these objects completely out of the area for the safest and best results.