The Easiest Way To Repair And Replace Spalling Brickuse
Whether used on the exterior or interior of your home, brick is one of the most highly coveted wall materials for both its aesthetic and functional value. According to Artists Masonry, brick is fire-resistant, incredibly durable, and provides essential insulation. Moreover, well-maintained brick can increase the value of your home by up to 6%.
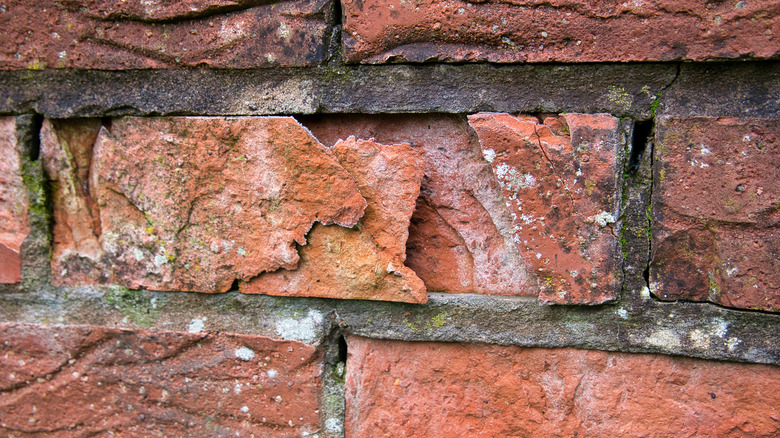
Brick isn't invulnerable to wear and tear, though. Over time, you may notice cosmetic blemishes and erosion to the face of your brick. This is called spalling brick and refers to the process of the brick breaking down, which, according to The Craftsman Blog, leaves the entire structure vulnerable to collapse. There are a variety of things that cause spalling brick, including using the wrong mortar and exposure to moisture. If you notice the effects of spalling brick anywhere on your walls, it's best to act quickly. If left untreated, the moisture can affect the surrounding bricks, and in some cases, the wall's integrity. Thankfully, repairing spalling bricks isn't that hard to do yourself.
Identify the issue
Before repairing your spalling bricks, you should identify the source of the damage to avoid it repeating or spreading further after repair. More than likely, the source of the issue will be water and moisture damage. You can identify moisture damage by the white or yellow mineral deposits that appear on the surface of a brick, explains The Craftsman Blog. Check first for faulty pipes or nearby leaks, but eroded mortar lines are also a major culprit of moisture, especially when it comes to older walls. Mold and internal water damage can also point to the location of the problem.
Another issue that can cause spalling brick, particularly when it comes to older buildings, is having the wrong type of mortar. Mortar needs to be softer than brick, but a lot of modern mortar is much harder than historic, older bricks. Through changing seasons and temperatures, the natural expansion and contraction of the mortar will begin to crush the brick. Older mortar is made out of lime, so you can check if this is the issue by testing the mortar material.
Replacing the damaged brick
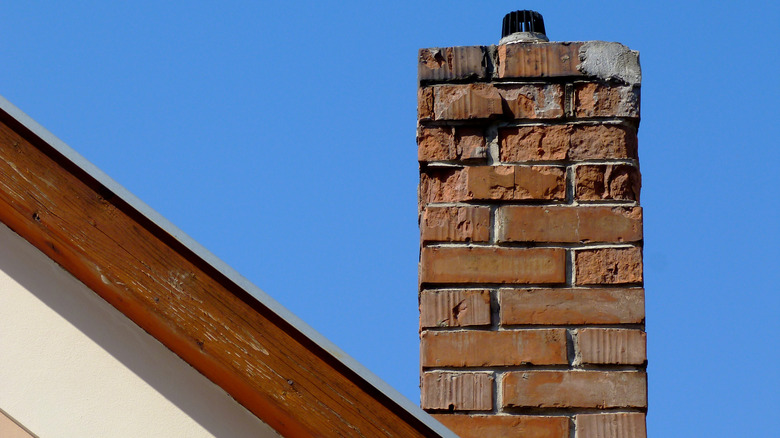
Once you have solved the underlying issue, it's time to get to work to remove and replace the affected bricks. However, according to Vertical Chimney, you shouldn't remove any more than four bricks in the same area without calling a professional. Before removing the old bricks, you should first make sure you can purchase matching bricks that are of the same size and color
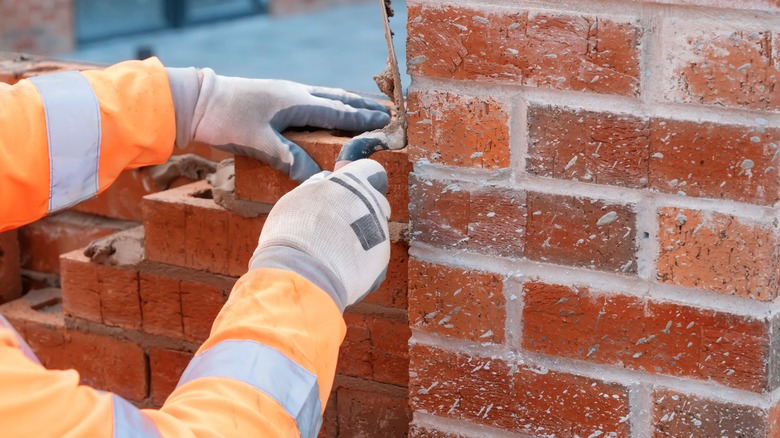
Next, scrape the old mortar out between the damaged brick. You can use a masonry drill bit to loosen up the edges then, using a hammer and chisel, carefully remove the brick, either by breaking it into pieces or by sliding it out. Now it's time to mix your mortar. Ideally, you should use a softer, lime-based mortar — a local masonry or hardware professional should be able to help you with this.
Finally, clean out the gap and dampen it before applying the mortar using a trowel. Your application should be even, and roughly 10 millimeters thick. When the mortar is evenly applied to all four sides of the crevice, tap your brick in place and fill any visible gaps with more mortar. Let it dry thoroughly before exposure to the elements.