The Best Way To Refinish A Wooden Door
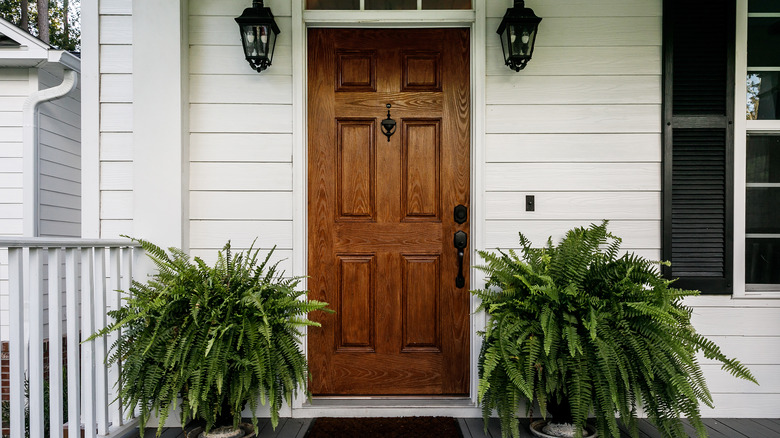
The front door is one of the first things people notice when looking at a home's entrance. The closer you get to the entrance, however, the more you might notice any paint peel or flaking varnish. There are several reasons why you might consider refinishing a door, especially if the wood's surface has been worn down by age and exposure to the elements. Fortunately, the process of refinishing a door and bringing its beauty back to life is not as tough as some might think.
While some of the steps might be a little time-consuming due to the drying time needed after applying stain or paint, this project can be done over a weekend. The results are well worth the time investment and better yet, this project does not carry a hefty price tag according to Homewyse. So gather your sandpaper, screwdrivers, sawhorses, and painting equipment, and check out the steps for refinishing your wooden door.
Remove the door and hardware

The first step of this process is to take the door from the hinges and remove the hardware to allow for easy access to both sides. To remove the door from its hinges, you will first take a nail and place it on the hinge pin and hammer it until the pin comes off per Ron Hazelton Then repeat the process with the other hinge pins until the door can come off. If your hinge system doesn't have a removable pin, unscrew the hinges on the door side only starting from the bottom.
Placing the door onto a set of sawhorses makes it easier to complete the rest of the refinishing process, but first, you will need to loosen the screws for the doorknob and remove it. Again, you will do the same thing for the deadbolt, hinges, and any other metal parts. Alternatively, you can get away with covering the hardware, but removing it completely gives you more space to work and a more even finish since you're not having to maneuver the paintbrush around these parts, explains Matt The Painter.
Remove the old finish
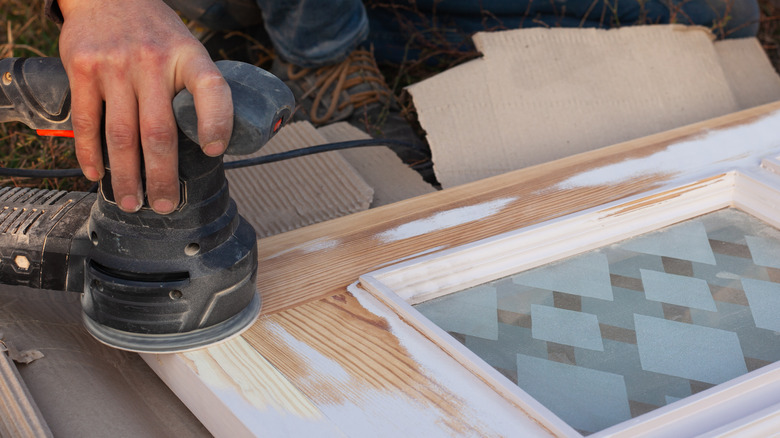
Now you can start removing the old finish. If the door is painted, The Daily Bark notes that applying a liquid paint stripper is the best option for doors with multiple layers of paint. Another method involves using an orbital sander to remove any old paint or varnish from the flat surfaces. A 100-grit sandpaper should get the job done.
You will also need to carefully scrape the corners and any moldings or details. When you scrape, go against the grain of the wood, using steady, even pressure. Also, be careful to go slow to avoid gouging any parts. Afterward, use medium grit sandpaper and sand the corners and edges. At this point, doing another once-over with your sander would be helpful in removing any remaining finish. When all the finish is removed, wipe off the dust with a microfiber cloth or tack cloth to ensure a clean surface to work with as noted by Aqua Coat. And remember — you'll need to flip the door and repeat the process on the other side.
Seal the edges

Once you've reached this point in the process, you should first apply finish (paint or varnish) to all the edges of the door. As noted by Doors by Decora, you need to give some extra attention to the edges because the end of the wood grain is located in these areas. This part is called the end grain, and it tends to be more absorbent to moisture than the flat areas of the door. Although these door areas are not as visible as the rest, they are extremely important when it comes to sealing.
The end grain absorbs not only moisture from precipitation but also from humidity. As a door accumulates moisture, almost similar to a sponge, it expands. When you have this problem, you are likely to have a door that sticks which makes it difficult to completely close the door or worse, to be able to open it without a shove. Thus, sealing off the edges is vital to maintaining your door's durability.
Fix any imperfections and apply the finish
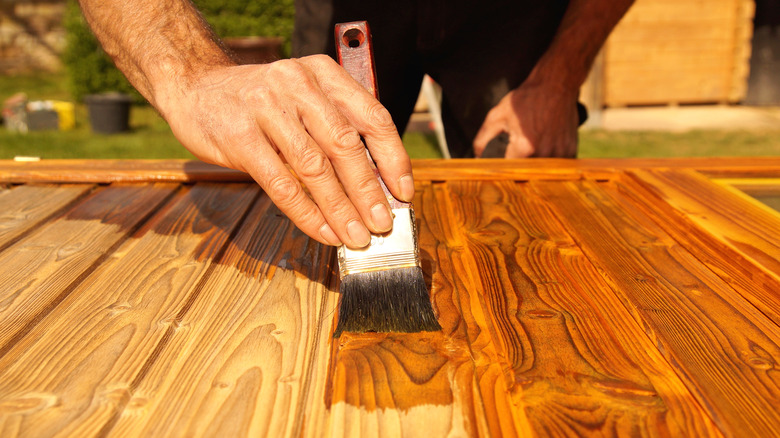
After the top and bottom edges have dried, you'll need to address any dents, small holes, and gouges, explains Instructables Workshop. Using putty or wood filler for this step, simply apply the filler to the damaged area, spread it out with a putty knife, and let it dry. Afterward, you'll likely need to sand over it to achieve a smooth surface. If you choose to paint your door, start with the horizontal or vertical features, like the details and molding, and then move on to the flat parts, then allow the door to dry overnight.
Likewise, if you would rather stain the door, the process differs from painting. First, use a cloth to rub the stain into the wood making sure to apply an even coat. Once the stain dries, take a close look for any uneven spots and apply stain to them as needed. Then, brush on a thin coat of sanding sealant and allow it to harden.
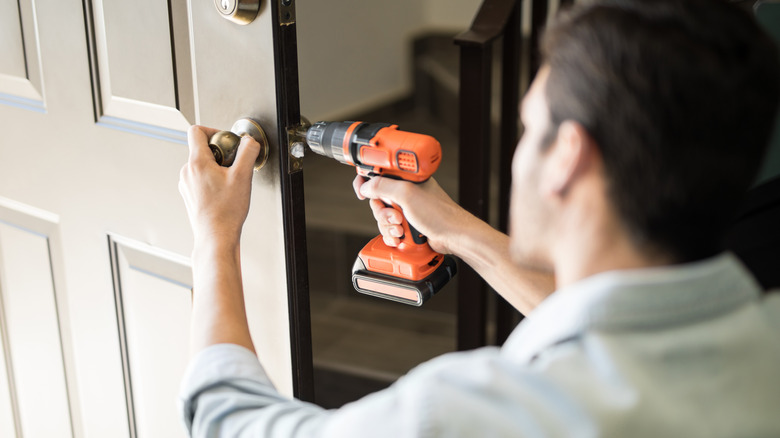
Add the final coat and install hardware
The final step is to apply the top coat of your chosen finish, per JB Kind Doors. First, you'll need to gently sand the door again with 220 grit sandpaper, explains Ruck Cabinet Doors. You won't have to apply much pressure at all since you're just smoothing out the surface of the finish. Be sure to sand in the direction of the grain, and run your hand across the surface to feel for texture or tiny bumps. If you feel any bumps, then sand that area again but without pressing too hard on the sandpaper.
Finally, you'll brush on the top coat which gives an additional layer of protection from the elements. Whether you've painted or stained your door, you will generally need to wait overnight for the finish to dry before hanging the door (unless you already have done so prior to applying the finish) and installing the hardware. Of course, you can reuse the same doorknobs, or if you want to change the look completely, opt for new hardware that fits properly.