What's Going On Inside Your Toilet Tank And How Can You Fix It?
Toilet problems are something that almost every homeowner and tenant will experience from time to time. While a good cleaning schedule and conscientious maintenance may be enough to prevent major toilet issues such as drain clogging, some problems are simply down to wear and tear. If your toilet tank has been acting up lately, don't worry.
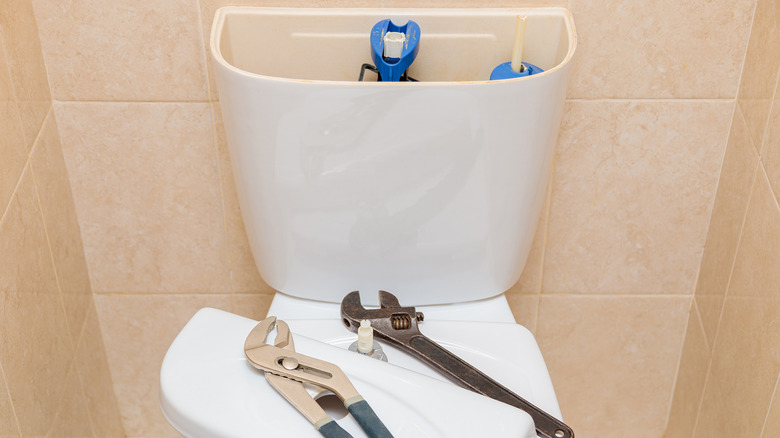
According to Lowes, toilet tanks can develop issues over time, such as slow or intermittent refilling, leaking joints, or strange noises. Some problems may cause a toilet to stop flushing altogether or even start flushing water on its own! If you notice any signs of malfunctioning in your toilet tank, the first step is to diagnose the part that is causing the problem. Many issues don't require a plumber and can be solved with a few basic tools and a little know-how. So, set down your toilet tank lid, and let's get to work.
Toilet tank whistling
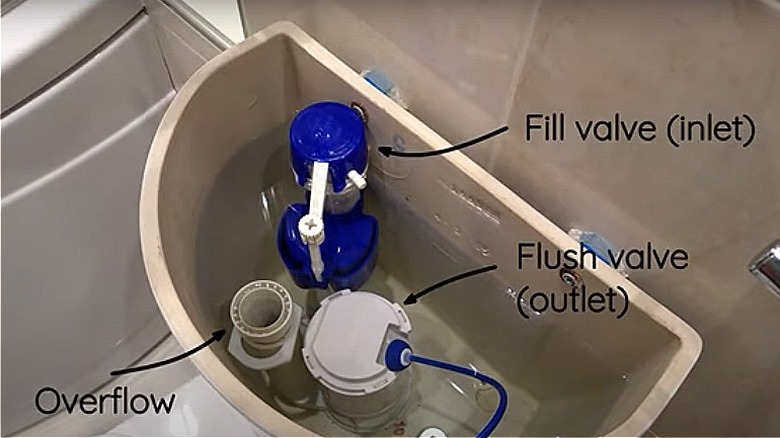
One common problem is that every time you flush your toilet, it whistles violently back at you. According to The Pink Plumber, this is due to a faulty fill valve. The purpose of the fill valve is to allow the correct amount of water into the tank. Over time the valve will wear out to the point that it makes whistling sounds as the water passes through. If not fixed in time, what usually starts as a low whistling can develop into a high-pitched sound accompanied by vibrations.
To solve this, the faulty fill valve has to be replaced as explained by the experts at The Home Depot. First, shut off the tank's water supply. To do this, find the water supply valve (usually located on the wall behind the tank) and shut it off. Hold down on the flush lever to drain the tank then locate the old fill valve (shown in the image above), loosen the nut holding it to the tank with either an adjustable wrench or adjustable pliers, and lift it out of the tank. Finally, ensure that the rubber washer is in place on the new valve, slide it into the tank through the opening at the bottom, and lock it in place by re-tightening the nut. Remember to reconnect the supply valve afterward.
Tank stops refilling or takes a long time
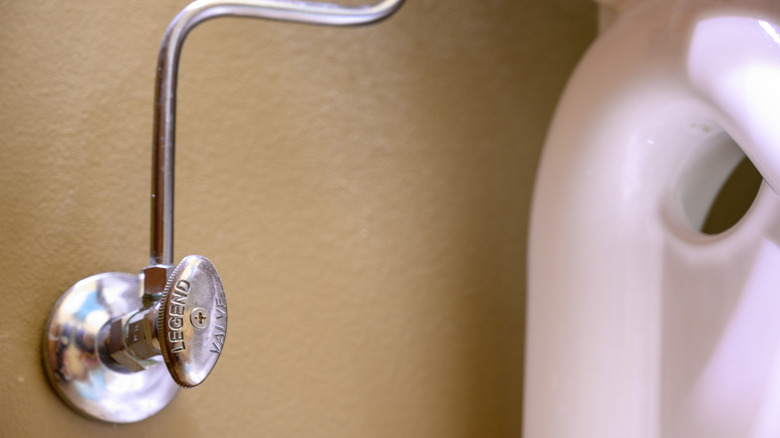
Often, slow or intermittent filling is caused by the shut-off valve not being open enough to supply water to the fill valve. In this case, simply find the water shut-off valve and open it more by turning it anti-clockwise. However, according to Fluidmaster, another reason is that the fill valve may be clogged with dirt and needs to be cleaned out.
To unclog a fill valve, Projects by Peter explains that you should first stop the water supply as previously explained and then remove the cap of the fill valve. Hold a small cup about 1 inch over the exposed fill valve to prevent splashes, and gently restart the water supply. The burst of water should flush out any dirt and debris. After this, stop the water supply once again and restore both the fill valve cap and the tank lid. Finally, re-start the water supply and your tank should begin filling as normal.
Toilet flush lever is stuck or loose
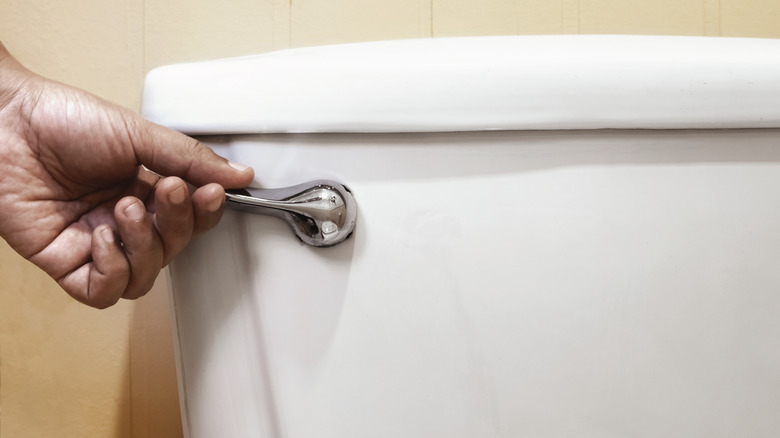
Over time, the flush lever can get stuck or become loose, preventing the toilet from flushing correctly. According to White's Plumbing, this is often due to a slack or oversized chain. Thankfully, Liberty Plumbing Heating AirConditioning explains that this is also an easy fix. First, stop the water supply and drain the tank. Locate the chain that is connected to the flush lever with a hook or a pin. Remove the hook and unhinge the chain from the flush lever. Push the flush lever down, pull the chain up until it's taut, and reattach it to the link closest to the flush lever.
Now, it's time to test your repaired flush lever. Open the shut-off and wait till the tank is refilled. After that, push the flush handle. If it shows any sign of looseness or stickiness, repeat the process, but this time, move the hook to the link below the one used previously.
Ghost flushing
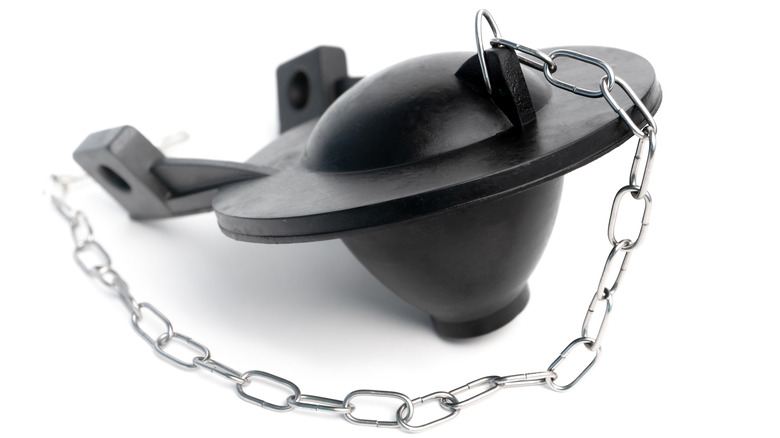
Ghost flushing is when your toilet tank flushes water into the toilet bowl on its own. The Bailey Brothers explain that the possible causes of this are a disconnected or broken flapper chain, a displaced water float, or a dirty or broken flapper. To salvage a disconnected chain, follow the same process as connecting the handle chain. However, for a broken chain, you will need to replace it by attaching a new one to the flapper.
To clear a dirty flapper, Sobieski suggests lifting it out of the tank (without unchaining it) and scrubbing it with a sponge or an old toothbrush. If you notice any cracks or chips in the flapper then it may be better to replace it altogether. To do this, remove the old flapper from its mounting pegs and unhook it from the chain (you may need to use pliers for this). Take the old flapper to the hardware store and make sure you purchase a replacement that is the same size. Replace the chain and reattach the flapper on the seat assembly then restore the water supply and check for leaks via Roto-Rooter.