How To Change Your Outdated Showerhead
An ugly and outdated shower head does more damage than creating an unsightly appearance in your bathroom. Chances are, your old shower head is not only rusty but could be causing significant water loss that you might not even be aware of. According to the United States Environmental Protection Agency, a shower head that leaks 10 drops of water a minute contributes to a loss of 500 gallons annually. On the other hand, modern shower head fixtures come with low flow features that make sure you use no more water than you need, saving you on monthly water bills.
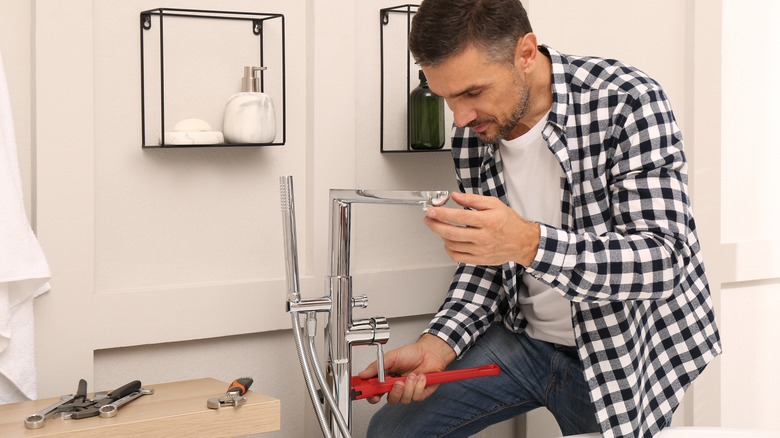
Fortunately, changing a shower head is an easy DIY fix that won't take a lot of your time. What's more, shower heads are also quite inexpensive making them an easy upgrade to your bathroom's interior. Instead of calling a plumber, here is a detailed guide that will help you find the right shower head, and also guide you on the installation process.
Selecting a new shower head
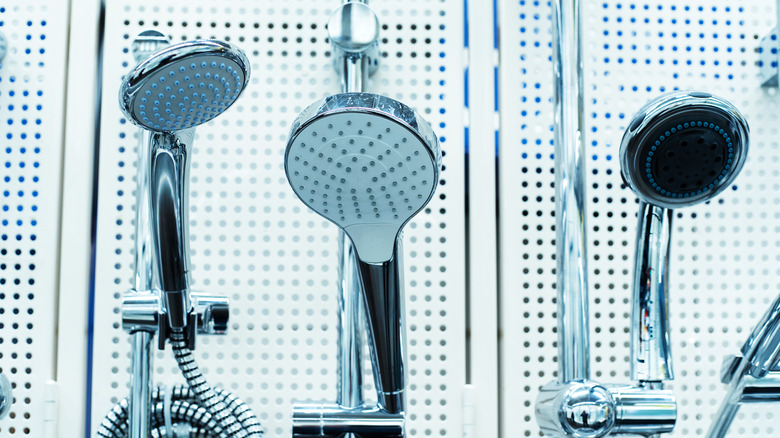
There are so many varieties of shower heads to choose from today, right from simple options to more complex ones with additional features like temperature control. What's more, there are also different finishes available that can complement your interior décor. While it might be an advantage to have so many options to choose from, it can get confusing to narrow down a specific type that is ideal for you. While having a sleek fixture with plenty of handy features is nice, the one thing that actually makes a difference is the showerhead's water conservation feature.
As mentioned, using just enough water to shower will save you on monthly water bills. While standard shower heads deliver water at a rate of 2.5 gallons per minute, their water-saving counterparts deliver at a rate of up to 2.0, notes the United States Environmental Protection Agency. This small difference, however, accounts for up to 2700 gallons of water saved per year.
Remove the shower head
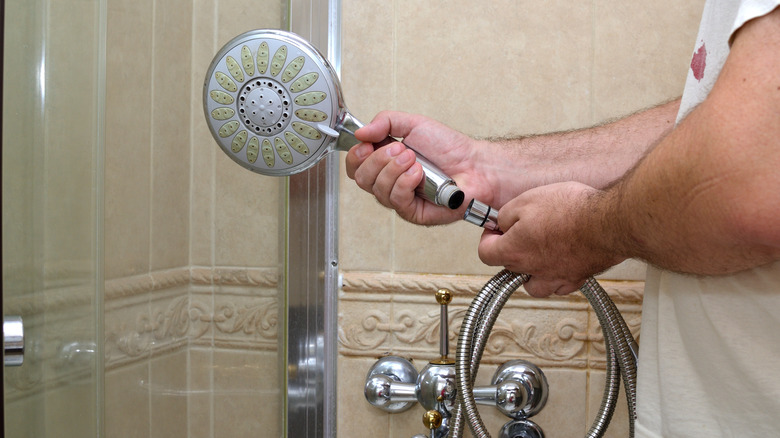
Once you have ensured the faucet or shower valve is switched off, you should unscrew the shower head counter-clockwise to remove it from the arm or hose. However, if the shower head has been in use for several years, it might not be willing to budge — if this is the case, you may need a few tools to help you remove it. Be sure to wrap a piece of cloth around any finished surfaces to protect them from damage, first.
Clamp the shower arm to make sure it doesn't turn inside the wall, then using an adjustable wrench turn the shower head counter-clockwise and separate it from the arm. Alternatively, if you don't have these tools, you can loosen the connection with vinegar. Place the vinegar in a plastic bag and soak the showerhead for a few hours, the acid will break down the mineral deposits making it easier to open with bare hands, explains Waterpik Showerheads.
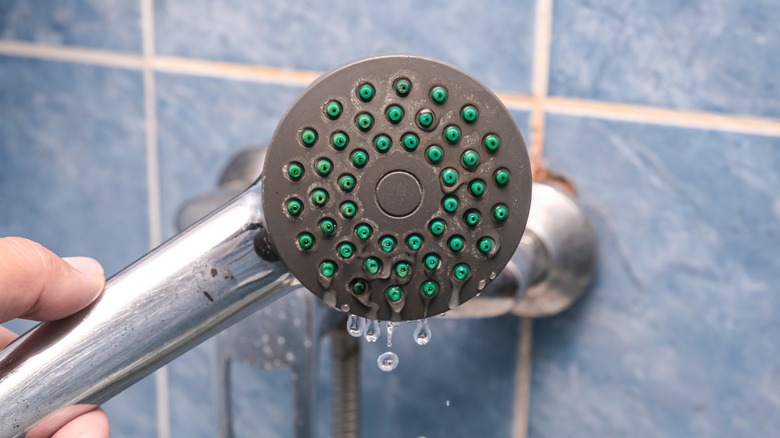
Remove dirt and wrap with plumber's tape
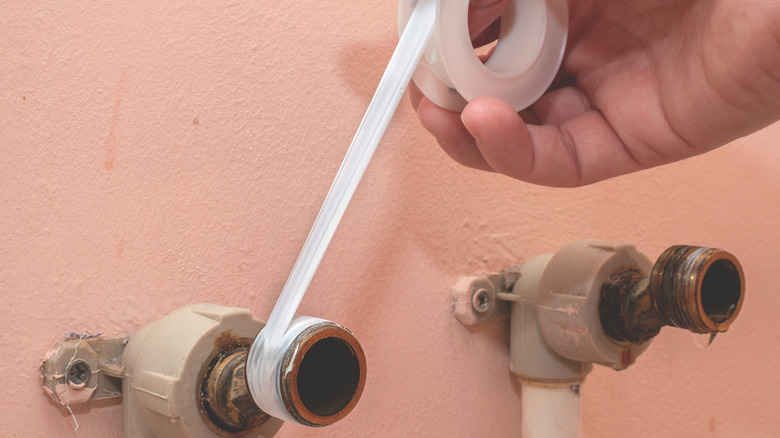
Cleaning the threads on the shower head arm or hose is simple but necessary. It is normal to find debris and other dirt on the threads and also inside the shower head arm. Take an old toothbrush or a wire brush and remove the mineral deposits and the remainder of the previous plumber's tape. Allow the threads to dry before attempting to cover them with the tape. Wrapping the threads on the edge of the shower head arm is also quite easy but there are a few simple rules to follow.
According to Kellermeier Plumbing, begin from the bottom and wrap clockwise continuously until you have covered the entire region — wrapping the tape clockwise makes sure it doesn't twist off when you are screwing the new shower head back on. Now using your fingers, press the tape down into the threads. The plumber's tape is necessary to create a watertight joint to prevent leaking from the shower head and arm joint.
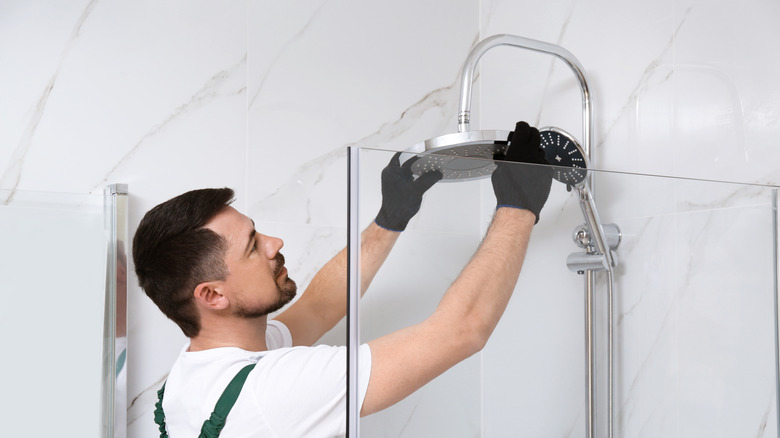
Install the new fixture
Installing a regular wall mount shower head is often a no-brainer. All you need to do is to screw it back on the threads on the shower arm clockwise. Usually, you may not need a wrench to fasten the head on the arm, however, it is important that the shower head feels tight and snug during the installation. In fact, Horizon Services recommends hand tightening when installing plumbing fixtures at home. To get some more leverage, you can wrap the arm with a cloth and hold it with adjustable pliers.
Use a damp cloth to hold and turn the shower head a little further just to make sure it is secured tightly. However, if your replacement shower head is different due to some added features, the installation may be slightly different. Always refer to the user manual to get yourself up to speed with any particular installation requirements. If you still don't understand the process, it is better to call the professionals to do it for you.
Inspect for leaks
The final step is to test the success of your DIY shower head replacement. First, angle the head to the nearest wall and turn the shower on. Step back and inspect for any leak on the joint or any other odd places. If you notice a leak on the joint, you will have to remove the shower head and add more tape to the threads. Also, you might need to fasten the shower head on the arm tighter this time around. Another thing that you should care to pay attention to is the water pressure.
If the pressure is visibly lower than usual, then some components on the shower head might be out of place. To fix this you will also need to remove the shower head and make sure nothing is obstructing the pipe or the internal part of the head. Moving forward, you will need to regularly maintain the shower head to keep it working for years to come. The Pioneer Woman recommends cleaning the shower head at least once a month to remove any mineral build-up that will cause it to clog.