How To Replace A Toilet In 5 Simple Steps
We may receive a commission on purchases made from links.
Whether there's a seal that's no longer keeping water in or it's time to update to a water-efficient toilet, removing and replacing a toilet can seem daunting, though it doesn't have to be. For those who want the easy way, it's possible to call in a professional and have them take care of it, but this may mean waiting for availability or paying a high emergency repair cost. You may do well on your own if you're handy enough.
According to Fixr, it costs between $400 and $800 on average to install a toilet. However, the project could cost less if you don't have to pay someone for the labor costs for installation. Once you take the time to find and buy a toilet that fits your home, with the features you want (like low water consumption or a silent flush), follow these steps for installing the toilet. It's easier than you think and should take you under an hour.
1. Remove the existing toilet
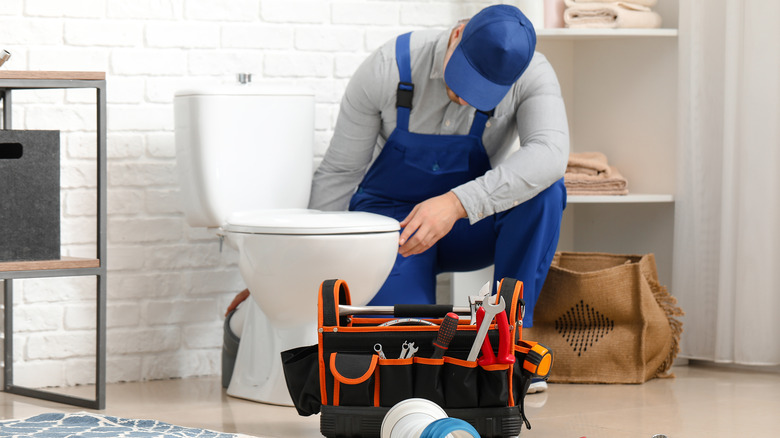
The first step is to turn off the water going to the toilet. There's a shut-off valve typically on the floor or the wall at the rear of the toilet. Then, flush the toilet to drain the tank and bowl before disconnecting the water supply line.
According to Home Depot, the next step is to loosen the bolts located around the tank that connects the tank to the bowl, and once done, lift the tank straight up and off. To remove the bowl, you may need to use a screwdriver to open the toilet bolt caps to gain access, and then use a pair of pliers or a wrench to twist off the nuts and bolts holding it in place. There are some situations where there's caulk around the base of the toilet, and you'll need to remove it using a putty knife or utility tool. Once you loosen it, you should be able to pick up the bowl and remove it from the area. The final step is to remove the toilet seal located around the opening and wipe the area clean and dry.
2. Check the flange
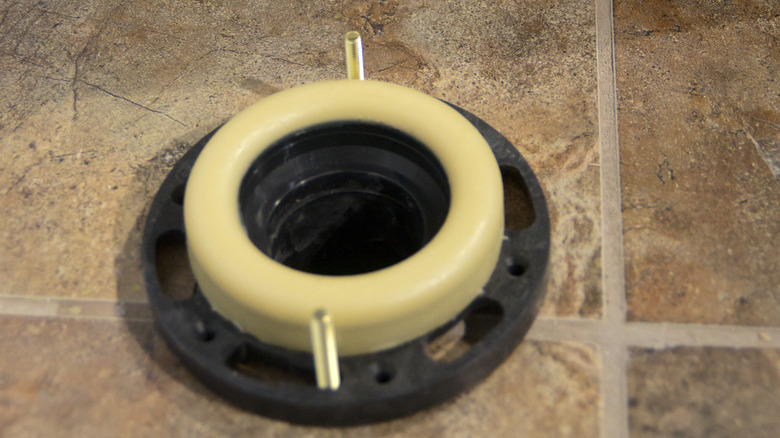
The flange is a type of pipe fitting linking the toilet to the drainage system. If it's damaged in any way, such as broken or no longer functional, you may need to purchase either a repair kit or a new flange itself.
The goal is for the flange to be higher than the flooring by just a small amount, according to Lowe's. In some situations, such as when you're renovating with new flooring, the flange becomes too nestled in the ground. In this case, you may need to purchase a taller wax ring or a spacer. The flange needs to create a tight seal to ensure you don't have leaks later. If you need to replace the flange, follow the instructions provided with the product. Some are wax-based, and others are foam or rubber. If you use a spacer to gain height, use silicone between the spacer and the flange to hold it in place.
3. Place the new toilet in place
Position the toilet bowl onto the flange and align it so you can tighten up the bolts, and then press down evenly on the toilet to create the seal with the flange. Don't try to pull it up or realign after this, as that will break the seal and could create leaks.
The next step, according to Home Depot, is to secure the toilet to the floor. Be sure each bolt has a washer and nut. Tighten it evenly, but don't tighten the first one all the way until you've placed all other nuts and washers and started tightening them. You want to create even pressure as you tighten. By alternating between sides as you tighten, you minimize the risk of one side being uneven or too much pressure in one area. Don't overtighten them either but stop when it's snug. In some situations, you may be tempted to add caulk to the base of the toilet, but that could trap water under that area should a leak occur.
4. Attach the toilet tank, seat, and lid
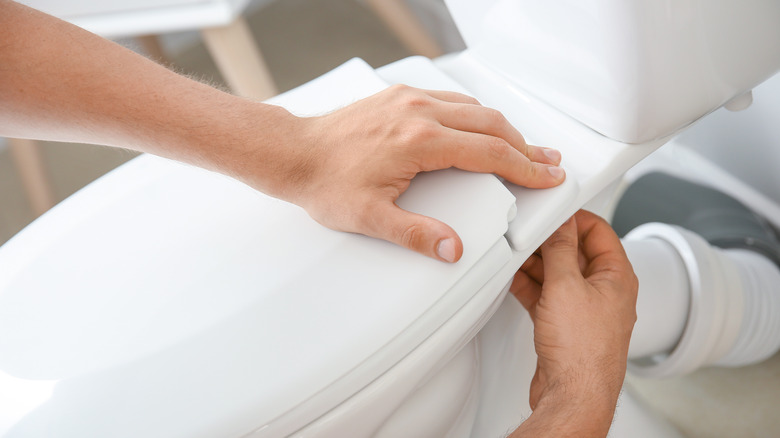
You're almost there! Attaching the tank also needs a bit of a careful eye to minimize the risks of leaks later. HGTV states there are two things to keep in mind. The first step is positioning a rubber gasket that sits between the toilet bowl and the tank. Once you do this, position the tank in place and then tighten the two bolts holding the tank into place. Follow the same alternating process for tightening the bolts as you did with the bowl, going back and forth between them to minimize too much pressure on just one side. Use a wrench after hand tightening them to give them another one and a half turns.
You can then place the toilet tank lid on top of the tank and attach the toilet seat. Be sure the toilet seat you buy fits the style of the toilet bowl, and then attach it following the directions provided, which often just requires clipping it into place.
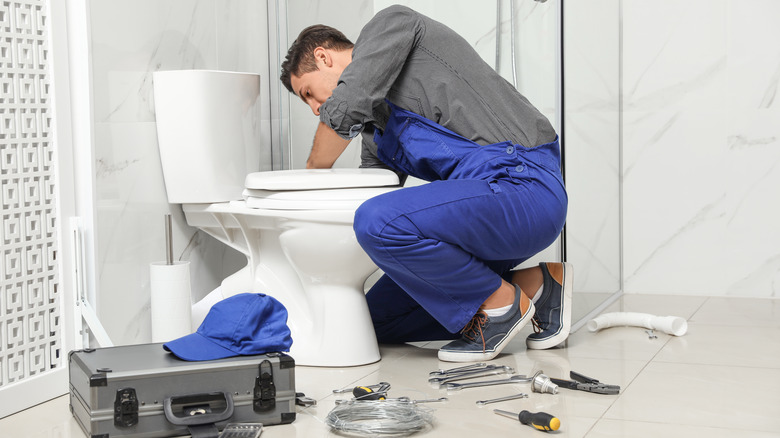
5. Make sure there are no leaks
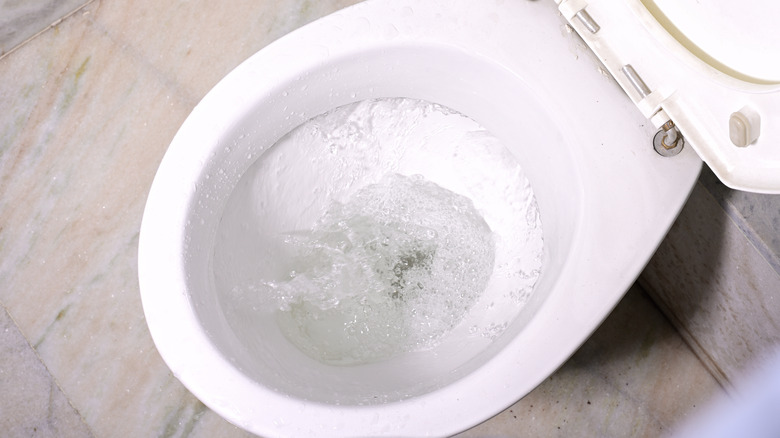
Next, reconnect the water supply and, as you do, turn the water on slowly so you have enough time to turn it off if there's an immediate leak. Look for any moisture around the toilet seal and the gasket under the tank. Be sure to also check for leaks around the water supply line. If there are leaks, take the tank off again and check that the gasket is positioned properly.
Once everything looks good, wait for the tank to fill and then flush it. Do this a few times, allowing the tank to fill properly before flushing. As you do, check for any leaks around the seals and edges. If you find them, tighten the bolts. If that doesn't resolve the problem, you may have to take the toilet off again and attach a new wax ring, as the seal hasn't been set correctly and needs to be replaced, according to Lowe's.