The Easiest Way To Whitewash Your Wood Floors
Whitewashing your existing wood flooring can bring a breath of fresh air to your home, but undertaking such a major project can be intimidating. Luckily, it's a relatively straightforward process, and there are plenty of DIY tips and tricks to guide you through the procedure and make sure your flooring transformation goes off without a hitch.
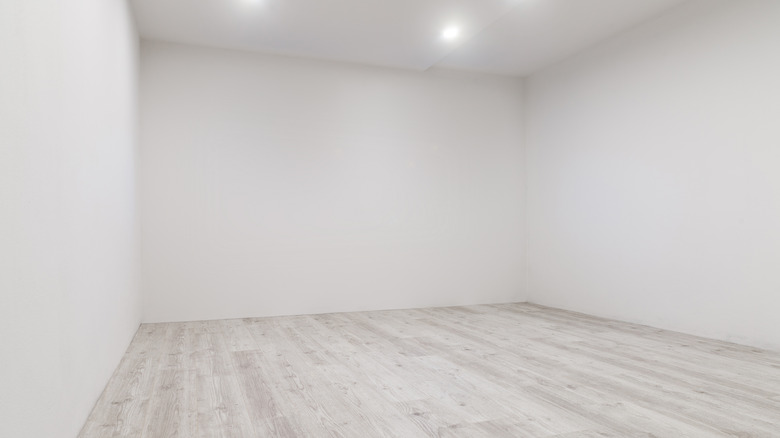
Whitewashing is a popular way to bring more light into a space while showcasing the beautiful texture of the wood underneath. According to Psychology Today, natural light helps to improve mood, increase creativity and regulate your circadian rhythm — it's what our brains are meant to process, after all. Incorporating white into your interiors helps reflect more of this energizing light and leaves your room feeling airy, fresh, and clean. Adding a subtle wash over your floors gives you these same benefits without looking too stark. It also helps create the perfect neutral base, allowing your furniture and décor to pop.
The prep
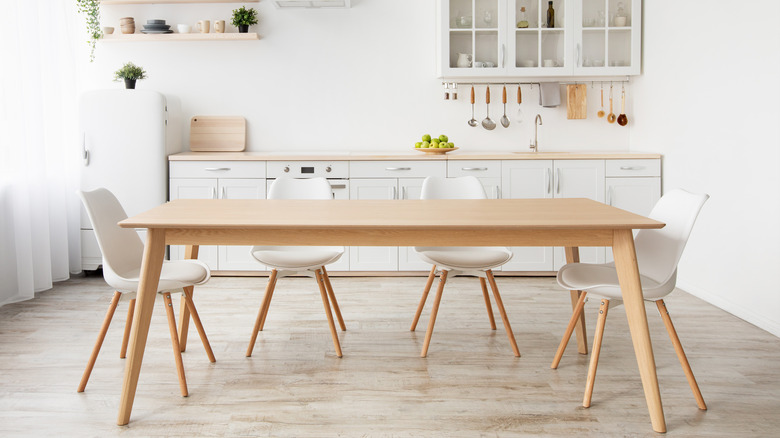
There are a few kinds of wood that are best suited for this kind of project, namely maple, ash, and pine. According to Inner Space, darker woods like mahogany or cherry can end up looking brown or grey after a whitewashing treatment, so unless you're going for that look, it's best to consider other options.
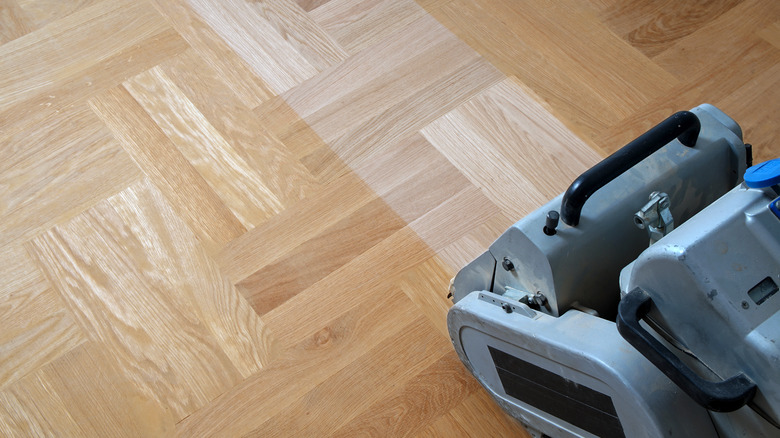
After clearing out the room you plan to work on, the first step is removing any varnish on the wood. Sanding is the easiest way to ensure you have a blank slate and allow the paint to absorb fully into the wood's pores (via Inner Space). The Honeycomb Home recommends using a square buff sander for most floors, but if you need to take off quite a few layers or smooth out heavy-duty damage, a high-power drum sander will do the job. After vacuuming any sawdust and debris, it's time to move on to the actual whitewashing process.
Applying the wash
Once you've fully prepped your floors, it's your chance to customize. For a DIY whitewash, mix paint and water in a 1:1, 2:1, or 3:1 ratio, via Renovation Semi-Pros. The more paint you add to the mix, the more opaque your wash will be. Once you've decided on your desired opacity and mixed your wash, apply it to the wood and gently wipe with a rag. The paint will absorb into the pores of the wood, and wiping off the top layer will reveal the grain for the classic whitewash look. Simply repeat until the floor is covered, then seal with several layers of water-based polyurethane floor sealant. According to Renovation Semi-Pros, about five layers will keep your new floors looking fresh and shiny.
And there you have it! If you're looking for a weekend project with significant impact, whitewashing existing wood floors is a relatively simple process that only takes a few easy-to-find supplies.