Tips On Cleaning A Thermometer
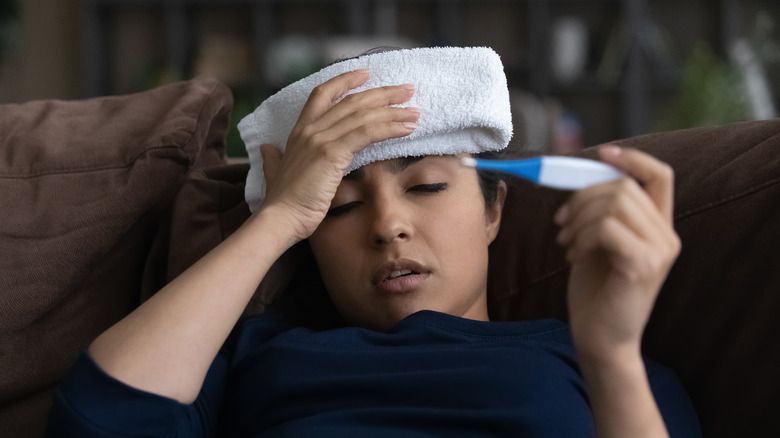
When someone in your home gets sick, the last thing you want is for those germs to spread. For that reason, it's important to clean several household items thoroughly to rid them of germs. Today notes some of those items, such as cleaning toothbrushes, wastebaskets, thermometers, and humidifiers after being sick. For humidifiers, this is particularly true if you've used it for an extended period (like a few months) or if it was used for many hours over a condensed period of time, such as over several days. Also, be sure to clean your toothbrush, as the CDC notes that using a toothbrush afflicted with germs can reinfect you after your recovery. Whether you decide to ditch that toothbrush or clean it thoroughly, you'll need to take this easily forgotten measure to protect yourself. If you choose to clean your toothbrush, you can soak it in a cup of mouthwash for several minutes and then rinse it with warm water.
Then — perhaps most importantly — comes your thermometer. While this is one of the most vital items to have on hand to gauge the severity of an illness, it definitely needs to be cleaned after it's used. Since using a thermometer demands it goes in the mouth of someone ill, it's riddled with germs. That demands cleaning the thermometer so that it's ready and germ-free the next time someone needs to use it. Given that we're headed into the germiest time of year, it's good to know how to clean your thermometer thoroughly. Here's how.
Gather your materials
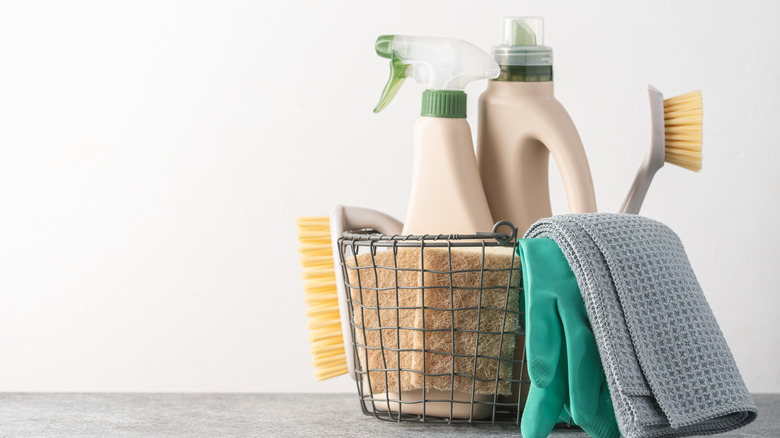
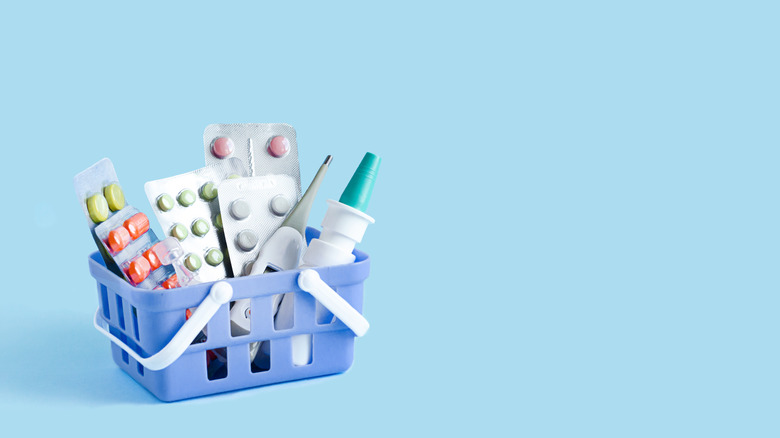
The first step in cleaning your thermometer is to gather the appropriate materials to do so. You'll need just a few items, including a cotton ball or cotton pad. Additionally, have a few cotton swabs on hand as well as a dish drying mat or paper towel so that you can allow your thermometer to dry. You'll also need water, so it's easiest to do this task near a sink. You should make sure you have a small bowl or ramekin on hand for this task. And to protect yourself from germs, you may want to wear plastic or latex gloves.
Rubbing alcohol is the main item you'll need to clean your thermometer successfully. Healthline reports that the main ingredient in rubbing alcohol is called isopropanol. Also commonly known as isopropyl alcohol, rubbing alcohol contains a minimum of 60% of this product, which is combined with water to make up the final solution that we know as medical-grade rubbing alcohol. It is best known for its ability to kill germs and disinfect surfaces.
As you work to clean your thermometer, you'll need to make sure that the rubbing alcohol you use is not expired. Check the bottle for a printed expiration date, usually between two to three years from when the bottle was initially manufactured. The further from its creation date, the less isopropanol exists in a bottle of rubbing alcohol since it slowly evaporates. Since this substance is what harnesses the ability to kill germs, you want to ensure that the appropriate level of it is present before you clean your thermometer.
Soak a cotton ball in rubbing alcohol
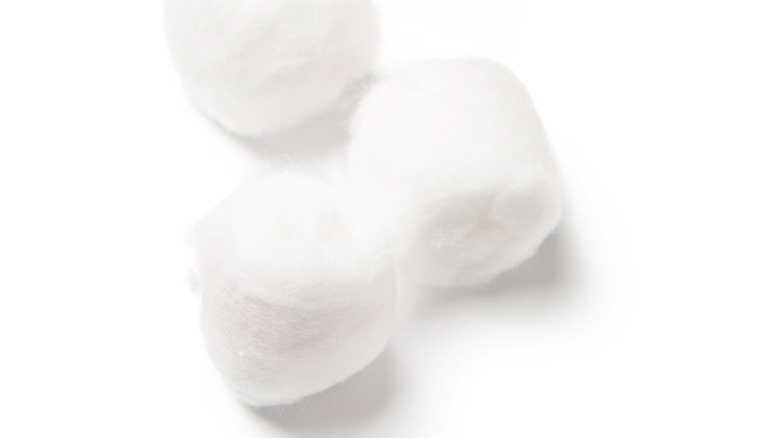
Once you have the appropriate materials, the next step is to soak a cotton ball in rubbing alcohol. This is where that small bowl or ramekin comes into play: Pour a few tablespoons of the alcohol into the bowl for this part of the process. Simply dip the cotton ball in the bowl until it is well saturated with alcohol.
You may be wondering why rubbing alcohol is the solution of choice for this cleaning expedition rather than hydrogen peroxide. According to Healthline, one of the key differences between rubbing alcohol and hydrogen peroxide is that the latter does not contain any type of alcohol. However, the CDC notes that they both can kill a laundry list of bacterial strains. These include Acinetobacter baumannii, which causes blood infections such as urinary tract infection (UTI), E.coli, which commonly causes intestinal distress and sickness, and listeria monocytogenes, which causes a type of food poisoning that can become dangerous in extreme cases. These solutions can kill other well-known bacteria, like salmonella and staphylococcus aureus, which both are known to cause food poisoning.
Furthermore, both substances are effective in disabling enveloped viruses like COVID-19, strains of the flu, herpes simplex, ebola, and zika. Interestingly enough, Healthline further reports that there's no definitive answer about which of these substances is actually better at killing germs. However, Colorado State University suggests that hydrogen peroxide must sit on a surface far longer than rubbing alcohol to effectively kill germs, requiring 10 minutes on a surface to best do its job. On the other hand, rubbing alcohol kills germs much faster, needing only about 30 seconds on a surface to do the job.
Use the cotton ball to clean the entire thermometer

Now it's time to put that soaked cotton ball to good use! Thoroughly wipe down the entire thermometer to eradicate all germs from its surface. This part of the process may leave you wondering just how long those pesky germs can exist on a thermometer — or any surface, for that matter — before they die off. According to BBC Science Focus, you may be surprised how long a virus can thrive outside the body. For instance, germs from a cold can last on indoor surfaces for up to a few days. These germs tend to survive better on surfaces that are water resistant, which includes plastic materials — which is typically what a thermometer is made out of. Germs that cause the flu virus are known to remain potent when airborne for up to a few hours, and they last even longer when they are present on hard surfaces. In this case, they can typically infect someone for up to 24 hours.
As for COVID-19 germs, there is more debate regarding how long germs can thrive outside of the body, especially when it comes to evolving variants of the virus. A BioRxiv preprint study denotes that the most recent Omicron variant contains germs that can survive on plastic for up to 193.5 hours. Notably, this was the longest survival time of any COVID-19 variants to date.
All this goes to say that while a germ's ability to infect someone drops the longer it is outside the body, it can still cause infection for longer than you'd probably assume. It should also be noted that environmental factors such as surface type and temperature affect their ability to infect someone.
Dip a cotton swab in rubbing alcohol to clean all crevices of the thermometer
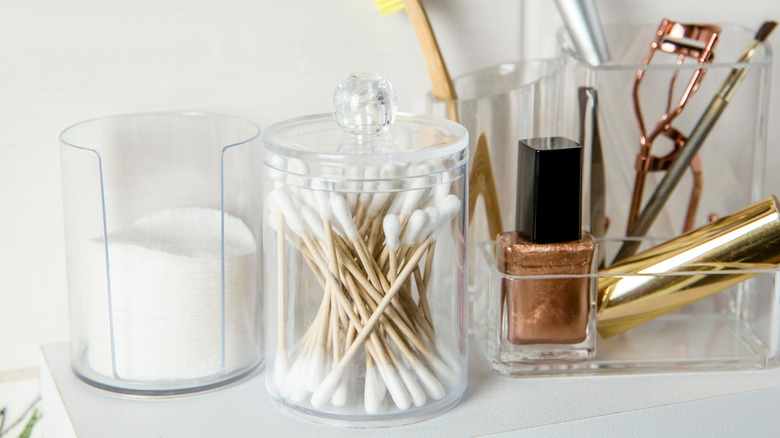
Next, take a cotton swab and dip the top of it in rubbing alcohol until it is well-saturated but not dripping. This is a great way to clean the small crevices and ends of the thermometer, as a cotton swab allows you more precision than a cotton ball does. For instance, the temperature reading screen on the thermometer is a great spot to clean with a cotton swab. This extra effort will ensure that your thermometer is thoroughly sanitized after you're done with the cleaning process.
UnityPoint Health shares that digital devices are among the top places where germs tend to lurk in your home, especially after sickness. Besides your thermometer, other digital devices to thoroughly clean are your phone, tablet, computer keyboard, mouse, or even television remotes. Other places you need to take care to clean include non-porous surfaces that allow germs to thrive for a longer period than they do on porous surfaces. These include surfaces such as doorknobs, light switches, sink faucets, handles, refrigerator doors, cabinet knobs, and toilet flushers. Basically, any surface that is "high touch" in your home should be thoroughly wiped down to diminish the spread of germs.
Let the thermometer air dry
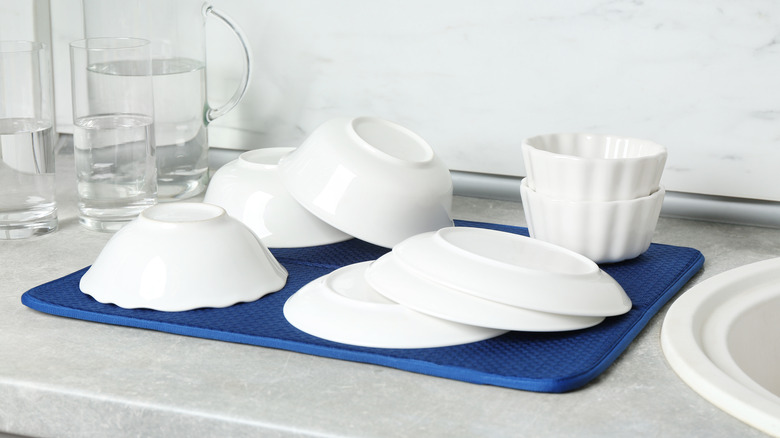
After your thermometer is thoroughly cleaned with the cotton swab, cotton ball, and rubbing alcohol, you need to let it dry thoroughly. Simply allow the thermometer to air dry, and place it either on a dish drying mat or paper towel to do so. A dish drying mat is a great option for drying your thermometer, but make sure that you wash this mat after you're done with it. According to AllRecipes, because of the moisture it comes into contact with regularly, it harbors the risk of developing mold and mildew or hanging onto harmful bacteria. That's what makes cleaning it so important! At a minimum, aim to clean your dish drying mat once a week. However, if your mat looks dirty or gives off a foul odor, it needs to be washed more regularly.
If your mat is of the rubber or silicone variety, you should throw them in the washing machine for a cleaning cycle, then let them air dry. Alternatively, you can wipe down the mat with warm, soapy water. After that, rinse the mat and then wipe it down with rubbing alcohol or a sanitizing spray, like Lysol.
If the mat is made of microfiber or cloth, it's best washed in the washing machine, and it can even be tumble-dried! Of course, be sure to read the tag's washing instructions. Note, however, that most cloth mats are not equipped to stand up to a hefty hand washing as silicone and rubber mats are.
Rinse the thermometer to remove alcohol
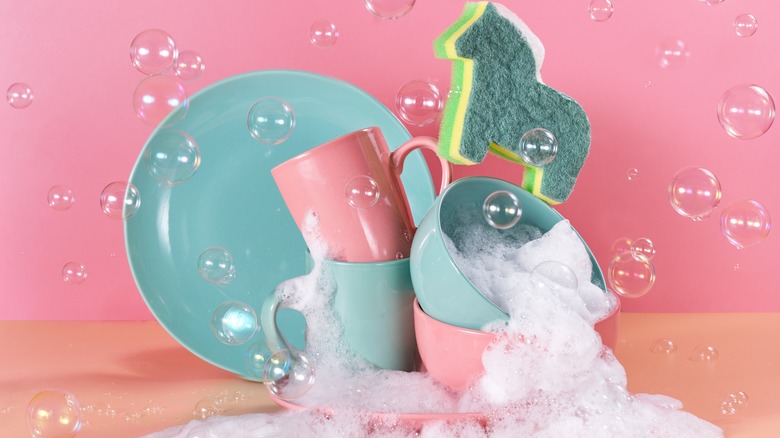
After your thermometer is completely dry, you'll want to rinse it off lightly to get rid of the scent of alcohol, which can be quite strong! You can choose to rinse it with warm, soapy water. If you go the soapy route, mix a few drops of dish soap with warm water.
Wondering which dish soap is best suited for this task? Well, lucky for you, The New York Times conducted an astounding 65 hours of research to determine which dish soap does the best job at cleaning. After examining 28 dishwashing liquids, they found that Seventh Generation Dish Liquid was their dish soap of choice. This was because the soap is made without dyes or synthetic fragrances. Another honorable mention of dish soap is Dawn for its stellar cleaning ability and affordable price. The New York Times really put these soaps to the test to arrive at these superlatives! They used vegetable oil and food coloring to create a mess on dishes to get a true sense of how all the soaps they tested stood up to the challenge. Thanks to their methodical testing regime, they were able to find the most effective option.
Store your thermometer correctly
After you rinse your thermometer and quickly dry it with a dish towel or paper towel, the cleaning process is officially complete! All that's left is to return it to your first aid kit or wherever you usually store it. In doing so, ensure you're storing it correctly to get the maximum lifespan out of this first-aid kit must-have. After all, you don't want to go to use it next time someone isn't feeling well, only to realize it's not working, right?
Cleveland Clinic shares some tips on storing your thermometer correctly. First, always keep your thermometer with any instructions it originally came with. Also, make sure to store the device in the protective case it came with. Most thermometers come with a plastic protective case, but they could also come in a cloth drawstring bag, depending on your type. It's important to note that it's vital that the thermometer is completely dry before you put it in its case to avoid condensation forming in the case, which can be damaging to the device. Once in its case, store the device in a dry environment that experiences stable temperatures, as you don't want your thermometer exposed to drastic temperature changes.
Don't forget about cleaning a non-contact thermometer
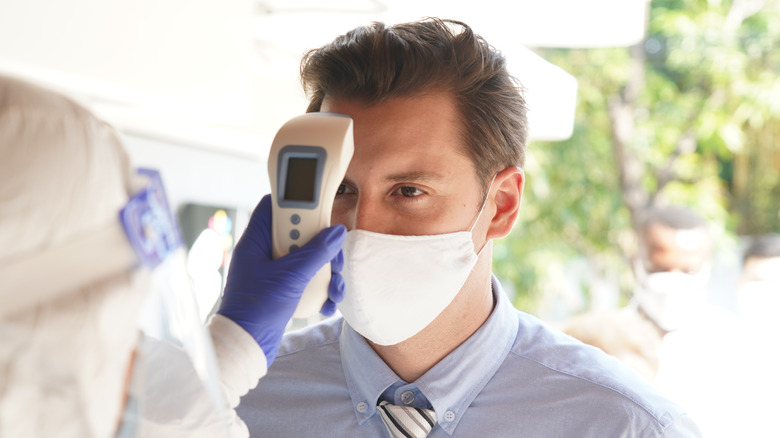
Non-contact thermometers have become more and more popular, particularly over recent years. It may seem counterintuitive to clean these devices since they differ from regular thermometers in that you don't have to put them in your mouth. However, they do still require maintenance and care!
According to ThermoWorks, you should complete a few steps to clean your infrared thermometer, whether used for health monitoring, food safety, or other purposes. Like cleaning a regular thermometer, use a cotton ball or swab that is saturated with rubbing alcohol. Stick to alcohol instead of soap or any other chemical cleaner, as they could damage the device. Use the saturated swab or cotton ball to carefully wipe the entire device. After that, allow the thermometer to dry completely before using it or storing it.
To keep your non-contact thermometer in excellent condition, keep it safe from debris like dust and dirt. Also, it should never be stored in an area prone to fog or moisture. Finally, avoid storing your thermometer in a place susceptible to extreme temperatures. Ensure the storage area is between 40 and 149 degrees Fahrenheit at all times.
Explore all thermometer options for the most sanitary temperature taking
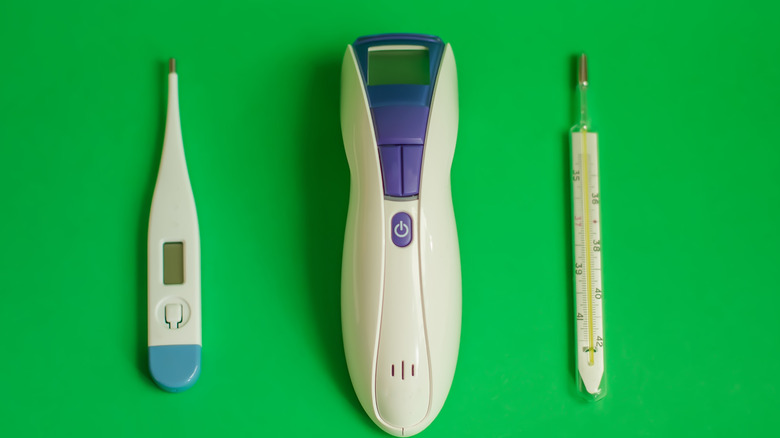
Especially since the COVID-19 pandemic, there's been an uptick in thermometer options on the market. That's a good thing, as it allows you to best choose the thermometer that suits your tastes and that you find easiest to sanitize. WUSA9 shared an in-depth look at the different types of thermometers that you have to choose from. The news station consulted Neysa Ernst, the Nurse Manager in bio-containment at Johns Hopkins Hospital, for her expert advice. She shared that in her experience, temporal thermometers are not only the best performing but also the easiest thermometers to sanitize. These devices take one's temperature with ease by touching the forehead of the person experiencing symptoms.
Besides temporal thermometers, Ernst cites digital thermometers as the next best thing given the fact that they're not only reliable for their temperature readings, but they're also easy to come by and affordable. Although she does note that rectal thermometers tend to be the most accurate, they're typically not a desirable choice from a patient's point of view.