How To Give Your Tree The Perfect Hallmark Look

Decorating Christmas trees is a beloved yearly tradition for many households. Whether you prefer a classic gold and red palette or a livelier colorful one, if your tree is real or artificial or if it's just you or a large family project, this ritual is a staple of the season. People have been sprucing up their trees for centuries — since the first winter solstice celebration, throughout ancient Egypt and Rome, and by Vikings and Celts alike, per History. However, it wasn't until the 16th century in Germany that the tradition became associated with the Christmas holiday.
Since then, though, the month of December is linked with large and meticulously festooned Christmas trees, from the famous Rockefeller tree to the one in your living room. And while there is no wrong way to decorate yours, there are certain tips and tricks to turn it into something worthy of a seasonal Hallmark store display.
Fluff it to the max
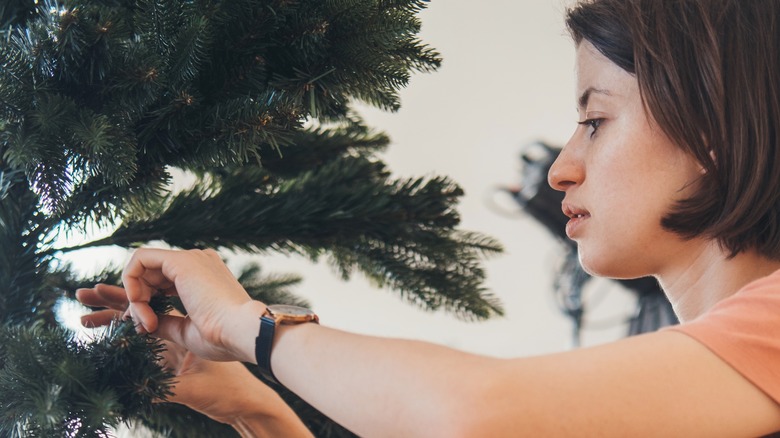
One of the most important steps for making your Christmas tree look as storefront-worthy as possible is to make it look as full as it can. To that end, if you have a fake tree, you should take excessive care fluffing up the needles and branches. We recommend spending 45 minutes minimum on an artificial one.
Fluffing a Christmas tree is far from difficult in terms of technicality, but it does require patience and attention to detail. Essentially, you need to make sure every single branch and needle is pulled away from its original stem. On a slimmer tree, this may not take long, but on a wide and tall bush it can take an hour or more. The trick is to work from the bottom up and go in small sections. Consider wearing gloves and long sleeves if the faux needles irritate your skin.
As for real Christmas trees, they don't need fluffing. However, you should let them sit for a few hours before decorating them so that the needles can settle into place, especially if the tree was bound in mesh for a while during transportation.
Proper lighting design
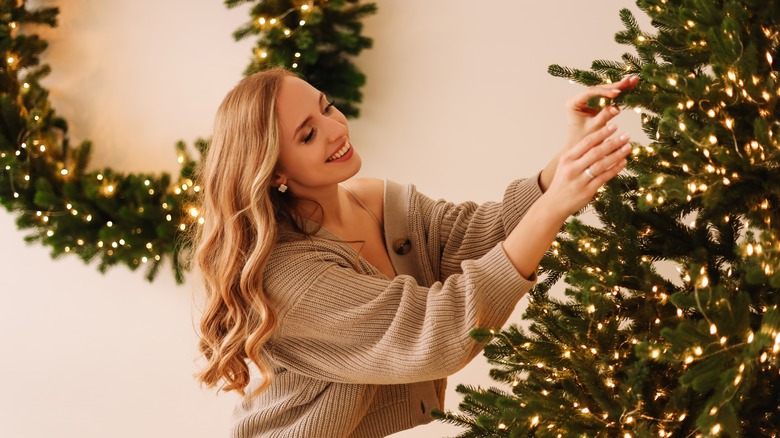
One of the most crucial elements of a well-designed Christmas tree is lighting. No matter how much time you spend fluffing and decorating, it will all be for naught if you don't properly illuminate things first. It doesn't matter which colors you use — whether cool white, warm white, multicolored, blue, or another creative option. What matters is using the lights to the full range of their potential.
In fact, a great way to make a thin tree look a little fuller and more luxe is via illumination — specifically, use two different kinds of lights. Start with a larger size, using them to create a base. Then, string smaller ones to fill in the gaps. The different sizes will help hide and distract from any gaps in the branches. Note that it's difficult to go overboard with lights, so string up as many as you need to, but make sure they look neat.
A great way to make your tree look both fuller and meticulously, professionally lit is to cover each layer of branches. So instead of wrapping the lights around the trunk or the center, move in a zigzag pattern along the branches, layer by layer, using 100 bulbs per every foot.
Filling in the gaps

While a full and well-lit tree may be enough for a basic display, if you want yours to rival those seen in Hallmark holiday films, you'll need to go the extra step with other decorations. The first step is to decide on a theme and stick firmly to it. For example, if you have multicolored lights, you shouldn't go for refined, classic ornaments and decorations, and vice versa.
Additionally, ornaments may be the shining star of most Christmas trees, but they aren't the only piece of the puzzle. In fact, they shouldn't even be included in the first few steps of your decoration process. After lights, we recommend that you start with ribbons. Begin with wide options, and instead of wrapping the tree, cut and tuck them in sporadically while focusing on sparser areas. Repeat with smaller ribbons. Then, add in assorted picks, starting with florals to even further hide gaps. Poinsettias are particularly great for classic-style formats, as are berries.
Then, add ornaments to your tree. Consider picking one color, and choosing ornaments of varying sizes and finishes in that hue for a more cohesive look. As with the ribbon, start with your larger ornaments first, using the smaller ones to fill in smaller gaps. Top the tree and add a skirt, and you'll have a tree that store displays could only dream of.