How To Prep Your Hostas For The Winter
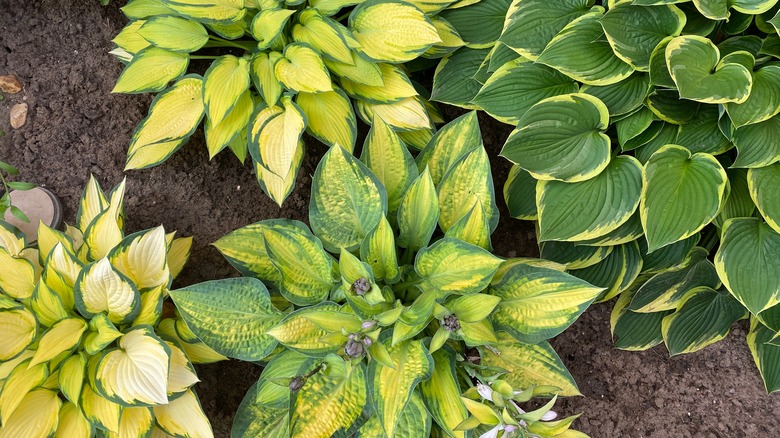
Hostas, also known as plantain lilies, are cultivated by many households each spring and bring luscious greens to their outdoor spaces. Britannica identifies hostas by their large, ribbed leaves, growing up to 18 inches long and 12 inches wide. Native to eastern Asia, white and purple flowers bloom out of their stalks each season, attracting buzzing bees and hummingbirds. The flowers are undoubtedly pretty, but hostas are grown just as much for their florals as they are for their vibrant foliage.
The perennial plants are known to be pretty maintenance-free, with the expectation of sprouting each season. However, they do greatly benefit from some winter preparation. As cold weather approaches, your hostas will begin their journey into dormancy, promoting healthy growth when they return the following season. If left entirely to its own devices to try and survive freezing environments, there's a good chance the hostas will die off. No need to worry, though; you can take a series of steps each fall to prepare for a frosty winter and ensure plush growth for the following spring.
Add mulch to the base
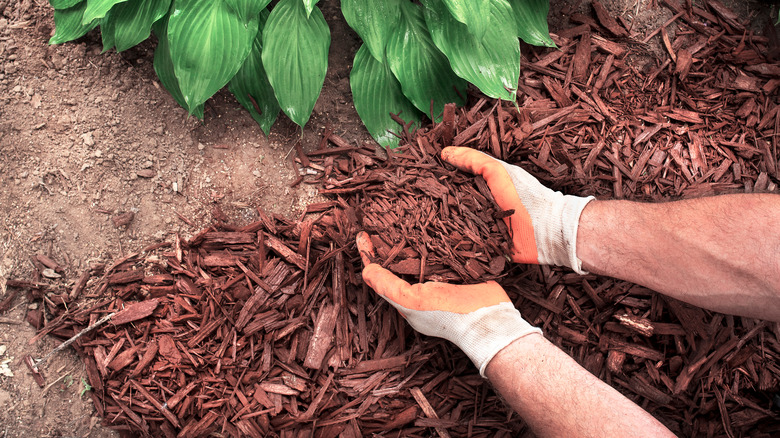
Before the first frost of the year hits, you'll want to add mulch to the base of the plant. Doing this will protect it against frost damage, pests, and rot. Heat retention is an additional benefit of creating this extra layer between the cold air and the plant's roots. How to Garden Advice recommends spreading a few inches of compost on top of the hosta's base and then topping it off with another few inches of your chosen mulch. The compost will give a slow, nutritious feeding in early spring when they begin to sprout again.
World of Gardens lists three types of mulch to consider for your hostas. Pine needles provide excellent aeration for the roots and will slightly acidify the soil, resulting in brighter variegation come springtime. Pine needles are also known for releasing beneficial nutrients after decomposition. Another mulch to contemplate is pine bark. Pine bark's main advantage is that it creates a firm barrier and harsh environment for weeds and pests to wade through. Finally, we have shredded hardwood bark as a substantial option. This mulch is similar to the others as it helps retain moisture in the soil, reduces weeds, and provides nutritional value.
Prune for the fall
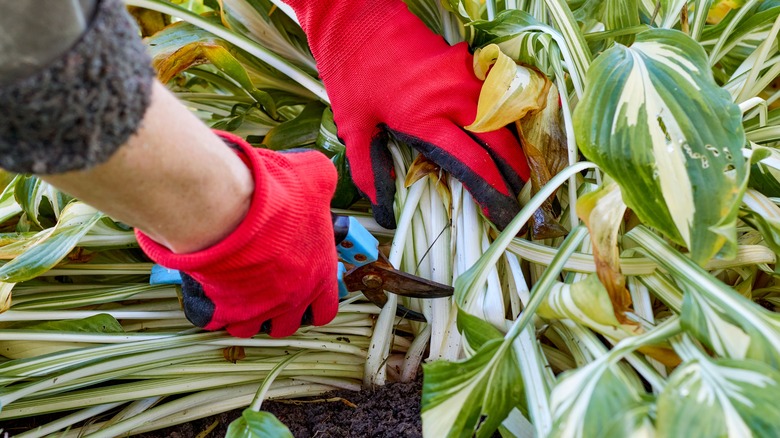
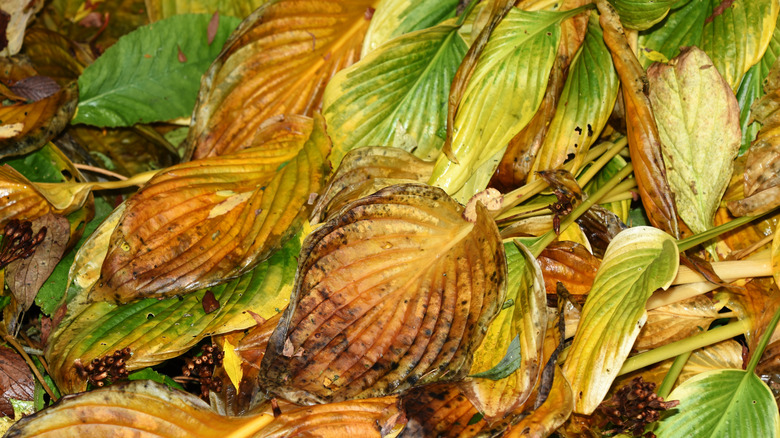
Hostas tend to enter dormancy once temperatures steadily fall below 50 degrees Fahrenheit. One step you can take to ease your plant's dormant experience is to make sure to prune it after the first frost. According to Plant Addicts, some telltale signs that it's time to prune your hosta is when 25% or more has started to wilt and die off. When cutting back a hosta's leaves, use a pair of clean garden shears and lift the leaves to cut the plant until it's an inch above the soil line. Once completed, wash your tools well before using them in other areas of your garden, as hosta leaves can carry pests that will harm other plants if carried over.
Plant Addicts explains that pruning will allow for the conservation of energy, as well as a decrease in the risk of disease and parasites. During cold seasons, insects seek warm shelter, accessible food sources, and a place to hide their eggs. As for the risk of fungal disease, dying leaves trap moisture and become a target for mildew and mold.
Don't fertilize in autumn and winter months
Once a plant becomes dormant, you should not actively add fertilizer to its soil. Fertilizing off-season causes unwanted and late growth that is fragile. Home for the Harvest outlines the best time to fertilize is early spring once the ground has completely thawed. It suggests a granular slow-release fertilizer around the base of the plant and avoiding applying it to the underground portion, referred to as the crown. Different fertilizers will have different written instructions, but Home for the Harvest finds that 1 cup works well for every square foot of the plant.
You should not apply fertilizer to the shoots or leaves because it could burn the plant. The Practical Planter describes this occurrence as a chemical reaction that imbalances the way water moves through a plant's tissue. Signs you may have burned your hosta and left it dehydrated are sparse growth and leaves that begin turning yellow and brown.
Facilitate water retention
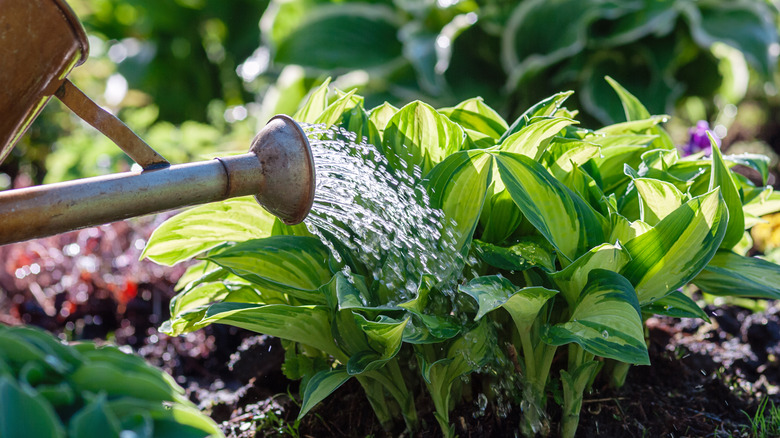
Once a hosta becomes dormant, it relies on its internal water storage to survive the winter months. Keeping the soil moist will allow the roots to replenish their water reserves, serving a fuller bloom after the cold weather passes. Gardens of Bacchus report that hostas need more water than most other plants, and because of this, they need watering every other week in the fall and monthly watering in the winter. Although, it is noted that if you live in a region with consistent freezing temperatures and snow, it's okay to skip winter watering and instead give your hostas plenty of water retention throughout autumn.
The plant may need to retain water, but be sure not to overwater it. Typical signs of overwatering in a hosta plant resemble that of any other, a rapid turn of health as leaves begin to wilt. Hostas will get all the water retention they need for winter from a steady watering schedule in the fall.
Look forward to spring
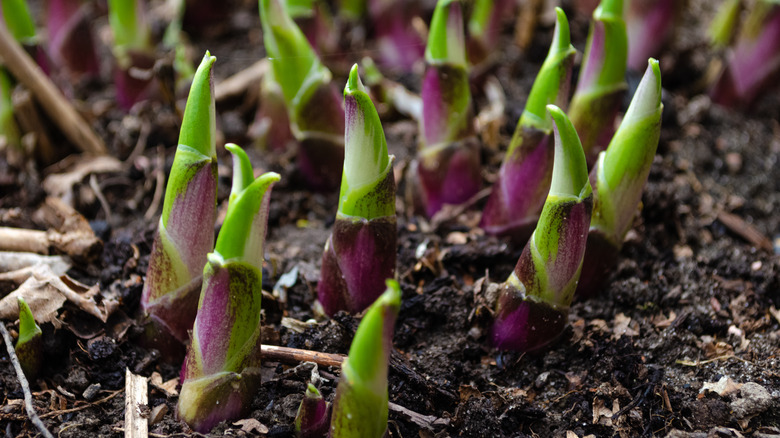
You can expect your winterized hostas to emerge again from March to April, blooming between May and September. Pine Forest Gardens provides guidance as spring approaches — a crucial element is to start slug control sooner rather than later. Slugs love munching on a hosta's flourishing leaves, tiny holes left behind once the snacking is done. Take care to prevent little critters like rabbits, squirrels, chipmunks, and even stray cats from having lunch in your garden.
Do some spring cleaning, remove any remaining dead foliage and pull back some of the mulch to allow the shoots an easier breakthrough. If you find that spring has commenced and you do not see your hostas peeking out of the dirt, be sure to feel around in the soil as sometimes they are just hiding beneath the surface. By fertilizing and keeping these tips in mind, you'll have new shoots popping up to say hello to you and the sunshine when the vernal equinox comes knocking.
