How To Replace A Glass Pane In A Door In 5 Easy Steps
Homeowners choose to replace glass panels for different reasons. Some might be because of a broken glass panel letting in cold drafts, while others could be for the much-needed upgrade. Regardless of your motives, you should know that replacing the glass panels in your door isn't that hard. Depending on your entry conditions, you can easily DIY the process right from home. While that is true, it is also worth mentioning that the type of door you have will determine the overall scope of work, not to mention the cost of replacement.
On average, a single glass pane costs approximately $30 for every square meter, mentions Specifier. Changing the glass panels can be pretty dangerous, especially if broken. Therefore, if you doubt your handy skills, call a professional. However, if you have a few tools and decent skills up your sleeve, here are the quick steps to easily replace the glass panel in your door.
Get the right replacement
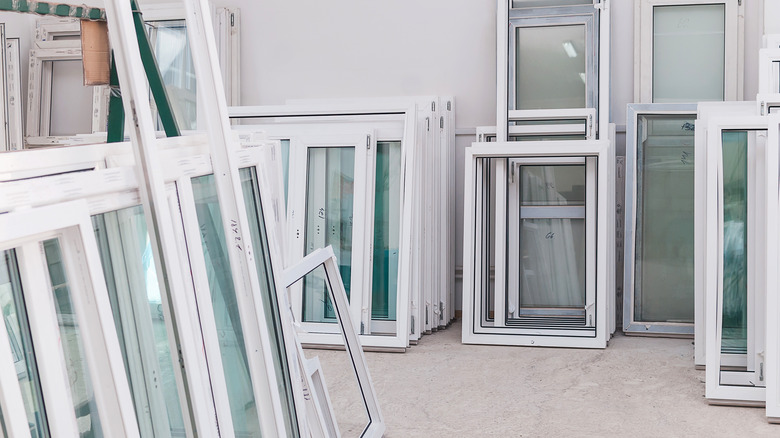
The first step is always finding the right replacement for your panels; however, this is often easier said than done for a regular homeowner. This is because glass panels come in different shapes, colors, and designs. One way of determining the right panel for your door is to go for the type that suits your door. Panels with plenty of decorative features are ideal for traditional doors. In contrast, modern door designs, like sliding doors with large glass panels, could use an additional feature like textured glass for security reasons.
Also, consider the thermal properties of the glass panels you intend to buy. If your reason for replacing the panels is energy efficiency, then you are better off going for the double or triple-glazed glass panels. The final step is to take the correct measurements. According to Hanson, you need to be within ⅙ of an inch as far as accuracy is concerned. Measure and record the height and lengths of the space and subtract ⅛ from both readings to account for expansion.
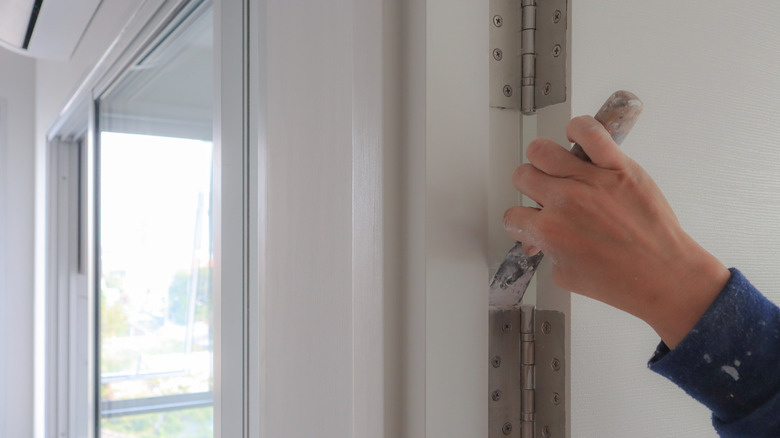
Figure out how the glass panel is secured on the door

Doors come in different builds depending on factors like the construction material and when it was manufactured. This will influence how the glass panel is secured, so before removing the board from the door, inspect how it is attached. This step is crucial as it will determine exactly how you will remove the existing glass door panel. Also, you might need to reuse some materials for your replacement, so it is necessary to know the makeup of your door beforehand.
This is particularly important if you are working on a shoestring budget; reusing materials is an excellent way to save on cost. Usually, this will depend on the specific door material in question. To put this into perspective, glass panels are secured in wooden doors using moldings and putty around the panel edges. On the other hand, uPVC doors use beads and silicon sealants to carefully secure the door's glass panel and provide superior energy efficiency, per AIS Windows.
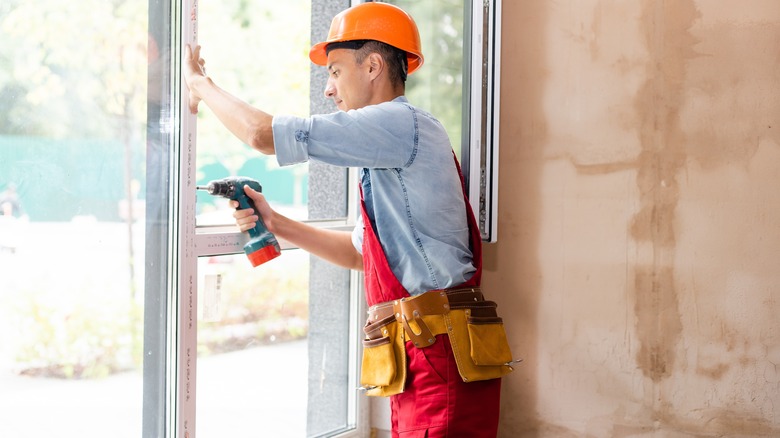
Remove the glass
Again, removing the glass panel is quite dangerous, especially if it is broken; therefore, wear protective gear for safety. When it comes to removing the glass panels, there are a few ways you can approach the process depending on the material and how it is secured on the door. Panels attached to the door using putty, also referred to as glazing, are the easiest to detach. All you need to do is remove the putty with a putty knife, and the glass panel will come off quickly. However, if the glazing is dried up and proving difficult to come off, consider heating the glazing putty for a couple of minutes using either a steam heater or a super-heater infrared, according to The Craftsman Blog.
If the glass panel is broken, you might need to tape the back side of the glass to prevent the glass pieces from flying in every direction. This will save you from a tedious cleanup after the task. Glass panels are secured using moldings on uPVC doors, which should come off quickly by scraping off the adhesive edge. Timber beading, on the other hand, is relatively more difficult to remove because they are nailed in position. If you can remove the beading successfully using a chisel, you can reuse them later when replacing the glass panel.
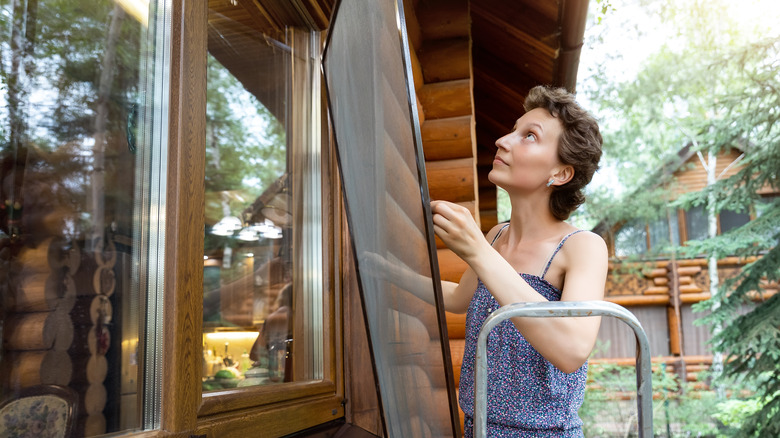
Insert the new glass panel
As easy as it might appear from the beginning, having an extra hand to help you with a few things during the process is necessary. If using putty or glaze, you must know that it is often challenging. Therefore, you will need to knead it first into a pliable consistency. Place the window pane, apply the glaze on the edges, and press firmly. Be sure to scrape off any excess using a putty knife.
Typically when using putty or glaze to secure the glass panel, you should be aware that it takes up to 15 days to dry and cure completely, via HPD Construction. Until then, you should avoid painting or tampering with the glass panel lest you compromise the binding process. Meanwhile, remove the mess, clean, and keep away the tools. On the other hand, plastic beads are affixed into position on the door using adhesives while timber moldings are nailed into place.
Paint if necessary
While painting is not necessary for every scenario, it is a good way of giving your door a new look. Moreover, painting your door after replacing the glass panels will not only give it a seamless appearance but also hide the imperfections that might have occurred during the process. This is particularly important if it is the front door to your house.
Remember, your front door is the first thing your guests will interact with before getting into your home, and if first impressions do matter, then you need it to be in stellar condition. Typically, you don't need a lot of paint, especially since you are only repainting a single door in your home. As a general rule of thumb, be sure to use more than one layer of paint, preferably two, according to Coat. Also, allow the first coat to dry completely before adding the second. Finally, be sure to scrape off any paint imperfections!