What You Need To Know About Installing Shoe Molding
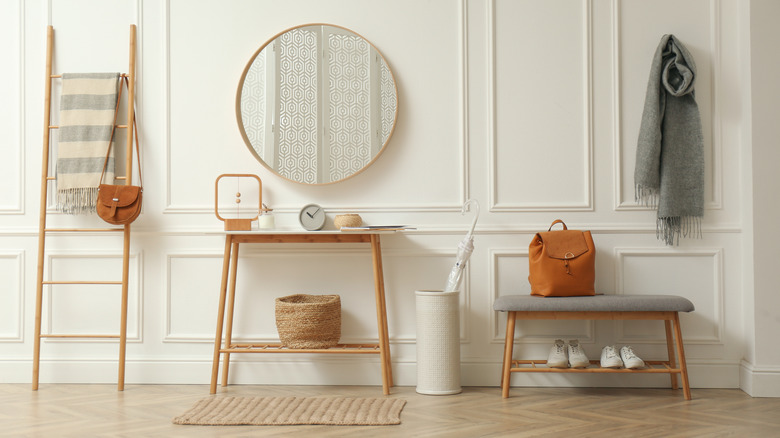
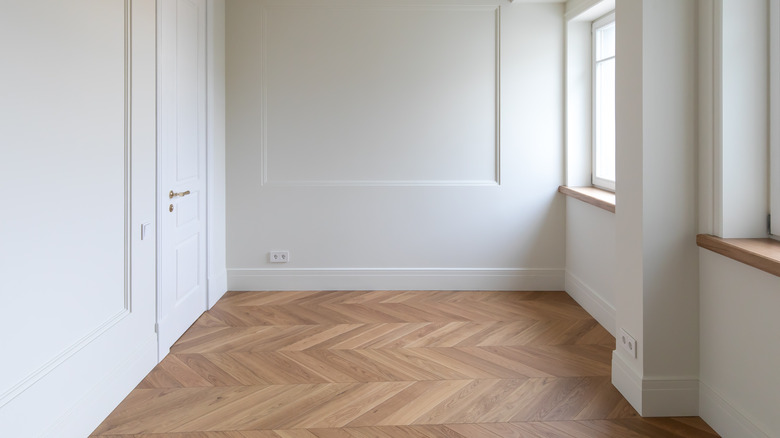
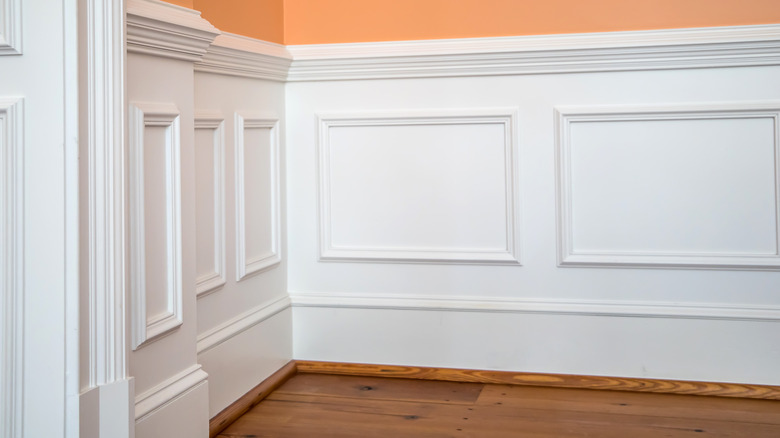
Both decorative and functional, shoe molding is a finishing trim added to the bottom of a baseboard that can make a room look neat and put together. Even properly installed flooring can have some small gaps, and as a house ages and settles, these gaps can become more visible. Also known as base shoe, shoe molding covers up any discrepancies between the baseboard and flooring, while also adding a stylish element to a room. Installing shoe molding creates an appealing, enduring, and seamless transition between the wall and floor.
Beyond its aesthetic purpose, Blake Hill House notes that shoe molding can protect the baseboards from everyday damage, like kids rolling toys across the floor or a vacuum cleaner scraping by. This perk is especially appealing in homes with expensive or old original baseboards that you want to preserve. Best of all, shoe molding is generally easy and budget-friendly to install. Though it's a small detail, shoe molding contributes to the finished look of a room, so installing new molding is a great project to update your home. Whether you're adding it to a new construction or elevating your current baseboards, here are some features to keep in mind when choosing and installing shoe molding.
Shoe molding pros and cons
Shoe molding serves an aesthetic function, so its main benefits are decorative. The most obvious benefit is that shoe molding creates a neat look by visually joining the baseboard and floors. For those who want to take advantage of the range of styles, shoe molding can offer a subtle design flair. For example, ornate baseboards and matching shoe moldings can give a room a traditional air of elegance. On a more practical note, as mentioned, shoe moldings can protect the baseboard from some bumps and scratches. Since it is often inexpensive and easy to repair, this is a big functional perk.
On the other hand, homeowners may choose against installing shoe molding for several reasons. First of all, some people think it looks outdated since baseboards with shoe molding tend to have a more traditional look. Those who prefer a modern aesthetic with sleek, straight lines will find this too old-fashioned. Secondly, shoe molding does take up some floor space. Though minimal, Project Perfect Home notes some homeowners feel this trim can make a room look smaller. Lastly, it can add to your chore list. Shoe molding will eventually become an extra thing you need to dust since dirt will accumulate on the trim and require a thorough wipe-down.
Shoe molding vs. quarter round molding

First, make sure shoe molding is the right choice for your home. Another common molding type is quarter-round molding. According to The Handyman's Daughter, shoe molding and quarter molding are very similar, just with a few shape and style differences. They both serve the same purpose: to cover gaps and add a finishing touch to baseboards and flooring. The two names are sometimes used interchangeably, but it helps to know their differences to choose the best molding type for your home. When viewed from the side, quarter-round molding has a quarter-circle shape. On the other hand, shoe molding can take various shapes and comes in multiple designs, from plain to decorative. Some shoe molding options come in a similar circular shape to quarter-round molding. However, it's generally only called a quarter-round if it is a true quarter-circle.
Quarter-round molding tends to be thicker and larger than shoe molding, which makes it better suited to covering large gaps. The smaller and thinner style of most shoe molding makes it more flexible for installation. Both options come in various sizes. In terms of style, quarter-round molding is rather plain and simplistic. Shoe molding also comes in simple designs, but more ornate and eye-catching options are available.
Shoe molding material choices
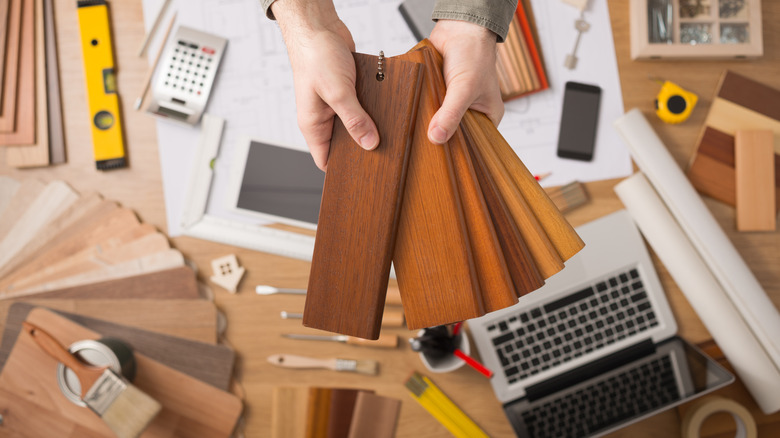
Shoe molding comes in a few material options, including wood, MDF, and polystyrene. According to Metrie, wood is a popular and attractive choice with its natural wood grain look and various stain and painting options. Easy to match with wood baseboards and flooring, wood is a classic material with proven durability. One downside of wood shoe molding is that it can have some naturally-occurring imperfections, although some design professionals may argue that it gives wood its character.
Medium-density fiberboard (MDF) is another material option that is often more affordable than wood while offering a similar look. MDF is an artificial material created by mixing wood fibers and a binder, like resin adhesives. Since it's manufactured, it won't have the imperfections of natural wood. Painting MDF is straightforward. However, while it's possible to stain MDF, according to Woodworking Art, it won't look as polished as stained wood.
Polystyrene shoe molding, which is made of plastic, is the most budget-friendly choice of the three. Polystyrene moldings can have finishes that give them a faux wood grain look. However, it's not a replacement for the real thing, and some homeowners may find that these moldings look a bit cheap. However, it does offer a few benefits over wood materials, such as being lighter and more moisture-resistant than wood or MDF.
Shoe molding style options
Just like baseboards, shoe molding can be plain or decorative. They come in a few profiles, which include simple rounded or rectangular shapes or more decorative options with elegant curves reminiscent of traditional molding. Shoe molding also varies in width, with slim wall-hugging options or wider, chunkier selections. Consider the overall room design and baseboard style when choosing a molding style. For example, plain molding may be a good choice for modern homes and ornate moldings for a traditional or farmhouse-style home. Decorative shoe molding can dress up basic baseboards, while plain molding can offer elegant baseboards center stage.
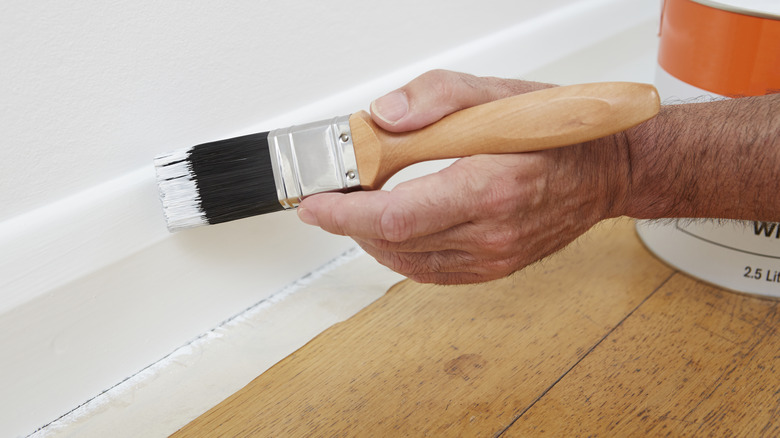
Shoe molding comes in unfinished and prefinished options (via District Floor Depot). Unfinished shoe molding (usually made of wood) is completely unfinished, with no stain or paint. These offer the most flexibility since you can choose your finish. Prefinished moldings are already painted or stained and come ready to install as-is. Another in-between option is primed moldings, which are primed and ready for you to add your own paint. When finishing your shoe moldings, it's best to stain or paint them before installing them. This step makes it easier to ensure an even finish and prevents accidental messes on your baseboards or flooring. Make sure to keep some leftover stain or paint for touching up any imperfections after installation.
How to choose the right shoe molding
When shopping for shoe molding, there are two measurements to consider: the shoe molding height and the total coverage perimeter. Choose a molding height based on personal preference. If there are large gaps between your baseboard and floor, choose a tall enough shoe molding to cover it completely. Measure the perimeter of each room to calculate how much shoe molding is needed. When buying the molding, get 10-15% more than the total perimeter measurement to account for any installation mistakes.
When choosing a shoe molding color, match it with either the baseboard or the floor. Matching with the baseboard creates a more seamless and continuous look. On the other hand, some designers prefer to match the color with the floors, which may be easier if you have standard hardwood floors. Another less traditional option is to match the color to the cabinetry to really pull the space together. If you want a distinctive color, choose unfinished or primed shoe molding so you can paint it in your desired shade. If you want a common color, you can simply buy prefinished shoe molding.
The right tools make the job easier
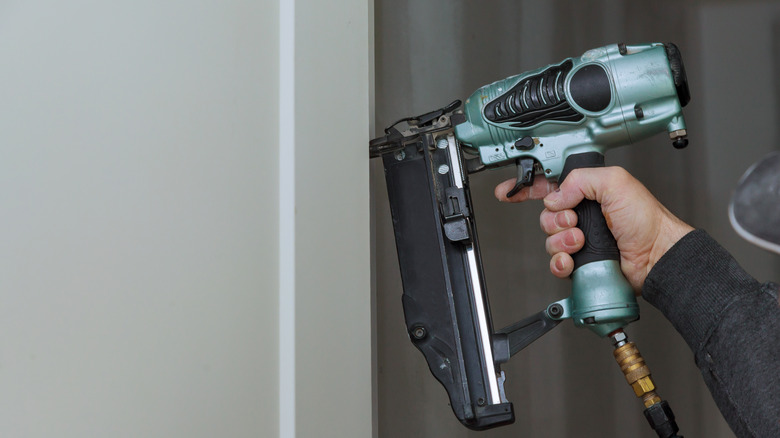
While it's possible to install shoe molding with a regular hammer and nails, a nail gun is the right tool for this job. According to The Tool Square, nail guns have a few benefits over a traditional hammer that are particularly relevant to this task. To start, nail guns make the job faster, which will be much appreciated when installing room after room of shoe molding. Secondly, nail guns are more accurate, which is a perk when working with narrow moldings. Lastly, and perhaps most importantly, you can hold a nail gun with one hand. Installing shoe molding is a two-handed job, and using a nail gun enables you to use a hand to hold the molding firmly in place for proper installation.
To ensure a seamless fit, shoe molding needs to be mitered and coped. This involves cutting it a particular way to ensure the two pieces fit together at the corners. Specialty tools are the best for this task. A miter saw and a coping saw make fast and precise work out of prepping the shoe molding. For those on a strict budget, there are alternatives to using a pricey miter saw. A Butterfly House recommends a hand saw and miter box as a much more budget-friendly alternative.
Make the right cuts
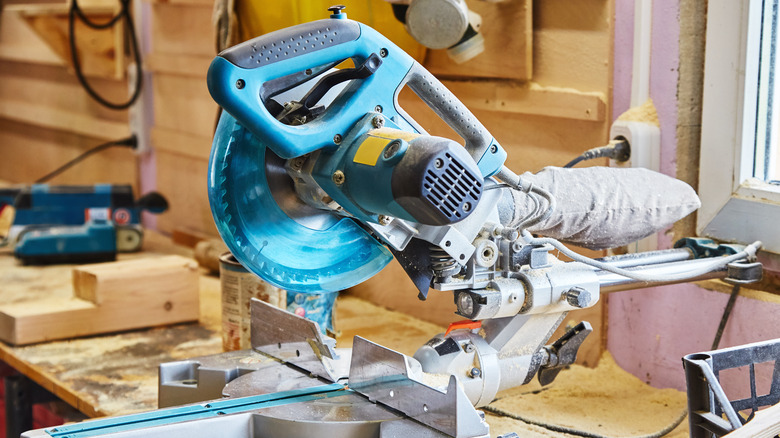
Mitering and coping the corners when installing shoe molding ensures continuity around corners and a smooth finished look. A mitered corner is suitable for outside corners. To miter cut shoe molding, cut each piece at a 45-degree angle. When installing the molding, line up the cut angles together to create a polished corner. A bit of construction glue can ensure there's no gapping. Mitered corners look professional and also naturally hide the cut edge of the molding.
While it's also possible to miter cut the inside corners, it's better to cope, per Wood Magazine. Inner corners that are mitered can gap over time as the house settles and the molding expands with humidity. Gapping and imperfections are less visible with coped corners. Coping shoe molding involves cutting the end of one piece to fit the profile of the other. To create a coped inner corner, measure and cut the first molding piece at a 90-degree angle to fit right against the wall corner. Cut the end of the second molding piece at a 45-degree angle, then use a coping saw to carve out the profile shape of the first piece of molding. Sandpaper can be used to smooth out rough edges and fine-tune the shape.
Installation tips
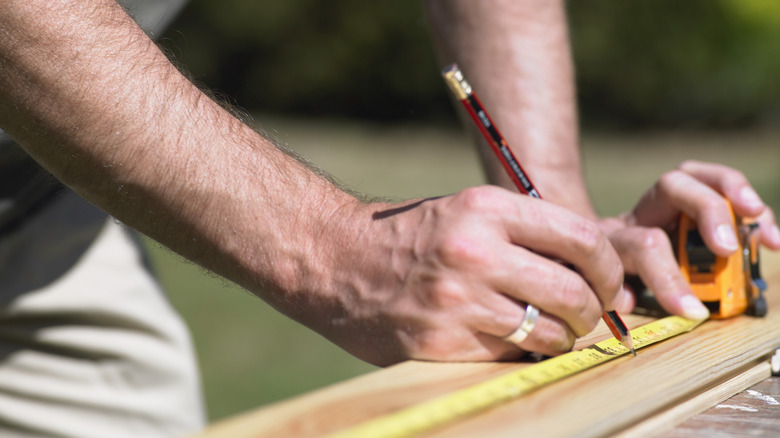
Once you get the hang of measuring, cutting, and nailing, installing shoe molding is a rather straightforward project. There are a few tips you can keep in mind to make the job go smoother. Tight joints and neat corners are important to a polished finished look, so the phrase "measure twice and cut once" really applies when installing shoe molding. Some installers prefer to start in one corner and work around the room, measuring and cutting as they go rather than all at once. Measuring and cutting at each step makes it easier to ensure a snug fit along the way and adjust any small mistakes.
Baseboards and flooring can have some discrepancies; they're rarely completely straight. Luckily, shoe molding is a bit flexible. It has some give, which allows you to install it firmly against the baseboard and floor despite minor curves and bumps. While installing, always make sure to nail into the wall or baseboard, not the floor.
Remember the finishing touches
Shoe molding all cut and installed? You're not done just yet. Don't forget a few finishing touches to give shoe molding a polished look. First, deal with any out-of-place nails by gently hammering down protruding ones. If there are any nail holes, use caulk on white shoe molding or wood putty on wood shoe molding to fill them in.
Mishaps happen, so District Floor Depot recommends using paint or a stain marker to touch up imperfections as needed. Also, paint or stain any exposed areas from the installation process (for example, the exposed end of the molding next to a door trim). To make painting or staining easier after installation, slip a piece of paper under the molding or use painter's tape to ensure the paint doesn't get on the baseboard or floor. You can also caulk along the seams between the baseboard and shoe molding for a truly consistent look. Lastly, clean any dirt or debris away from the baseboard and shoe molding with a soft cloth.