The Best Ways To Clean Your Painted Kitchen Cabinets
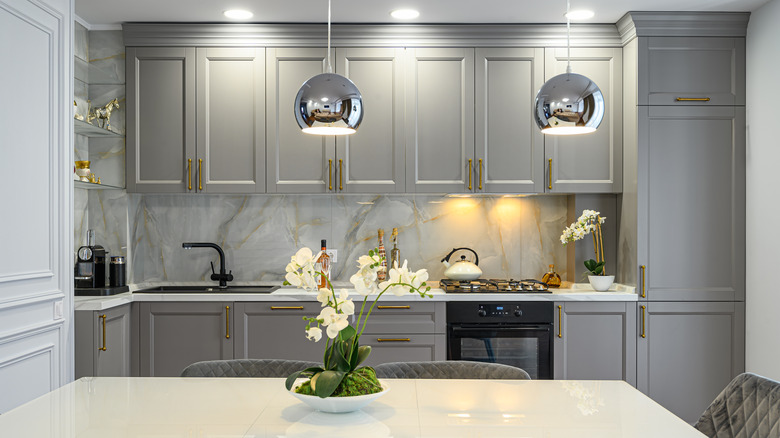
Most of us use our kitchen daily — or even multiple times a day. All of the baking, cooking, dishwashing, and prep work can make a mess. This mess often extends to your kitchen cabinets, which in addition to food splatters and debris, can also become covered with dust, fingerprints, and other grime if they aren't cleaned regularly. Learning how to clean your kitchen cabinets is important because you are removing bacteria that could potentially make you or your family sick. Think about all the different foods you cook in the kitchen, including raw meats. Contaminants can end up on the doors and drawers, leading to potentially serious health issues.
There are additional reasons to keep your kitchen cabinets clean. The accumulated dust and dirt can cause the finish or paint to wear down. It could even make its way down to the wood beneath the paint, causing structural problems and making it necessary to replace the cabinets sooner than you may be planning to. If you have painted kitchen cabinets, learning how to clean them properly is essential so you can remove dirt without damaging their appearance. Here's how.
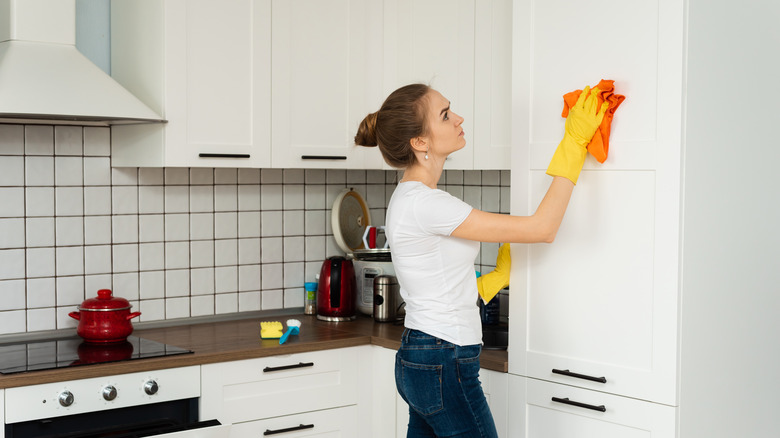
Start by wiping the cabinets using a damp microfiber cloth
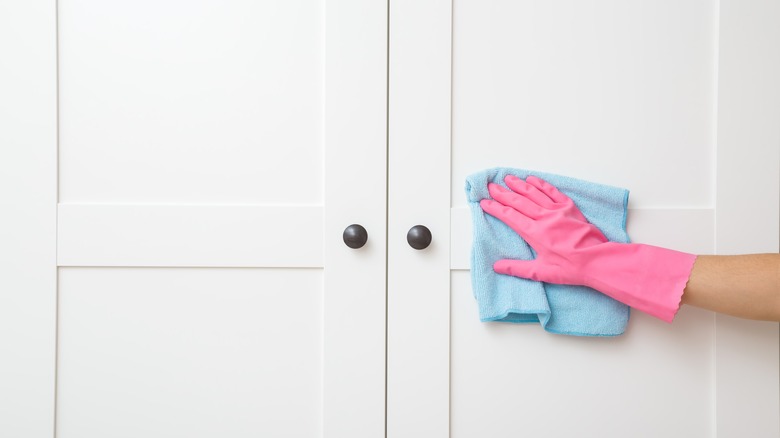
When possible, a gentle cleaning is best for painted kitchen cabinets. This limits the chances that you'll inadvertently damage or remove their paint. Start with a microfiber cloth dampened with plain water. This will often be sufficient to remove much of the dust and debris on the doors without threatening the finishing.
Today shares that microfiber cloths offer a chemical-free way to clean various surfaces in the home. They are superior to dishrags for several reasons. Not only do they last longer, but they are also safer for the environment than choosing harsh chemical cleaners. Moreover, they are more effective at giving surfaces a deep clean and can remove up to 99% of bacteria. The cloth's special construction is what makes it so much better at removing contaminants from a surface. Each fabric is made up of millions of polyester and nylon fibers. The polyester fibers have a positive charge, while the nylon fibers have a negative charge. This means that the microfiber attracts grime and dust, effectively removing them.
When you clean your cabinets with a microfiber cloth, fold it into fourths. This will give you multiple fabric sections that you can use to remove gunk from your cabinets. As one area of the cloth gets dirty, you can flip it over or fold it again to provide another clean section for use. If the whole material is soiled, rinse it under warm water for a few seconds to wash away the grime, and continue cleaning.
Use a gentle detergent and warm water to get rid of grime

The damp microfiber cloth will go a long way in getting your painted cabinets clean. However, there may still be some patches of grime that need some extra TLC. It is still important to avoid harsh cleaners, so you don't risk damaging the paint finish. A gentle cleaning detergent or dish soap can help you tackle greasier splotches. Fill a small bucket with warm water and a small amount of detergent. Grab a clean microfiber cloth and dip it in the soapy mixture. Then, use the material to gently rub the dirty areas of the cabinets.
Soap works well to get rid of oil and grease. As The English Soap Company explains, soap molecules form micelles. The small clusters have a hydrophilic and hydrophobic side. The hydrophilic side, which attracts water, faces out and works to form a shell. The hydrophobic sections, which attract oil, effectively trap grease and oil in the middle of the shell, working to remove it from your surfaces.
Spot clean stubborn stains with vinegar and baking soda
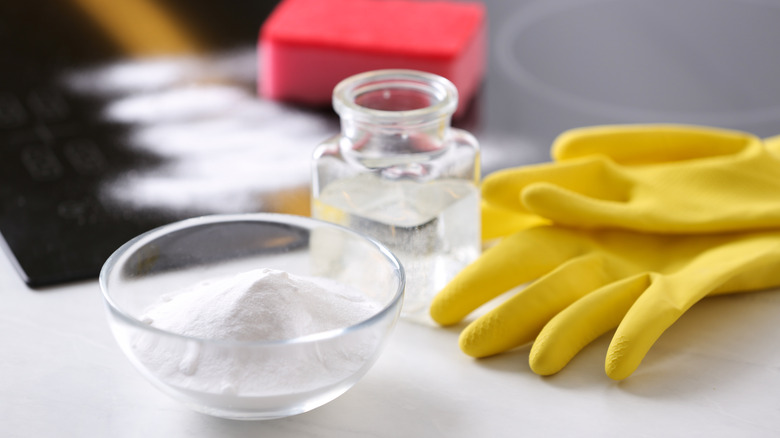
In many cases, the damp and soapy microfiber cloth will be all you need to keep your cabinets clean, especially if you clean them regularly. Sometimes, however, there may be some more stubborn stains sticking around. Hellamaid shares how effective vinegar and baking soda can be at cleaning surfaces in the home. Not only are they very effective, but they are also natural and much safer to use — both for you and your painted cabinets — than harsh chemicals.
To prepare the cleaning solution, add 2 cups warm water, 1 cup vinegar, and 1 tablespoon baking soda to a bowl and mix the ingredients together. Dip the end of a microfiber cloth into the mixture, and rub it over the stained areas to remove them. You can also apply the solution over stains using a spray bottle and let it sit on more stubborn stains to make them easier to remove.
Baking soda and vinegar are so effective because of their opposing pH levels. Vinegar, which is acidic, works to break down minerals. Baking soda, which is a base, can dissolve grease, dirt, and other contaminants. Baking soda doesn't scratch surfaces but works like an abrasive cleaning product in many ways.
Clean the glass insets
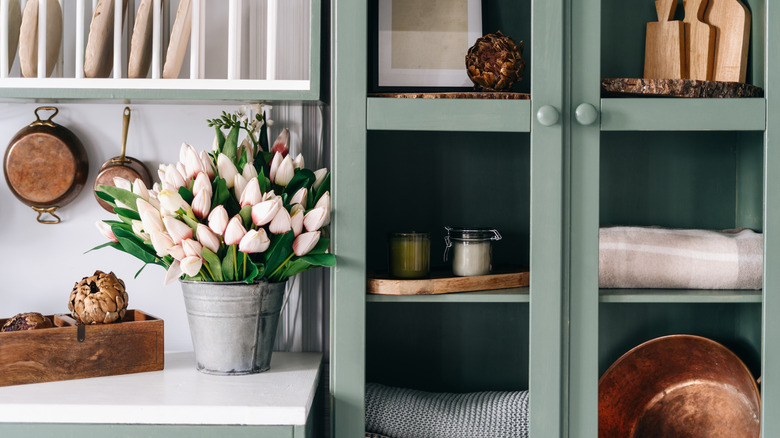
Some painted kitchen cabinets may have glass insets. Glass insets can elevate the look of your space and allow you to showcase china, glassware, vases, and more. However, it is very obvious when glass gets dirty with food splatter or fingerprints. This can make the entire space feel less clean. AapkaPainter shares that regular cleaning of the glass insets does more than help keep the kitchen looking nice. It also works to protect the glass against corrosion. When minerals are left to sit on the glass for a long period of time, it can eventually cause the glass to weaken.
The best way to clean glass insets without introducing harmful chemicals into the space is to create a cleaning solution with vinegar and water. The acidic vinegar will help break down dirt and grime, leaving the windows sparkling clean. According to Pella Windows & Doors, a ratio of 10 parts warm water to 1 part distilled vinegar is ideal for cleaning glass and windows.
After you've mixed the solution, spray it on the glass insets. Use a microfiber cloth to remove dust and grime from the surface of the glass. Then, use a second cloth to dry the glass without leaving streaks behind.
Clean the hardware
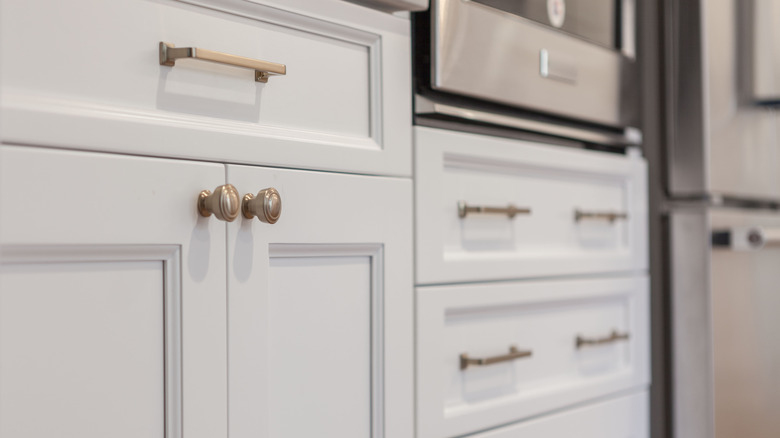
Don't overlook the hardware when you're cleaning your painted kitchen cabinets. Think about how often you touch the door knobs and drawer pulls on the cabinets. According to Simply Beautiful Kitchens, this is another cleaning task where vinegar and dish soap will come in handy. Removing the hardware from the cabinets is best to ensure a more thorough cleaning job. In many cases, you'll only need to remove a screw or two to remove the hardware.
Fill a bucket with a 1:1 ratio of distilled white vinegar and warm water. Place the hardware in the solution and let it soak for several hours to loosen any grime. After the hardware has finished soaking, remove it from the bucket and dump the water and vinegar solution. Rinse out the bucket before filling it with warm water and a few teaspoons of mild dish soap. Return the hardware and let it soak for about another hour. Then, use a toothbrush or rag to scrub each piece. Thoroughly rinse each knob or pull and leave everything on a towel to dry. Then return the hardware to the cabinets.
If your cabinet hardware is made of brass, pewter, copper, or silver, the cleaning instructions will be a bit different. For pewter hardware, you'll want to combine 2 cups of water with 1 teaspoon of dish soap, while a cleaning paste made with 1 tablespoon of baking soda and 2 tablespoons of lemon juice will work best for brass hardware. If your cabinets have silver or copper hardware, combine 2 cups of water with 1 tablespoon of ammonia. Then, dip a soft rag in the solution and use it to buff the metal until clean and tarnish-free. Follow up with a quick rinse in clean water and then dry the hardware.
Avoid using abrasive cleaners on painted kitchen cabinets

Abrasive cleaners should not be used to clean painted kitchen cabinets. These cleaning products feature harsh ingredients that could damage the painted finish on your cabinets. Similarly, abrasive scrub pads, like steel wool, should also never be used since they can ruin the finish or scrape the paint.
Angi also notes that some abrasive cleaners are unsafe to use around food. Your cabinets hold plates, drinkware, and other items that will be touching your mouth or your food. Contaminating it with a chemical cleaner could pose potential health or safety risks. Some examples of cleaners to avoid include bleach, paint thinner, silicone-based products, solvents, strong or concentrated detergents, and nail polish remover. Stick with the gentle water and soap mixture recommended above, or some vinegar and baking soda for stubborn stains, and you won't need to worry about accidentally ruining your paint job or tainting your dishes.
How often should you clean kitchen cabinets?
Zothex shares that your cleaning schedule will vary based on how often you use your kitchen. It shares a sample cabinet cleaning schedule that you can tweak based on its use and your availability. Ideally, the outside of cabinets should be cleaned about twice a month.
The inside of the cabinets aren't likely to get as dirty as the outside, so they don't need to be cleaned as frequently. Aim to clean the inside shelves about every three to five months to remove dust mites, debris, and any bits of food that may have gotten dropped into the cabinets. Before cleaning the inside, empty dishes, glassware, and pantry items. Then, use a microfiber cloth with plain water (and a bit of gentle detergent if needed) to wipe away any grime. Give the shelves time to air dry before returning items to the cabinets.
Other tips for maintenance

Cleaning your painted kitchen cabinets is just one of the many important things you can do to keep them well-maintained. According to Angi, you should also take measures to protect your cabinets from water, heat, and sun damage. Moisture could discolor the wood or result in mold or mildew growth. Using cabinet liners, only putting dry dishes away, and running the exhaust fan to absorb moisture from hot pots can all help to protect the cabinets and their painted finish. Too much direct sun may also pose a threat. To prevent the paint from fading, invest in some blinds or curtains for your kitchen windows.
Repairing small scratches or chips in the cabinet can help keep them looking their best. It can also prevent minor damage from getting bigger. Look for a filler stick at the local hardware store to help you with this task, or use a repair kit (if one came with your cabinets).
When to repaint
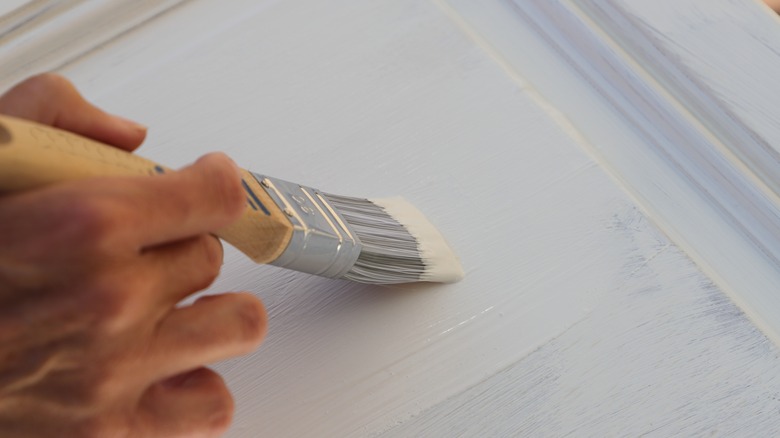
Taking measures to keep your painted kitchen cabinets clean and well-maintained will help the finish last as long as possible. However, at some point, you will likely need to repaint the doors or drawers or invest in replacements. According to Tom Currren, the paint on professionally painted cabinets can often last between eight and 10 years. After this time, the cabinets will likely need a fresh coat of paint.
While that is the average lifespan, some cabinets may need to be repainted sooner. If they are in a high-traffic area where they are used regularly, you can expect that they'll likely need a new coat of paint after three or four years. The quality of the original painting job will also impact how long it will last. Cabinets painted by a professional painter using high-quality tools and paint will last longer than those painted by a DIYer.