Staircase Makeovers You Can Do With Any Budget
When completing a full house makeover yourself, one of the most challenging places to renovate (besides the bathroom and the kitchen) may just be the staircase. This is because it's often a cramped area of the home that's used frequently, and it will probably need to still be accessed while you complete the renovation. This may require you to, for instance, paint every other stair, which can add time to your project and make it more difficult to complete. Further, since staircases are high-traffic areas, it's important to make them as durable as possible, which requires careful planning.
However, don't let this discourage you, as there are plenty of low-cost ways to refresh this space. Whether you want to completely renovate the area by removing carpet and installing new treads (the part of the stair you walk on) or you just want to update the risers (the vertical pieces that connect each stair), you'll find fifteen before and after staircase makeovers to encourage you below.
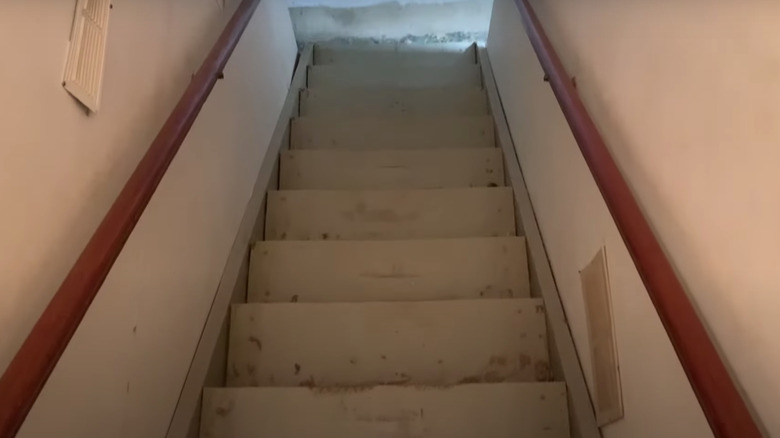
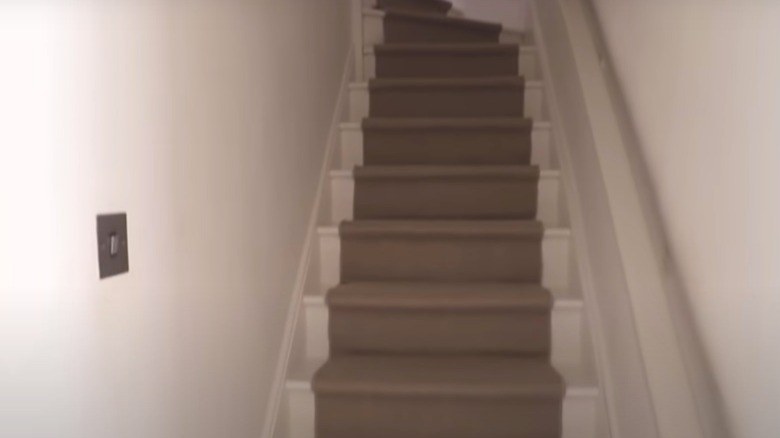
Before: Ancient carpet
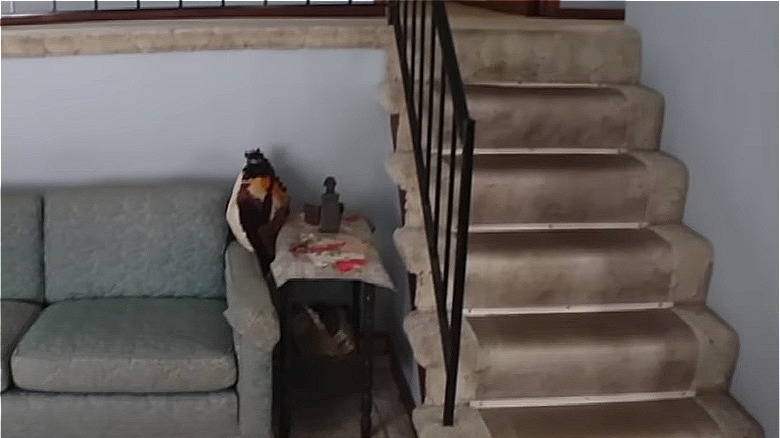
With old, beige carpeting and a plastic runner, these stairs are looking extra outdated. If this is what your staircase looks like, you may want to take inspiration from the next image.
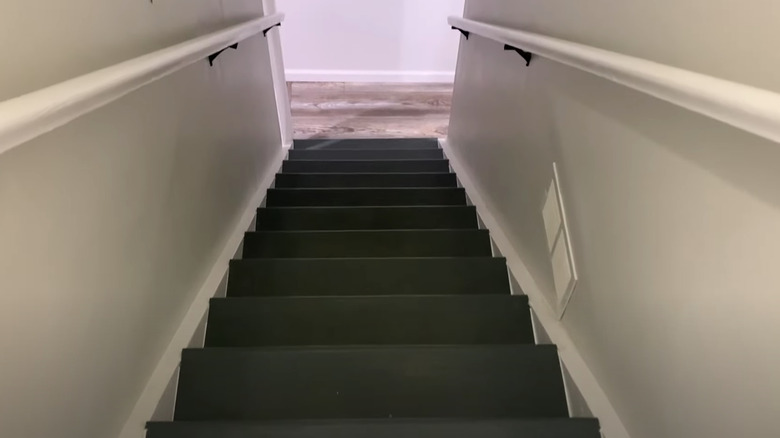
After: Moody paint with new treads
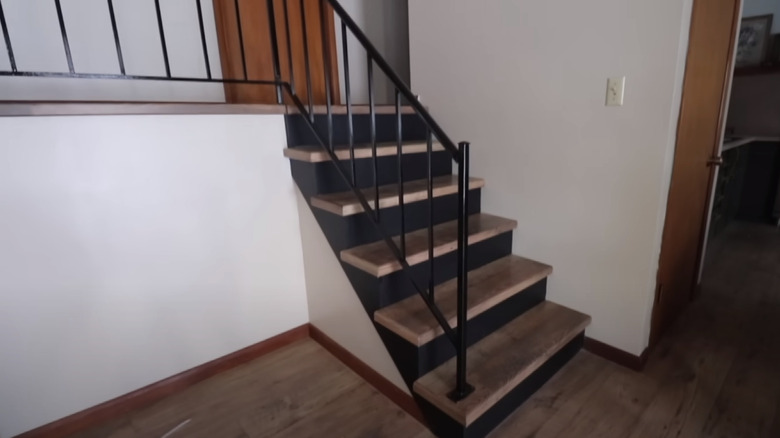
After the makeover, these stairs are practically unrecognizable. To get this look, the homeowners removed the carpet, sanded the stairs, painted the risers and edges black, cut down the existing treads and covered them with new vinyl ones, and spray-painted the black railing.
Before: Scuffed risers

This is a common sight for most homeowners, especially those with white risers: Scuff marks. While some can be washed away, others have to be covered up. Because these marks couldn't be removed, these homeowners decided to cover them.
After: Covered with vinyl stickers
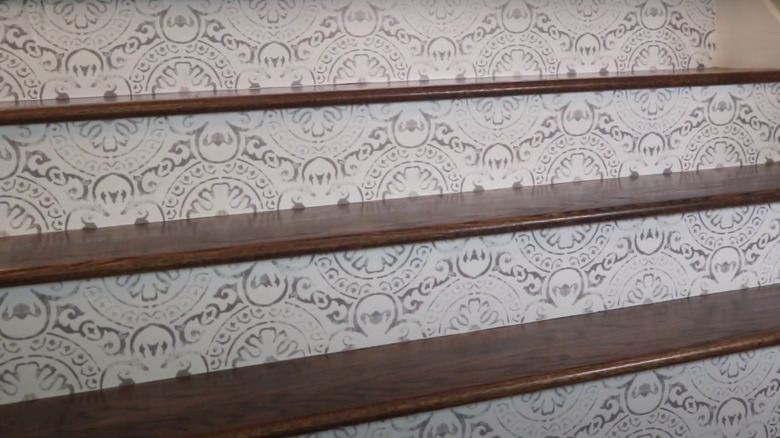
To create this look, they used vinyl stickers specifically made for stairs, which they simply stuck to each riser. The result? A custom look that's easy to clean. However, keep in mind that these decals can get quite pricey.
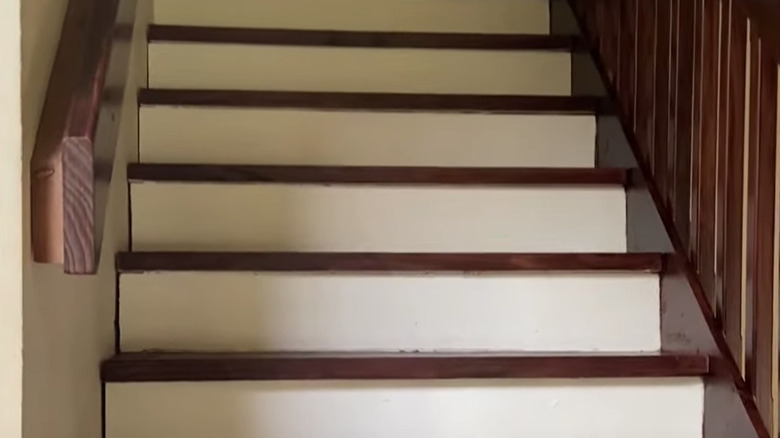
Before: Unfinished project
These stairs are clearly unfinished. While the treads are in great shape, the risers are in need of a makeover. Let's see what these owners did to make their staircase unique.
After: White tiles along risers
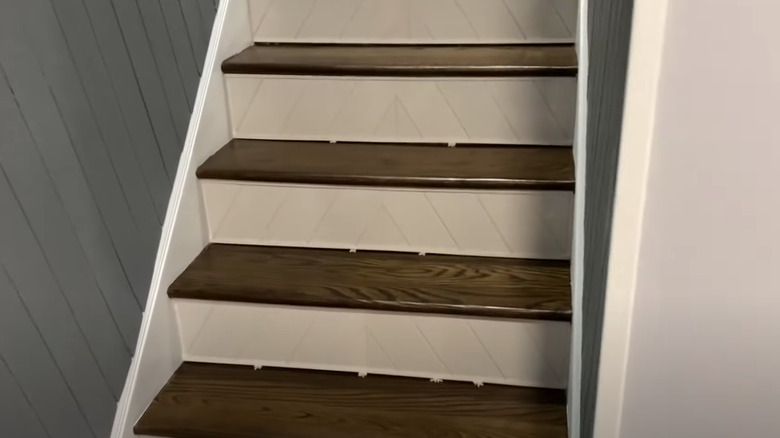
Instead of simply painting the risers white (as most people do), these homeowners took it upon themselves to install white tiles, which add an extra layer of interest and are easy to wash.
Before: Scuffed white paint
Here's another example of a homeowner struggling with scuffed white risers. Instead of adding tiles or vinyl decals, however, they saved some money by creating their own stickers with a Cricut machine.
After: Tile stickers along risers
This is the beautiful result of their project, which only ended up costing about $40. They alternated between mostly blue and mostly white stickers to create a unique look that really stands out.
Before: Slippery safety hazard
While these stairs look fine, the owners had two main concerns they wanted to address: The white baseboards needed a touchup, and the slippery stairs were a safety hazard.
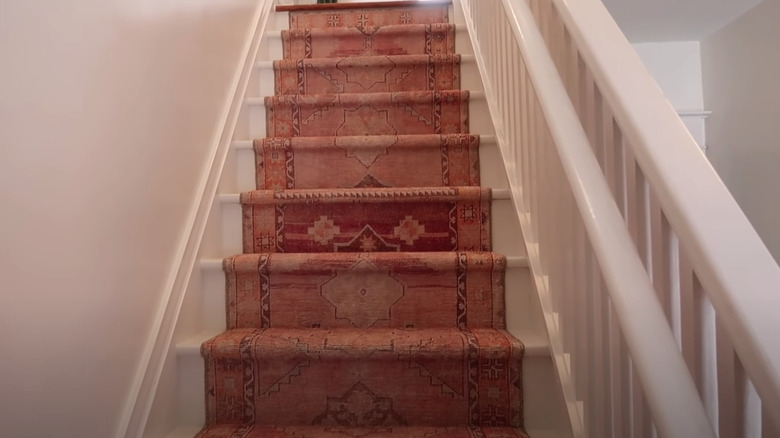
After: Cushioned runner
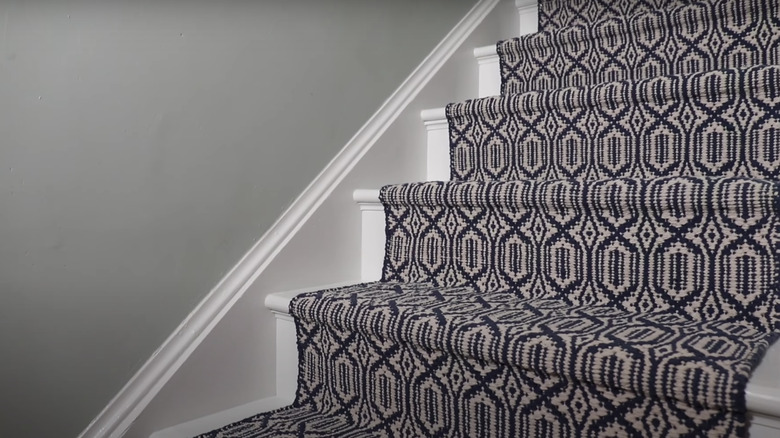
Because of their concerns, they added a fresh coat of paint not only to the baseboards but also to the edges of the stairs. They then installed a patterned runner that provides more safety and a modern look. To save money, they used regular runner rugs instead of a custom piece.
Before: Dirty carpet
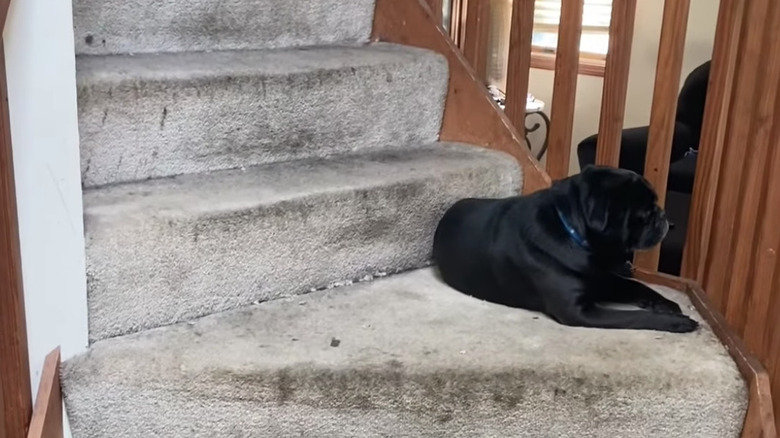
Because stairs are such a high-traffic area, it's easy for them to get worn down and stained. To remedy this issue, it's best to remove the carpet and decide on another look.
After: Dark cherry stained treads
This homeowner did just that: They ripped up the carpet, painted the risers white, and coated the treads and railing in a dark cherry wood stain.
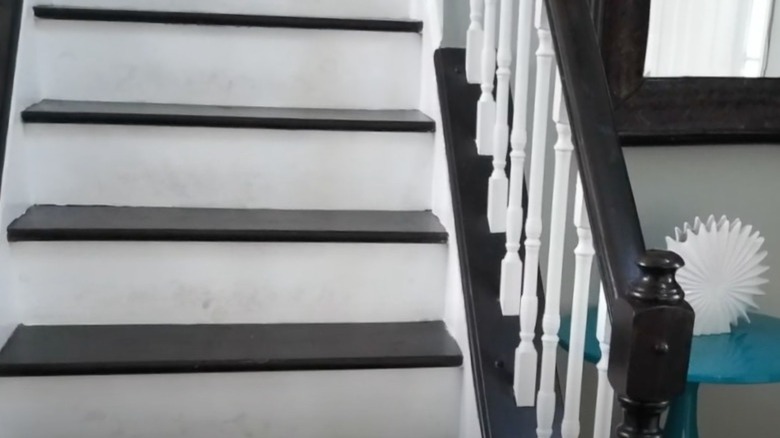
Before: Classic but boring

While there's nothing wrong with these stairs, they didn't match the homeowner's style, who loves everything colorful and bold. If this sounds like your situation, you'll want to follow in their footsteps.
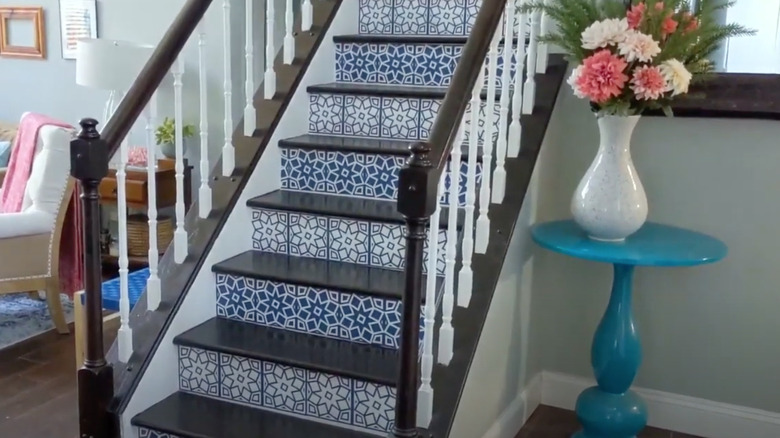
After: Colorful explosion with wallpaper
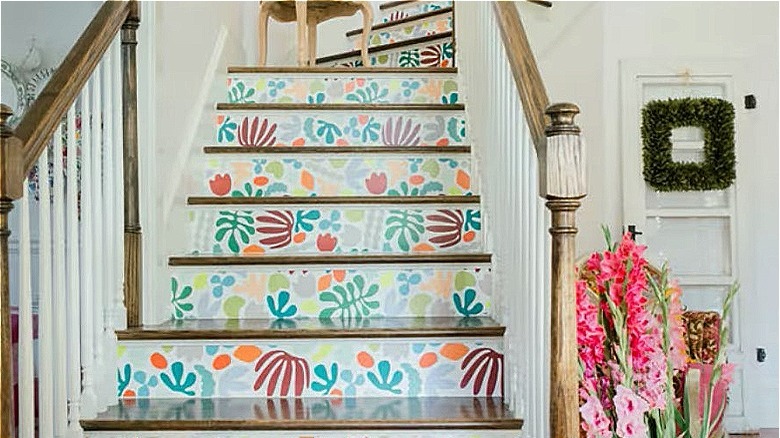
To provide more personality, they cut peel-and-stick wallpaper to fit on each riser, which gives the whole space a brand-new look.
Before: Warm-toned wood
Here's another staircase that doesn't have anything wrong with it, but the homeowner didn't love one small detail — and changing that minuscule element made a massive difference.
After: Modern black
Just by painting the warm red railing a dark black, this whole space has been transformed and appears much more modern.
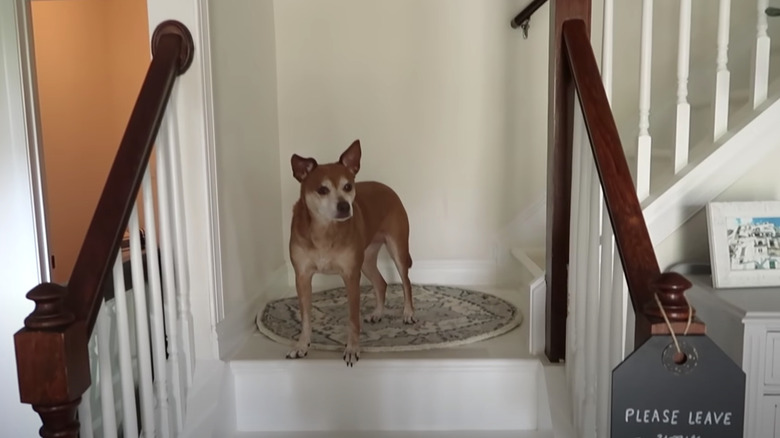
Before: Gloomy dark gray
While some love dark gray paint, when your staircase has no windows, this may not be the best option. If your stairs look like the above image, you may be ready for a change.
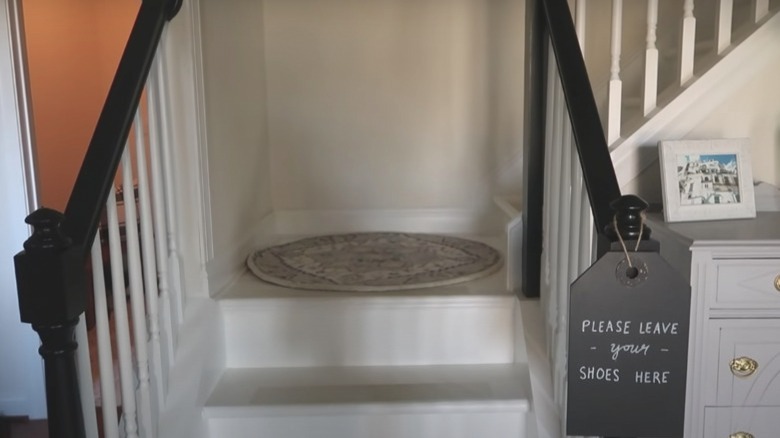
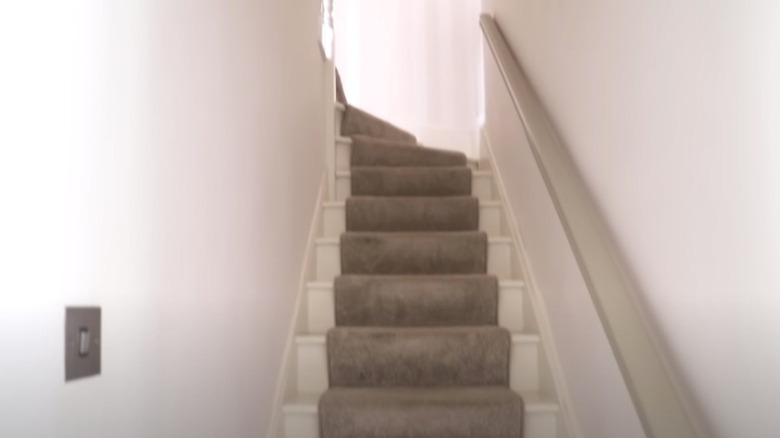
After: White with a warm-colored runner
To brighten the staircase, this homeowner painted the stairs white and added a fun, warm-colored runner that matched the rest of their bohemian home.
Before: Unfinished with wooden railings
These stairs are clearly unfinished, and the red-tinged railings don't fit the look the owner is going for.
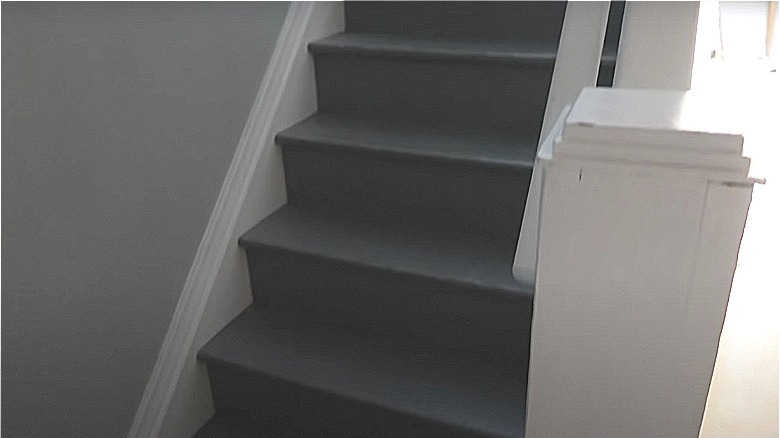
After: Dark gray treads with white railings
To change the look, they installed dark gray treads and painted the railings, risers, and baseboards pure white — and all the materials cost under $200.
Before: Ripped up runner
While this staircase may look great, if you were to get up close, you'd see that the runner was ripped up by this owner's cat. It was in desperate need of a replacement.
After: New runner on a budget
While the first runner was custom-made and therefore expensive, this runner was much cheaper, as it was created by attaching inexpensive Ikea rugs, totalling under $100, together. They also repainted the baseboards and edges of the stairs.
Before: Outdated cranberry carpet
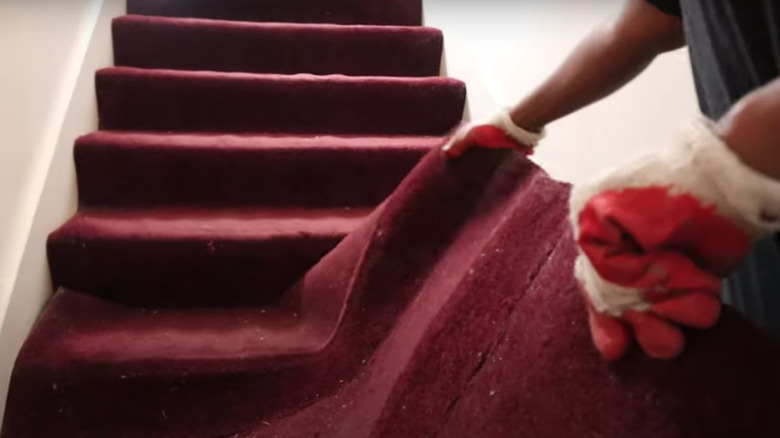
No matter what your style is, you're probably not a fan of the outdated bright cranberry carpet that covered these stairs. It's definitely time for this space to get a refresh.
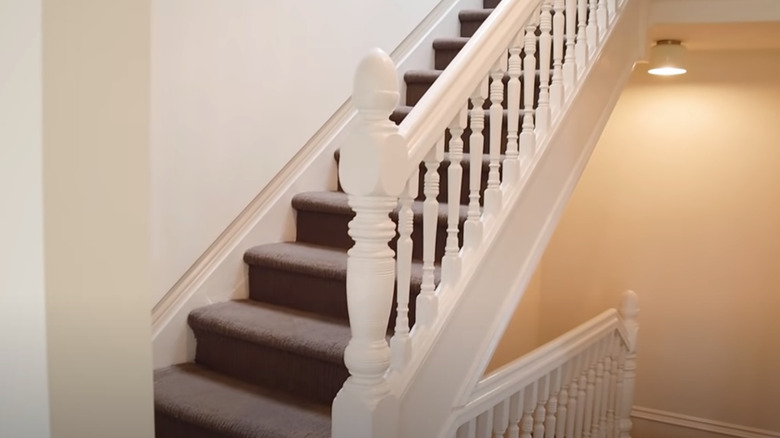
After: Modern white and dark wood
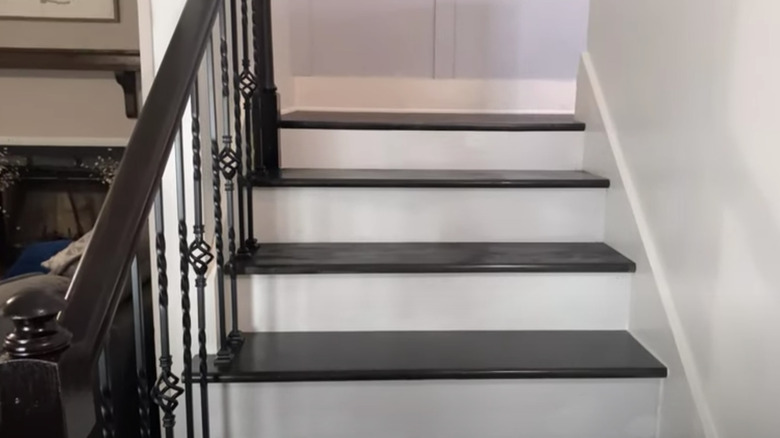
After the transformation, this staircase looks brand new. Not only did they paint the risers and add new treads, but they also changed up the railing by switching out the wooden balusters for iron ones.
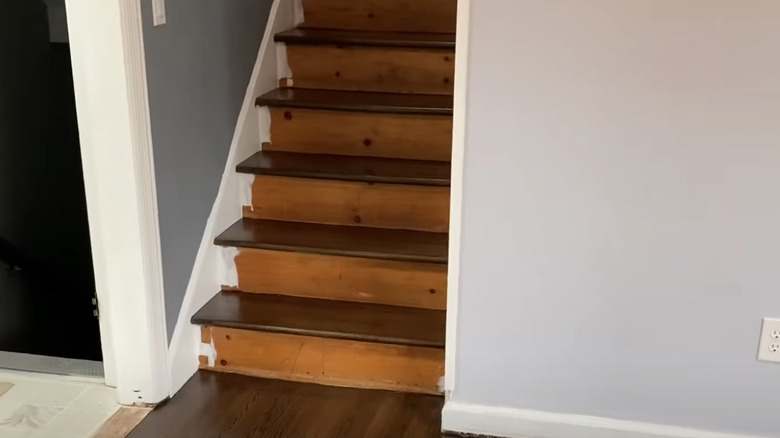
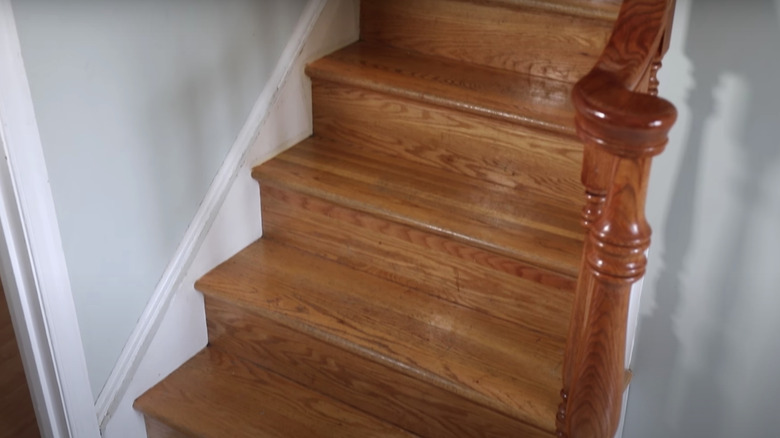
Before: Warm oak
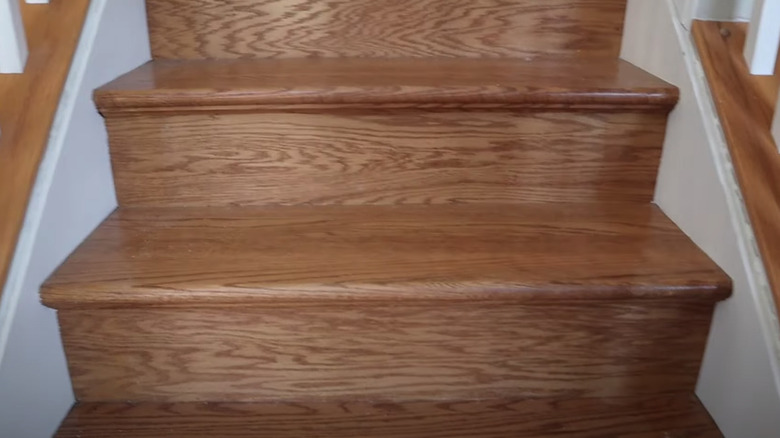
Here's another warm wood oak staircase with a traditional look, which most are veering away from in favor of more modern styles.
After: Dark treads
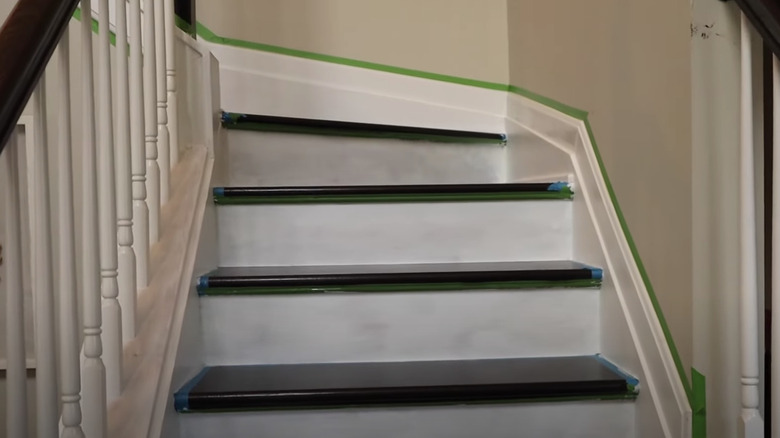
Just like many of the other transformations, this owner decided to paint their risers white and stain the treads a dark tone. Once they add another coat of paint and remove the tape, this project will be complete.
Before: Basic look
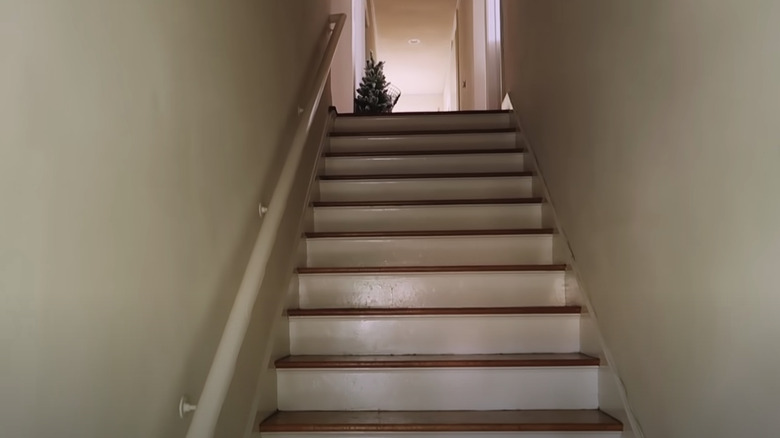
There's really nothing wrong with this staircase. However, it does look a bit bland, and it could be a safety hazard.
After: Striped runner
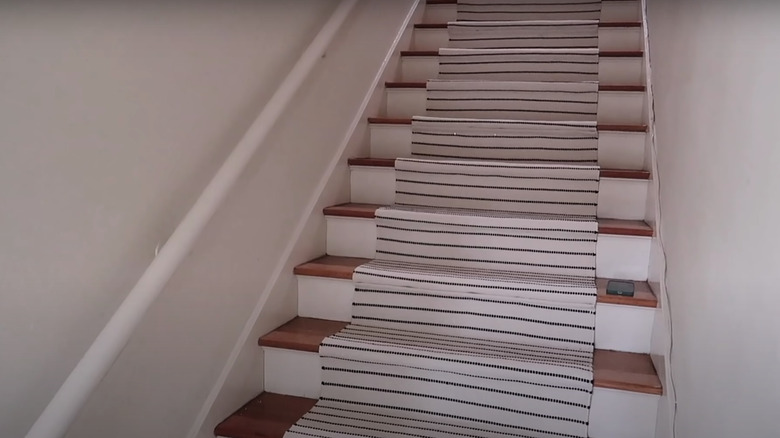
To provide more comfort and interest, they simply added a striped runner. This is a great example of how easy it can be to transform your stairs — you don't even have to paint.
Before: Old carpet
Old carpet is covering these stairs and giving them an outdated look. Instead, exposed wood or runners are more in style nowadays — let's see what the homeowners chose.
After: New paint and light runner
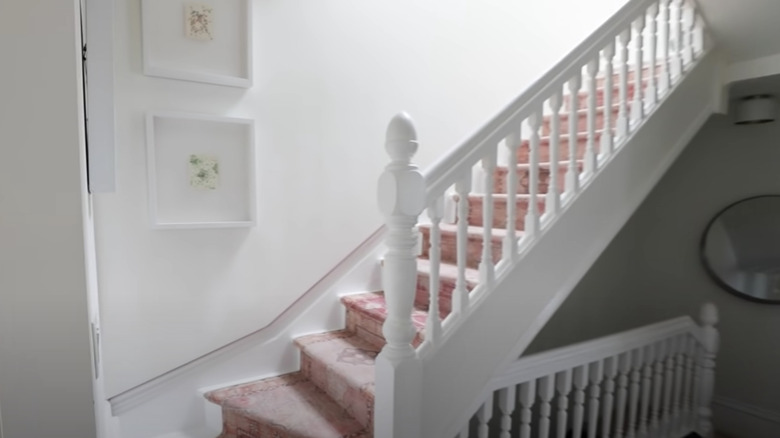
After painting the baseboards and edges of the stairs pure white, they added a warm-toned runner that really brightened the staircase. Hanging artwork on the walls also provides a more personal touch.