Cleaning Your Bathroom Vent Fan At Least Once A Year Will Help Prevent These Frustrating Issues
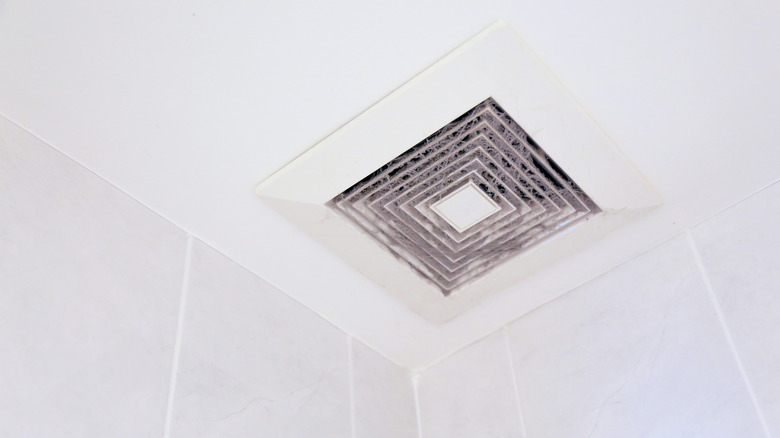
We know adding another responsibility to your list of chores can be exhausting, but thankfully, this one only needs to be done once a year. We're referring to the important task of cleaning your bathroom vent fan. This device is responsible for removing excess moisture from the air in your bathroom, which is vitally important to prevent mold from growing. Therefore, you can expect that by the end of the year, it's likely very dirty.
It's important to create a yearly plan to clean and maintain this crucial bathroom appliance. To help you do this, we've identified one of the best tactics to get it looking brand new, including the type of tools and cleaning solutions you'll need. If you're still on the fence, we've also listed some of the major issues that can happen if you allow the bacteria inside the vent to fester — some more costly than others.
Harmful side effects
Not cleaning your bathroom vent fan can lead to serious consequences. The most serious is allowing dust to build up, which can result in a house fire. Signs your fan may soon cause such a disaster include scraping noises, a burning smell, changes in color, and stalled activation. It's advised to set up a maintenance reminder on your calendar to avoid allowing your fan to fall into bad condition.
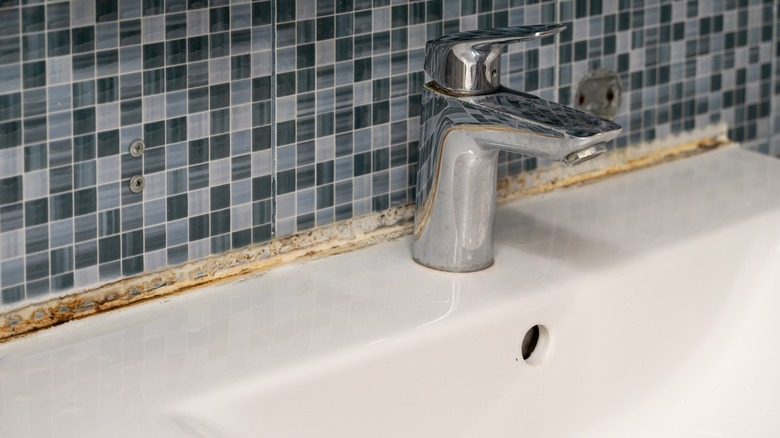
Although not as dangerous, mold is another side effect of a dirty bathroom vent fan. Typically, a fan should be able to pull away all the extra moisture in the bathroom to avoid fungal growth. If the fan is dirty, however, mold may start to grow on your sink, on your toilet, and in your shower. Small mold particles can also make their way into the air, resulting in various symptoms, such as coughing, headaches, and itchy eyes.
The proper cleaning steps

Before any cleaning begins, turn off the bathroom vent fan and switch off the circuit breaker to prevent electrical injuries. You will need a flashlight and a step ladder, but first, ensure the bathroom floor is dry to avoid any accidental slips. Begin by dusting away the debris found outside the fan with your vacuum's crevice attachment. Once that's done, carefully remove the cover — for some models, you may need a screwdriver.
To wash the vent cover, pour warm water and all-purpose cleaner into a bucket and allow the cover to soak. Then, using a microfiber cloth, wipe away the grime. Next, use the same type of cloth to carefully clean the blades and use the vacuum attachment to suck dirt out of the recessed housing. Once everything is clean and dry, put it all back together, ensure the blades have enough space to turn freely, and test that it works correctly.