The Process To Clean Your Ice Maker Involves Just 5 Steps
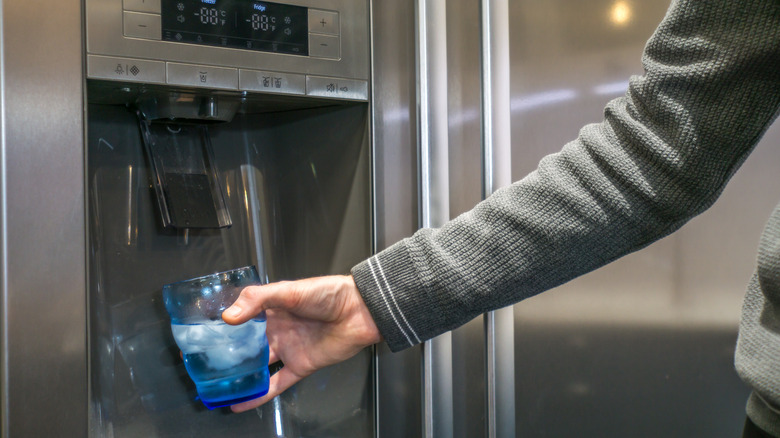
Ice makers are great additions to your fridge and make your kitchen a more efficient space. Not only do these machines have better filters for your water-turned ice, but you eliminate the annoying tendencies of spilling ice trays after filling them up, relentlessly banging them on the counter only to pop out a few pieces, and realizing you forgot to make more before your guests arrive. While ice machines are convenient, it's important to remember that they should be cleaned once every six months on average. Bacteria love to grow in stagnant water, and even though the freezer is very cold, mold spores can survive.
Some clear signs that it's time for a deep cleaning of your ice maker include the ice containing an odd taste and smell, the cubes coming out softer and smaller, or the ice becoming cloudy. Often, mildew can be spotted when inspecting the machine. If your ice maker is neglected a routine cleaning for too long, eventually this will result in freeze-ups, longer times for ice production, capacity depletion, and needed repairs. Fortunately, cleaning your ice maker is an easy ordeal that can be completed in just five steps.
Unplug the fridge
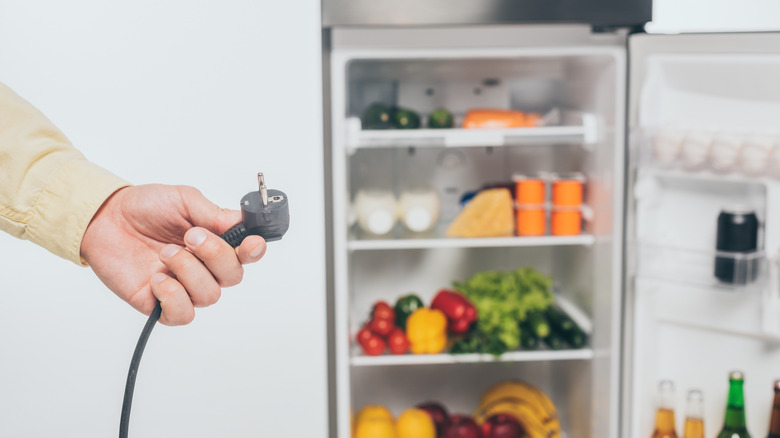
Before beginning to clean the ice maker, you'll want to unplug the unit. This will ensure that no ice is produced as you are cleaning and it will save energy since the freezer door will be open a majority of the time. The fridge won't be off long enough to spoil any food, however, try to avoid opening the main cabinet until it is turned back on (unless you're cleaning them both in tandem). Feel free to place towels underneath to catch any water that might drip. Freezers typically take hours to defrost, so while this shouldn't be an issue, it never hurts to avoid a possible mess.
Some fridges will have the option to only turn off the ice maker, but given that you will be pulling it apart, it's safest to unplug the entire appliance during the cleaning process. A good rule of thumb is to wait at least 15 minutes before plugging the fridge back in so that the electrical parts have time to cool down and won't risk being damaged.
Gather supplies and empty the freezer
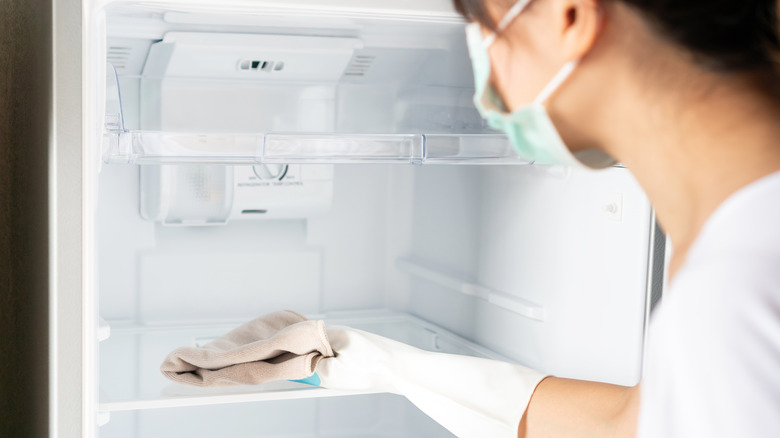
To prepare for cleaning your ice maker, you'll want to have dishcloths, a sponge, and a bowl of water and soap at your disposal. Mixing vinegar in with the soap and water is optional; vinegar is considered an effective agent for removing odors, bacteria, and tough grime. Certain hardware stores carry ice maker cleaning solutions if you'd rather not use a homemade mixture. Once your supplies are ready to go, start by clearing out your freezer. This is a great time to throw away any expired and unwanted food that has been stored away and forgotten about.
After emptying out the freezer, wipe down the entire interior with your soapy water mixture. Scrub off any crusted spots and spills, and be sure to dry it completely as you go. This will prevent any soapy water from freezing as you try to clean it. It may also be a good idea to clean out the fridge alongside the freezer as air from the fridge can circulate into the freezer. So, any expired food and sticky messes in your fridge can directly impact the ice in your freezer.
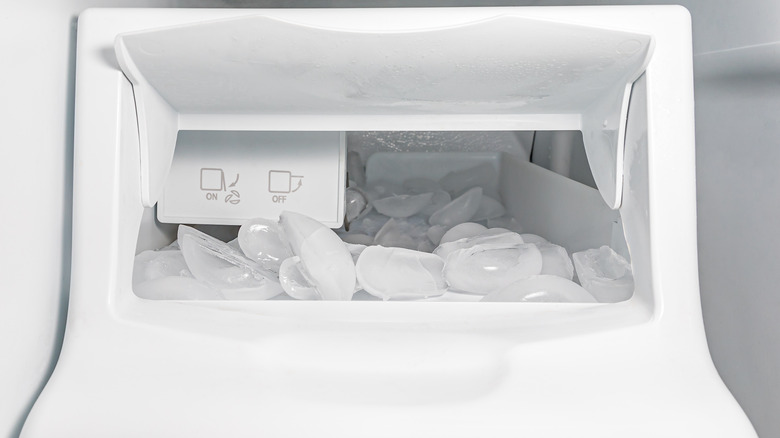
Clean the ice bin

With the fridge unplugged and the freezer wiped down, you can now begin to clean the ice bin. Remove the container and dispose of any ice. For some fridges, it's as simple as pulling out a drawer, and for others, you may need to lift it up before it slides along a track and becomes removable. It'll be helpful to consult the owner's manual or research the model of your fridge for a clear idea of how to remove the ice bin safely. Go ahead and remove other mobile parts, like the drip tray, for cleaning as well.
Hand wash the pieces with soap and warm water, allowing them to dry completely before returning them to the freezer. Keep in mind that it's essential to always wash these components by hand rather than put them in a dishwasher. Not only will hand washing be a faster process, you want to avoid the possibility of any of these units getting damaged.
Wipe down ice maker interior
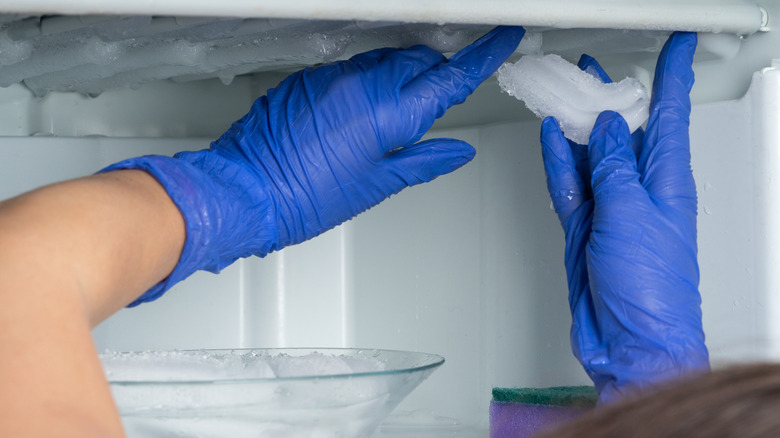
Give the entire interior of the ice maker a good cleaning with soap, water, and vinegar if desired. Be sure to dislodge any jammed cubes or scrape off any icy buildup sticking to the sides; you don't want any blockage remaining as you clean, or you'll inevitably miss crucial spots. Warm water is a good resource for removing persistent ice and eliminating forceful scraping and stabbing. As you clean the interior, get inside all the nooks and crannies with the edges of a dish towel or a toothbrush. Thoroughly dry the area once you're done because leftover moisture can freeze and crack the plastic.
While you're at it, take this opportunity to change out the water filter. Minerals will build up and clog the filter with bacteria over time. Changing your water filter every six months or so is best to keep your ice fresh and pure. If you have trouble keeping track of when it's time to replace your fridge's water filter, adding it to a household schedule with the routine replacement of your fire alarm batteries is a great way to remember.
Run a few cycles
At this point, your ice maker should be sparkling clean and all you need to do is put it back together. Once you've reassembled the unit, plug your fridge back in and allow the machine to run through a few cycles of ice production. Discard these first couple of batches to be sure no soapy residue is lingering. It's actually a good idea to dump your ice cubes every couple of months to get rid of any that have sat too long and absorbed the freezer's odors.
If you're looking to also clean the ice dispenser chute, you'll need to shut off the water valve that goes to the dispenser and ice maker. Definitely consult the owner's manual for this. After the valve has been closed, pour a few cups of vinegar through the line, letting it soak for about ten minutes. Rinse it out with clean water, reconnect the valve, and you've got not only a clean ice machine but also a clean chute.