How To Create Gorgeous Faux Stained Glass Art Without Breaking The Bank
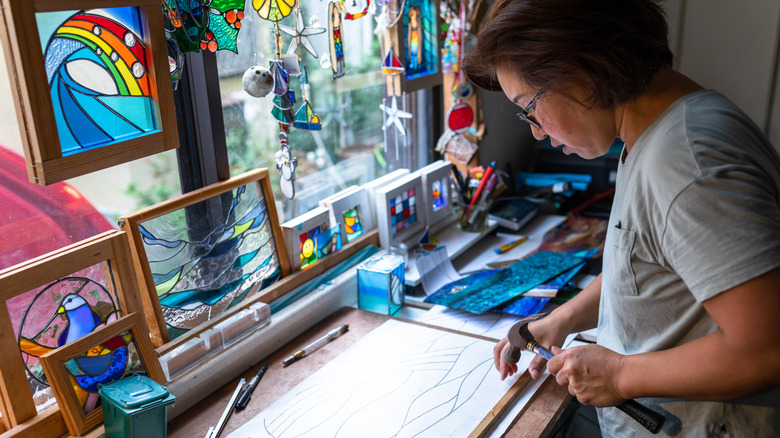
Adding the timeless beauty of stained glass to your home does not have to come with a huge price tag. The intricate patterns and vibrant colors of traditional stained glass elevate any space, bringing with it a touch of colorful elegance or whimsical charm. However, commissioning custom stained glass pieces or even purchasing pre-made panels can be a pricey investment, which puts this aesthetic far out of reach for many people. Fortunately, there is an accessible and budget-friendly DIY alternative that delivers a similarly enchanting vibe: Faux stained glass painting. This method allows you to transform ordinary glass into a work of art that mimics the look (and even the feel, to some extent) of authentic stained glass without needing specialized tools or training.
This approachable craft opens up a world of decorative options in your home. It is a fantastic way to personalize windows, mirrors, or even a simple picture frame, adding more color and artistry anywhere you want in your home. Imagine sunlight streaming through your newly-painted windows during golden hour, casting colorful reflections that dance across your room, all achievable with just a few supplies and a creative spirit. This DIY approach gives you complete creative control, letting you design pieces that perfectly match your personal style and existing decor.
Crafting your own stained glass masterpiece
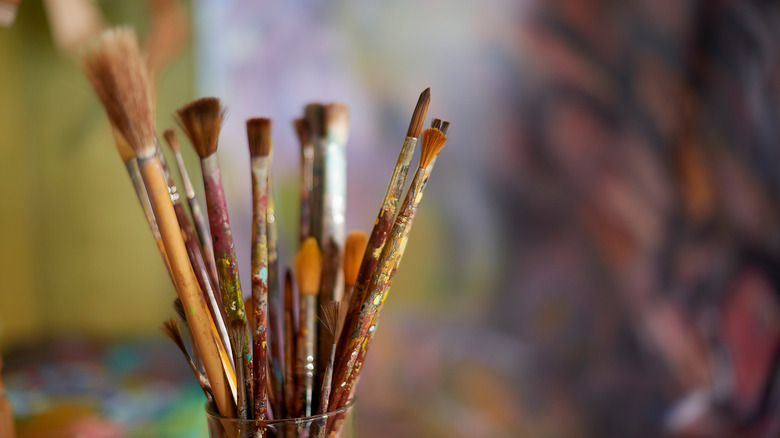
The faux stained glass process is pretty straightforward, and the supplies are easy to gather. You will need: A squeeze bottle, paint brushes, disposable bowls for mixing, Mod Podge Gloss, black acrylic paint, your chosen colors of acrylic paint, a stencil (if you want guided lines, but you can also freehand), and your chosen piece of glass. Before you start, thoroughly clean the glass with mild soap and water, then rinse and dry.
First, form your "lead" lines. These are the lines formed by the strips of lead in between actual stained glass pieces that hold them together, and what we need to mimic here. You will mix the Mod Podge Gloss and black paint for this until it reaches a transparency level you like, then put the mixture into the squeeze bottle. Next, use this mixture to create the outline of your design on the glass. If you're using a stencil, place it under your glass for guidance. Allow this to dry completely.
While your outline paint sets, prepare your colorful acrylic paint (which is great for other projects, like acrylic pour custom art). For each color, add a few drops of paint to about half a cup of Mod Podge Gloss. Mix thoroughly to your desired transparency level (likely lighter than your lead lines if you want that unique stained glass effect). You can keep adding Gloss to boost transparency. Once your black outline is fully dry, use a brush to fill in each section with your colors. The beauty of this craft is its forgiving nature; if you are not satisfied with your finished piece or want to switch up the design, just soak it in water to remove the paint.