How To Easily Replace Your Worn-Out Toilet Flapper
We may receive a commission on purchases made from links.
Is your toilet constantly running, leaking, or flushing all by itself? Don't call a plumber or start shopping for a costly new toilet just yet. You can likely fix it on your own by replacing your worn-out toilet flapper. This rubber seal regulates the water flow from the toilet tank to the bowl, opening when you press the handle to flush the toilet and then closing to let the tank refill. Over time, flappers deteriorate and become less effective, and several signs may indicate that you should replace yours.
For instance, a constant hissing sound or water running nonstop even when the toilet is not in use is a common sign that your flapper is worn out and needs replacement. When a flapper doesn't seal properly, water can leak from the tank into the bowl, leading to continuous running of the toilet. Other signs include inconsistent water levels, reduced flushing power, "ghost flushing" (when your toilet seems to flush on its own at random times), and visible deterioration such as cracks, tears, or discoloration. If you experience any of these issues, you should replace the toilet flapper to avoid more serious effects like higher water bills or even flooding. Fortunately, doing so is relatively simple and can be accomplished with a few basic, affordable tools and materials.
Finding the right replacement
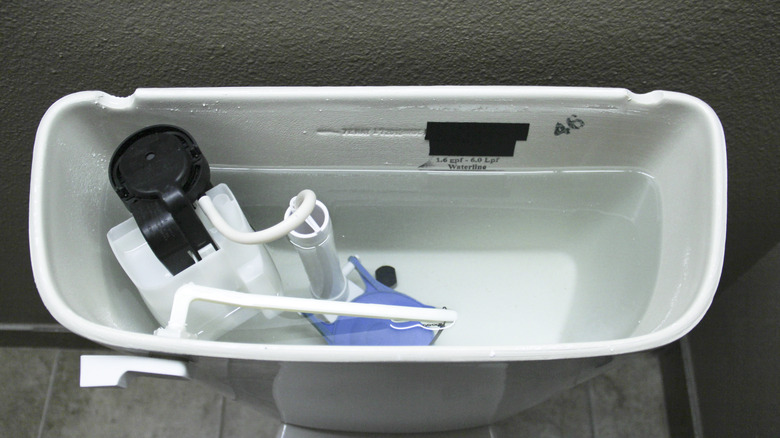
Before you head to the home improvement or hardware store, you'll want to make sure you know what size and type of replacement flapper you'll need. First, turn off the water supply so you can get an unobstructed view of what's going on inside your toilet tank. Look for an oval-shaped handle behind or beside your tank and turn it clockwise until it doesn't budge. If it's too tight to turn by hand, apply a household lubricant to loosen it; while it might be tempting, Forbes Home cautions us against using a wrench or other tools that could break the handle and give you a flood to deal with on top of your flapper foibles.
Once you have the water supply cut off, empty the tank by holding the flush handle down until the water is gone. Then, you can remove the worn-out flapper by releasing it from the overflow tube (where it's typically attached) and removing the connected chain from the flush handle.
Old flapper in hand, measure the diameter of the widest part. Write this measurement down along with the shape and mounting type: Some flappers have "ears" that hook onto the overflow tube, while others slide on over the tube. When in doubt, it can't hurt to bring the old flapper on your shopping trip as a reference.
Installing your new toilet flapper
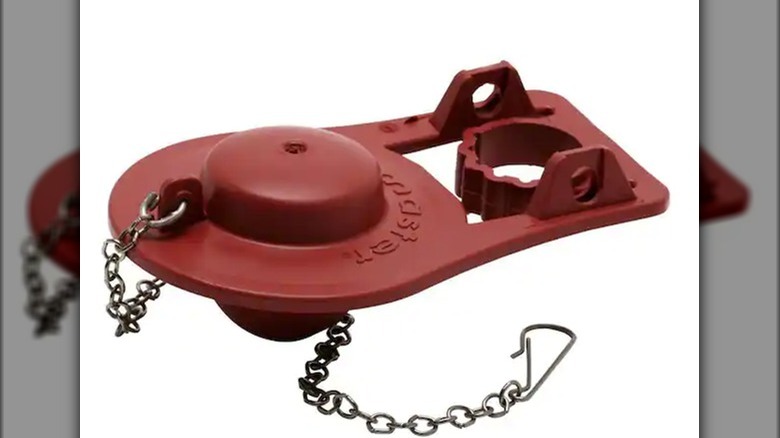
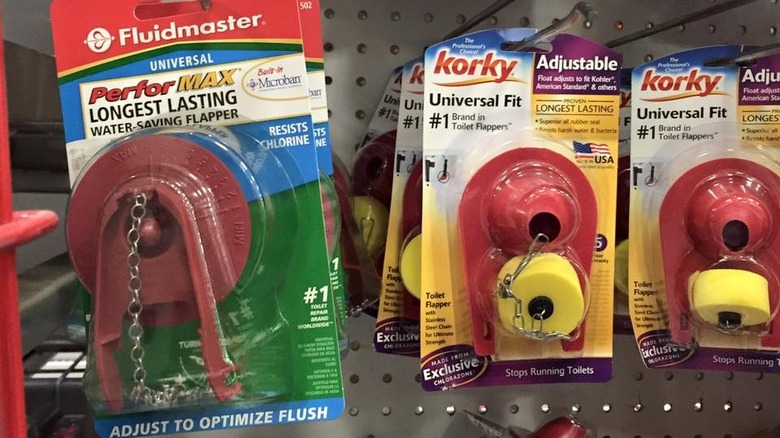
Once you have purchased a replacement flapper, you can install it in minutes. First, attach it to the overflow tube. Many tubes have pegs on the sides that you can hook the ears of the flapper onto. If the overflow tube doesn't have pegs or your flapper doesn't have ears, you'll most likely need to slide the ring on the back of the flapper down over the tube to secure it in place. No matter what attachment setup you're working with, make sure to center the flapper over the valve opening to create a water-tight seal.
Next, attach the flapper chain to the lever of the flush handle. Fiddle with the chain a bit to ensure that it's the right length and you won't need to dive right back into the toilet tank to adjust it. It should be taut but not too tight, with a small amount of slack when the flapper is closed so that it remains sealed.
Finally, turn the water supply back on and let the tank fill. Flush the toilet once before you put the lid back on the tank so you can see that the flapper is working correctly and address any issues. Your toilet should now function properly and efficiently, and you can feel prepared to grab home maintenance by the horns and your flapper by the ears the next time it wears out and needs replacing.