How And When To Replace Your Oven Igniter
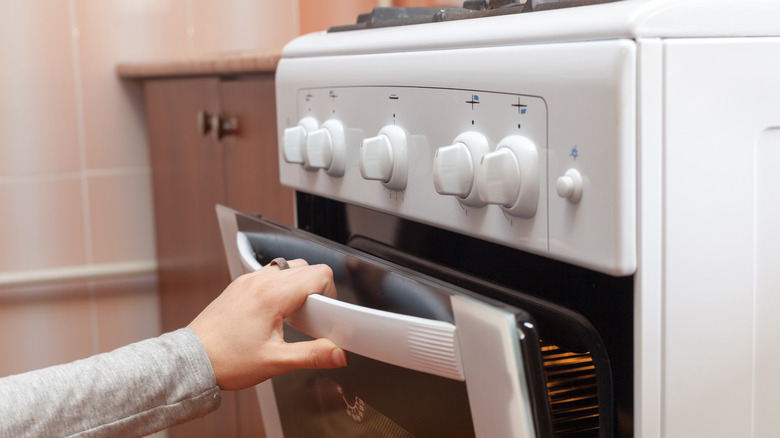
The realization that your oven doesn't have a touch of warmth, even after a fifteen-minute preheat, can be a frustrating blow to a growling stomach. Several culprits could be to blame, with electric and gas ovens each having a unique lineup of suspects. With gas ovens, a faulty igniter is usually top of the list.
Confirming the igniter theory requires a few checks inside the oven, namely to verify that it is in fact the igniter and not the gas line itself or some other issue with the oven door or thermostat. Once the igniter is found to be the holdup of heat, you'll have to go about removing and replacing it. Luckily, this process can be done in a few easy steps and with even fewer tools. As long as you're comfortable turning the gas supply off and on, you can get a new igniter working without consulting a professional.
Diagnosing a faulty oven igniter
Knowing when to replace your oven igniter starts with verifying that the igniter is the problem in the first place. The most obvious sign is, of course, a cold box instead of a hot oven. In some cases, though, your oven may tell you its igniter needs attention before you get too far into the preheating process. Appliance Express notes that any kind of booms or continuous clicks coming from the interior as you attempt to turn it on indicates gas is flowing to the appliance but not igniting.
You could give it a go once more by turning the dial off and then back on again, just in case the igniter needed some extra time. Such a scenario, however, would still indicate the igniter is beginning to fail or at the very least is in need of a good clean. If the noises persist through a second try, there are three things you should do immediately: Turn the oven off completely, pull its power supply, and shut off the gas line. You absolutely do not want gas to continue filling the oven, especially for this next part.
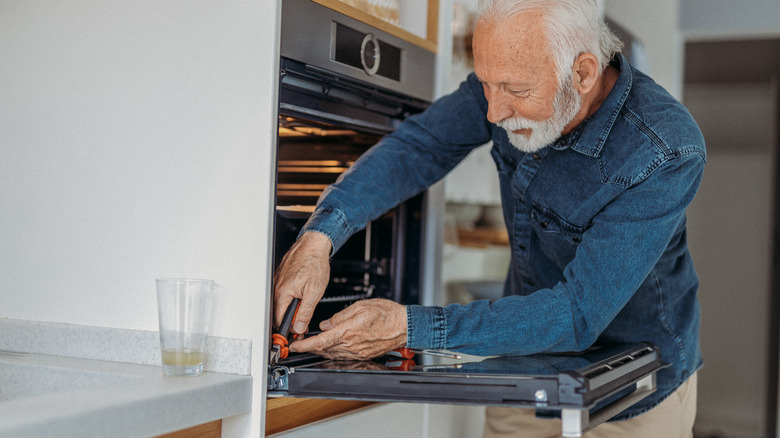
Once you've safely shut off the power and gas, it's time to take a dip inside. Most igniters sit under the bottom panel of the interior. On some models, this panel can pop off with a bit of maneuvering. Others will require a screwdriver. Remove the racks to make room and when the panel is off, you should be able to see the igniter.
Removing and replacing an oven igniter
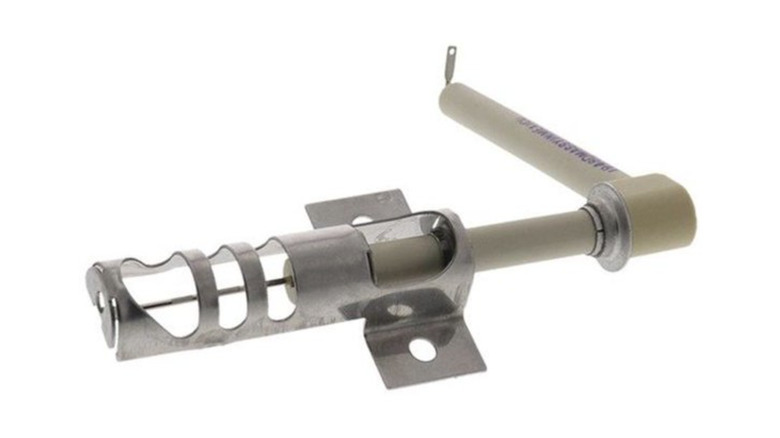
With the igniter fully exposed, you can begin the removal process. You'll need a nut driver at this point to unthread the hex-head bracket screws. With screws successfully off to the side, the last step is to disconnect the igniter plug from the wire connector by disengaging the connector's locking tabs. You can now replace the old igniter with a new one by performing that process in reverse: Reattach the wires, lock tabs into place, and screw in the hex-heads. Just avoid touching the igniter's carbide electrode during this process. Sears says the natural oils on your hands can damage it, and you'll be stuck with a busted igniter all over again.
Barring any setbacks, your last steps are to reassemble the rest of the oven, reattach the power and gas, and test your handy work. If all goes as expected, it should only take a few minutes to feel your oven warming to its optimal temperature. And if you want to avoid future food frustrations, you can try extending the life of your oven, including that of the igniter, by performing regular upkeep. This includes cleaning the area where the igniter and gas meet. Food debris will often build up there, preventing a connection between the two and serving as a precursor to full igniter failure.