How To Easily Remove A Kitchen Faucet
Removing a kitchen faucet can be challenging, especially if you're unaware of the proper steps. Don't worry; no DIY task is ever straightforward. Whether you're checking for damage or adding the final touches to a kitchen remodel, using the proper tools and procedures can help ensure a smooth and effective removal.
Before you begin removing a kitchen faucet, several factors must be considered. First, get familiar with the specific faucet model and its components since some models may require additional tools or considerations to remove. It's also important to have the necessary tools ready, such as an adjustable wrench, a basin wrench, a pair of locking pliers, a bucket, and a towel for wiping up spills. Also, keep some plumber's tape or sealant on hand if you plan to install a new faucet. Then, place your towel in the sink to protect your workspace and keep it clean, and set the bucket down under the sink to catch any water that could spill during the removal. A flashlight may also come in handy to help you see more clearly in dim areas.
Turn off the water supply
The next vital step is to turn off the water supply. Look under your kitchen sink for two shut-off valves that supply hot and cold water. These are typically situated on the supply lines connected to the faucet. You'll need to turn each one clockwise to close them. Then, turn on the hot and cold water at your kitchen sink to ensure that it's off. You may notice a small amount of water flowing out initially, but it should stop after a few minutes once the lines are drained.
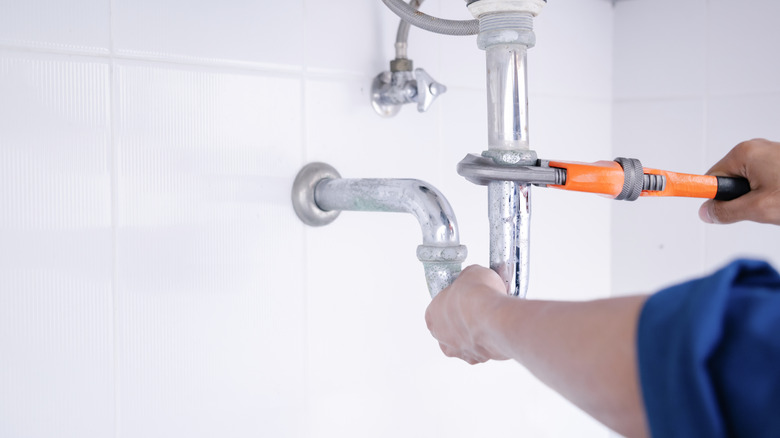
You'll also have to disconnect the water supply. First, ensure a bucket or towel is underneath the valves to collect any spillage. Then use the adjustable wrench or a pair of pliers to gently loosen the nuts connecting the water supply lines — this time, turn them counterclockwise. Once the bolts are loosened, remove them and carefully disconnect the valves from the water supply lines.
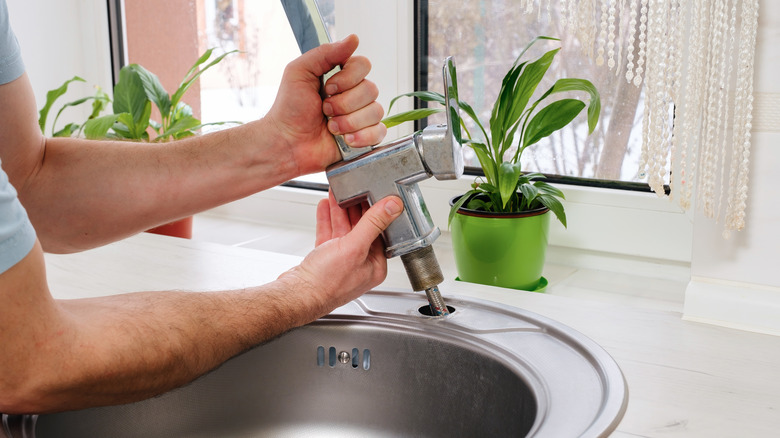
Next, loosen and remove any mounting hardware holding the faucet to the sink with a basin wrench or screwdriver. If the mounting nuts are stuck, you might need to spray them with some penetrating oil to loosen their grip and wait about 15 minutes. With your adjustable wrench, loosen the nuts, turn them counterclockwise, and carefully remove the hose from the valve.
Remove all connections and mounting hardware
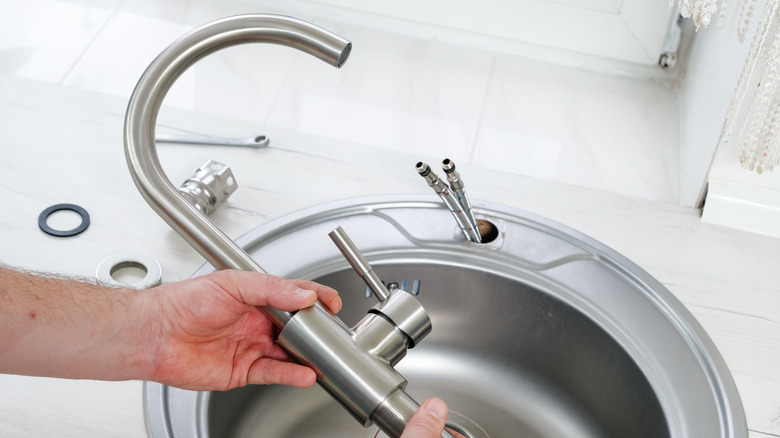
With all connections removed, it's time to lift the faucet out of the sink. However, if your faucet has a separate escutcheon plate, remove it by loosening any screws or using a razor scraper to gently pry it. Then, hold the faucet firmly and gently wiggle it back and forth to loosen it from the sink. To prevent damage, take care not to apply too much force. Once it's free, lift it up and out of the sink. Consider asking for help if the job is too strenuous.
Before cleaning the area, remove any dirt or sealant from the sink's surface using a putty knife. Then clean the area using a mild cleaning solution and a soft sponge or cloth to avoid scratching the sink. If you're installing a new faucet, plan for the proper disposal or recycling of the old unit. You can research online to see if there are any local recycling centers or home improvement stores that accept old fixtures in your area. Now that you've removed your faucet, don't forget to take measurements of the existing model and its mounting holes to make sure your new one fits properly. More importantly, be prepared to seek expert help if the removal process gets too difficult.