Here's How To Turn An IKEA Breadbox Into A Chic Bedroom Nightstand
We may receive a commission on purchases made from links.
While it's true that you could easily order a new nightstand online or, better yet, find one on the cheap at your favorite thrift store, there's something infinitely more satisfying about making a unique piece of furniture with your own two hands. But, in a world where there's someone you can hire to do just about anything, learning to do it yourself (DIY) has become something of a lost art. Luckily, apps like TikTok serve as a subtle reminder of the capability we all possess.
As we set out on our own TikTok expedition, we discovered a video uploaded by TikTok user @Ri1ya that made fashioning your own nightstand look far simpler than we ever imagined. By repurposing a pair of IKEA bread boxes to make the body of the nightstand, she shows us how to make a quick and inexpensive piece that will bring a little mid-century modern sprucing to your bedroom without having to fuss over lumber, saws, and the like. All you need is a couple of IKEA bread boxes, a set of metal table legs, and some wood glue.
Preparing the boxes
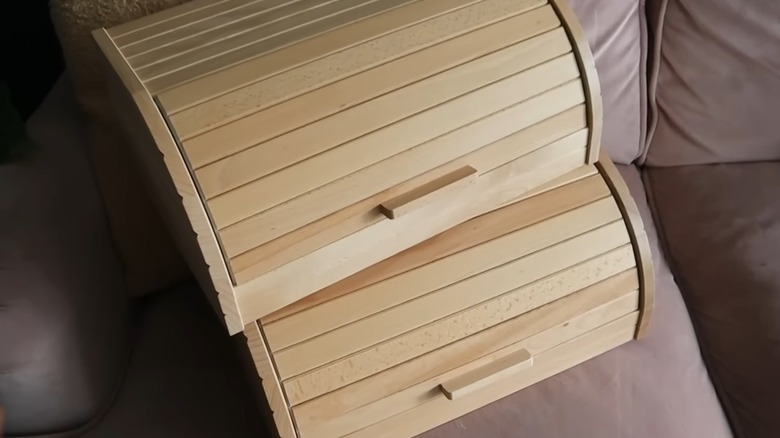
The ability to see a bread box and think that it would make a great nightstand is a skill we wish we could possess, but until then –- TikTok user @Ri1ya's got us covered. At the start of her how-to video, she can be seen holding up a wooden paneled Magasin bread box, which you can find for roughly $21 at IKEA. For this project, you'll need to buy two of them.
The video then cuts to @Ri1ya preparing the boxes to be glued together by wiping them down with a damp rag. This is an important step, as the wood must be free of all dirt and debris for the glue to adhere properly. While other substances, like mineral oil or acetone, can be used to clean different kinds of wood, soap and water should do just fine in this case.
Once the wood is clean, @Ri1ya holds up a bottle of Gorilla wood glue, which can be purchased at Lowe's for just under $5. After flipping one of the bread boxes upside down so that the long, flat bottom of the box is facing up, she applies a thin strip of the glue along each of the box's outer edges. Once the glue is in place, the flat bottom of the second bread box is carefully placed atop the box that has just been lined with glue, ensuring that all of the edges are properly aligned.
A little leg work
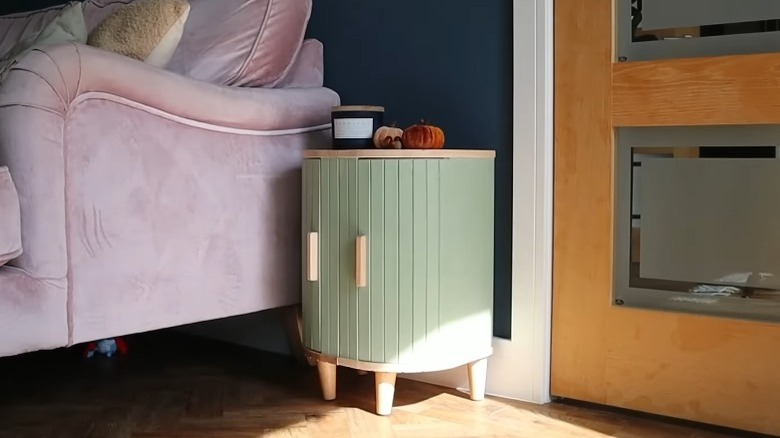
After the bread boxes are glued together, @Ri1ya heads to the store to pick up some more supplies and give the wood glue some time to dry. Once she returns and the glue has set, she applies a muted, stone-colored paint to one side of the glued-together bread boxes –- the part that will act as the top of the nightstand –- for some visual interest. This can be done using any color of paint, or no paint at all, if you prefer a more natural wooden look.
To complete the table, @Ri1ya takes a set of four metal hairpin table legs –- the likes of which can be found for $22 on Amazon –- and uses the wood glue once more to secure the legs to the bottom four corners of the now-nightstand. While she's never filmed using a drill, holes can be seen in the bottom of the nightstand where the legs were glued on. This suggests that once the glue has dried, the screws provided with the table legs should be drilled in to ensure that your nightstand is strong enough for all of the books and empty water glasses you will eventually pile on it.