What To Know Before Installing A Shiplap Ceiling
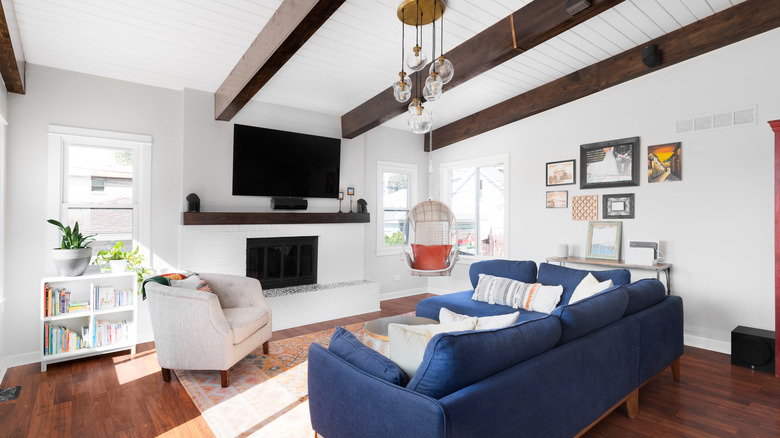
Installing shiplap on a ceiling is an attractive solution for improving the appearance of your home. It can boost a space's overall aesthetic by turning a plain ceiling into an architectural showpiece. However, there's plenty to consider before driving to Home Depot.
For instance, if you're planning to paint the shiplap, it's wise to opt for a product that is already primed for several reasons. First, the primer streamlines the painting process, saving time and effort. In fact, you may be able to accomplish the job with a single coat, depending on the paint you choose. Second, pre-primed shiplap treated with an anti-moisture agent will ensure the wood is sealed and protected. Prolonged moisture exposure can cause mold or rot in untreated boards, weakening the structure and eventually leading to decay. Finally, since primed shiplap will reduce the number of paint coats required, the project's overall cost can be lowered substantially. This is especially true if you install a shiplap ceiling in a large room for a dramatic effect.
Measuring shiplap and concealing gaps

When working with shiplap, measuring and cutting each piece individually is essential to accommodate the varying widths of walls. This personalized approach ensures a precise fit, which is key to achieving a professional and aesthetically pleasing result. Custom-cutting shiplap boards not only helps prevent material waste but also avoids additional expenses and effort associated with correcting ill-fitting boards. Taking the time to accurately measure and cut each board streamlines the installation process, contributing to a more efficient and well-executed project.
Additionally, while installing shiplap, it's often necessary to incorporate elements like crown molding to conceal the expansion gap — a small space left between the shiplap and adjacent surfaces. Adding decorative trim serves a dual purpose: It not only covers the expansion gap, enhancing the overall appearance of the installation, but also contributes to a more polished and finished look. Be sure to paint the trim before installing it in order to simplify the job.
Choosing between different types of shiplap
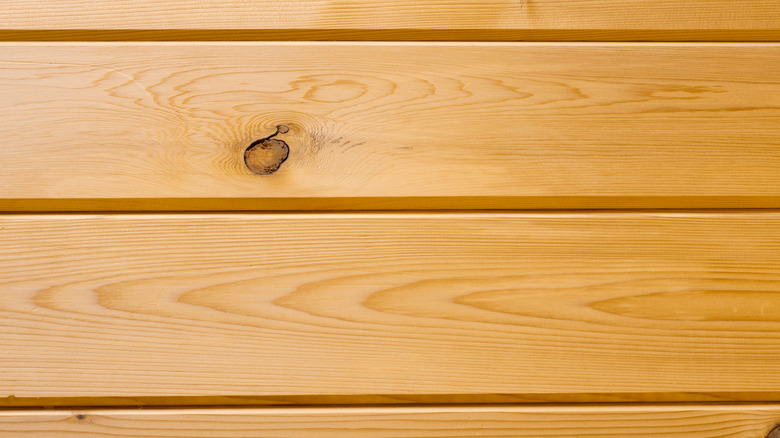
Numerous varieties of shiplap are used to add a decorative touch to ceilings. The most common forms are square-edge, tongue and groove, and eased-edge shiplap. Square-edge is the most popular variant, delivering a clean appearance with minimal space between boards. It's also incredibly affordable and can often be purchased for less than $3.00 per square foot. The fundamental distinction of the following type of shiplap, known as tongue and groove, is that it has a "tongue" on one edge and a "groove" on the other, allowing the boards to interlock and form a snug fit. As the visible space between the boards is filled up, this design may produce a more polished appearance. However, it tends to cost a bit more than square-edge shiplap. Another well-liked variant is eased edge (or V-groove) shiplap, which has a faint "V" shaped groove where the boards meet. If you prefer an option that offers dimension, this style might be your best bet.
Of course, the board's finish will also come into play. Options include rough-sawn and charred designs for those who prefer a rustic look or pre-painted or pre-primed varieties to simplify the task at hand. Otherwise, you can purchase unfinished shiplap and finish the boards any way you desire.