The Best Method For Fixing A Leaking Toilet Fill Valve
A toilet is a home appliance that most people don't think much about when it's working properly. Certain problems, such as persistent leaks, are easy to ignore because the fixture is still doing its job. However, if the toilet fill valve is the reason for this, you could be wasting hundreds of gallons of water per month and increasing your water bill. Fortunately, repairing the fill valve requires inexpensive hardware, and you can probably diagnose and fix this toilet issue on your own.
It's crucial to note that the causes of toilet leaks can be wide-ranging. For example, the flapper at the bottom of the toilet tank could have a bad seal, driving water to run continually. It's also possible that the fill valve leaks. The fill valve contains a seal that can wear out over time and therefore requires replacing. Finding a new fill valve seal for the toilet is easy and inexpensive, as nearly every hardware store carries this item. Replacing the seal is easier and cheaper than purchasing the entire fill valve, so you may want to check the seal before finalizing a solution for your toilet leakage problem.
How to replace a fill valve seal
Problems with older toilets can appear as leaks from the upper tank into the bowl, meaning you're wasting water and unnecessarily increasing your water bill. Replacing the toilet fill valve seal might stop the leak immediately.
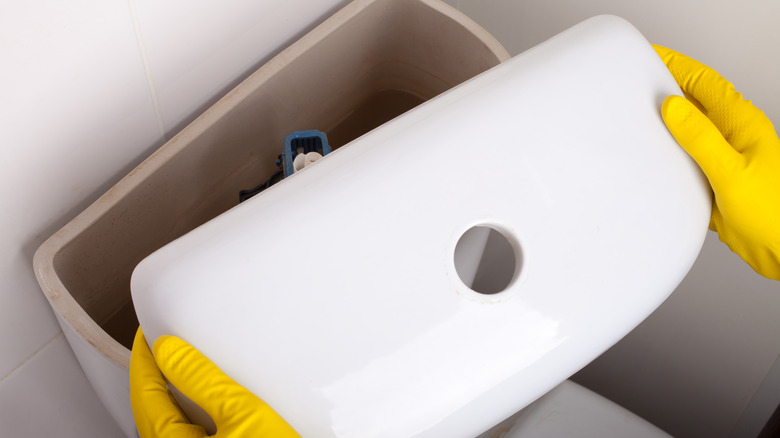
To start, always shut off the water supply to the bathroom fixture before working on it. You should have a knob on the water line where it exits the wall that you can rotate a quarter-turn to shut off the water supply. Then flush the toilet so the water in the upper tank flows into the bowl. The upper tank will not refill with no water supply, so you can work in at least partially dry conditions.
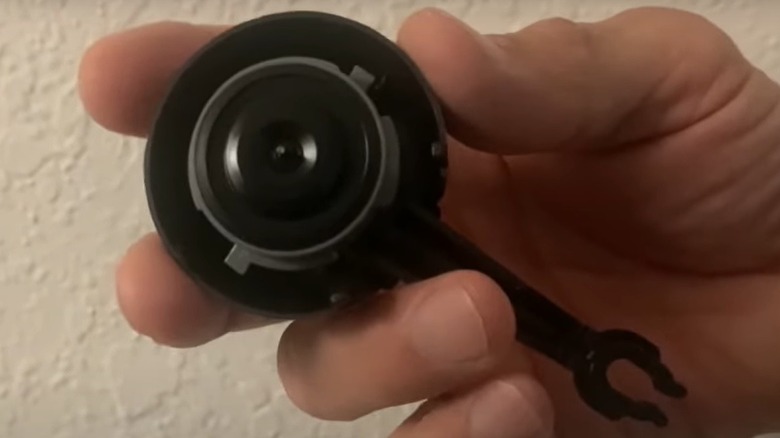
For a standard fill valve, remove the chain from the float. Then pull the arm out of the fork attached to the float. Twist the top of the fill valve to the left about an eighth turn to pop it loose. The seal is a round rubber piece inside this top section. You can see the seal when you flip the top piece upside down. Replace this seal with a new one of the same size and reattach everything. Turn on the water supply and see if this fixes the leak.
Replacing the fill valve hardware
Sometimes, the entire fill valve mechanism may need replacing to stop your toilet leaks. This is a trickier process than replacing the seal alone, so you should always try attending to the seal first.
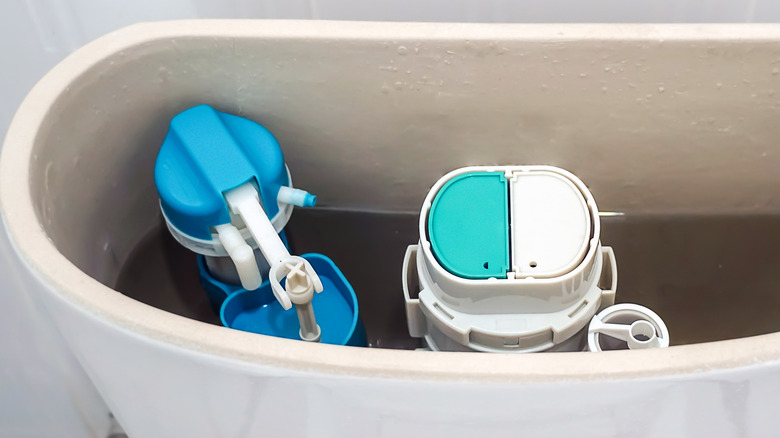
To replace the toilet fill valve mechanism, you must shut off the water supply where it comes out of the wall. Drain the water from the upper tank by flushing the toilet. If you still have a little water in the tank, use a siphon or a few towels to remove as much as possible. Then disconnect the supply hose from the toilet — it should connect to the side or bottom of the upper tank. You can unscrew the fill valve's locking nut inside the toilet tank to loosen the valve hardware and supply hose. As you remove the hose, catch any remaining water from the hose or tank in a bucket, and when pulling the fill valve out of the tank, place it in a bucket to catch stray water.
Now you can install the replacement fill valve. A universal fill valve fits most toilets. However, if you're unsure, snap a photo of your existing fill valve and take the picture to the hardware store to find a match. Connect the new toilet fill valve. Reattach the water supply and turn it on. Watch closely for leaks where the supply hose connects and near the fill valve. You may have to adjust the float height, too.